
Building a transom window is one of those tasks that might seem more intimidating than it really is. Essentially, all it really is is creating a box inside a framed out header. How fancy that box is is completely up to you, but in general it is a matter of simply adding layers of trim.
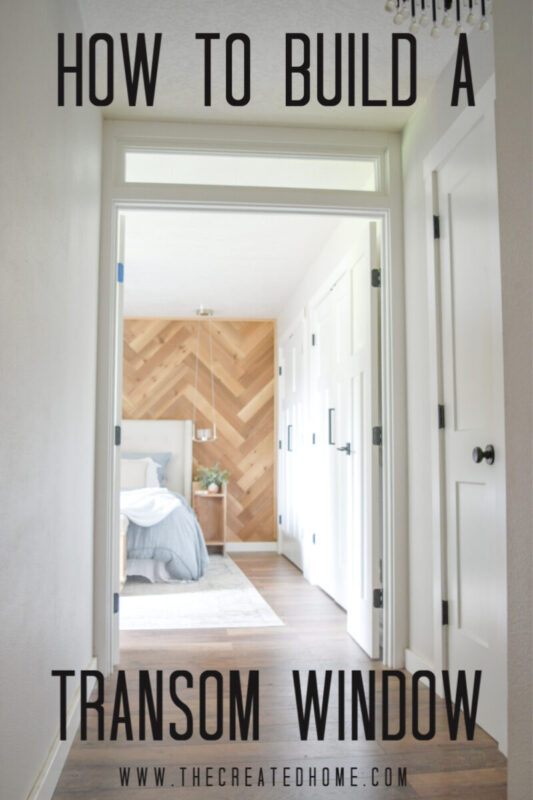
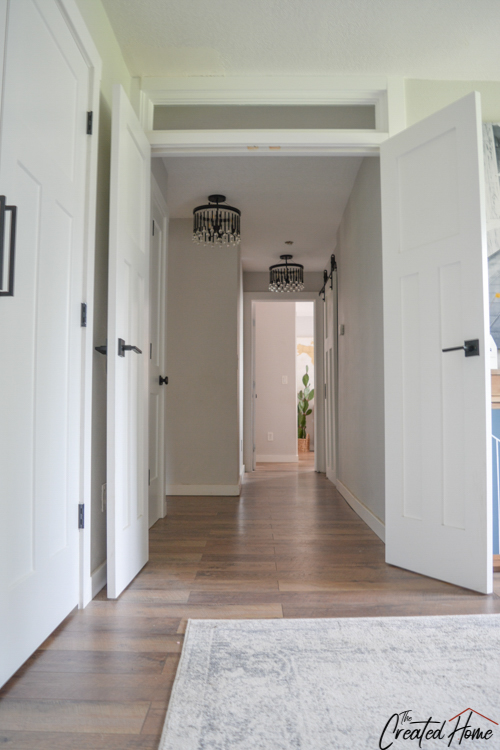
I added this simple, craftsman style transom window to the doorway into our master bedroom after we changed up the wall leading into that space. Because our home has eight foot ceilings, there was little room to create much of a large window. So I made it work by creating a more narrow header above the main doors, matched by another piece only 1 1/2″ wide up top, then leaving everything in the middle for the transom.
Now, because this is not a job well suited to a cut and dried set of woodworking plans, I have my process documented in video form. Hopefully it will help you to begin to craft a header that will work in your space.
The video should answer most questions. But I will leave a few tips here:
Tips for building a diy transom window

- Measure your header space for length and width at multiple spots. Homes are more often than not very much not square. The transom window needs to fit snuggly, not too lose, and not too tight.
- You can use glass, acrylic, or plexiglass for this project. I used acrylic and it looks great. I purchased the custom cut acrylic from a local shop for somewhere around $20.
- Dress up your window by adding trim in various sizes and textures. Consider rounding off a layer, or leaving it square. Play with the look to find what you want.
- Don’t sweat minor gaps. They can easily be filled with caulk and no one will ever see it. (How nice is that?!)
- Glue works fine for this window assembly. It will all be wedged into the header space anyway, and mechanical fasteners can get in the way of adjusting fit while installing the transom window into the header space.
If you have further questions, please don’t hesitate to reach out to me through the “Ask” link at the top of the page.
Want to know more about that herringbone accent wall? Go here.
If you want to know about the bedroom bench, go here.
And, if you want to know about the nightstands, go here.
Jessica
Friday 20th of November 2020
Wow. I love seeing a female carpenter tutorial! Bravo
Sarah
Wednesday 31st of March 2021
YES! There are lots of us out there! There's a great community on IG if you are interested!