
I am a herringbone addict. So this wall in our master bedroom was rife with opportunity for a little of the classic pattern.
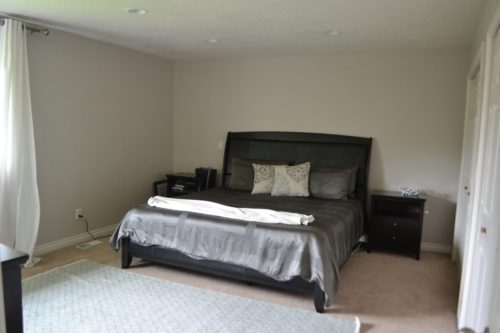

I gave the entire room a makeover recently, but the wall behind the headboard suffered from a bad case of the blahs.


Wallpaper would have been a great option as well, but we loved the texture of a wood wall, and that it was something we could create for a whole lot less. Now, I’m not going to lie, the trade off for inexpensive is often quite a bit of labor. There are a lot of ways to short cut what we did, the easiest being to go and purchase fresh cedar boards. But I’m going to show you our entire process and you can decide what works for you.
How to create a reclaimed wood accent wall
Materials and Tools
*This post contains affiliate links for your convenience. You can read my full disclosure policy here.
wood
finish nails (we used 1 1/4″)
pencil
miter saw
nail gun
Reclaiming the wood
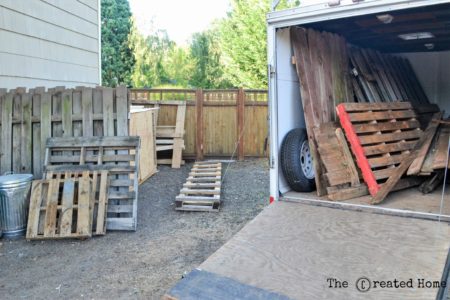
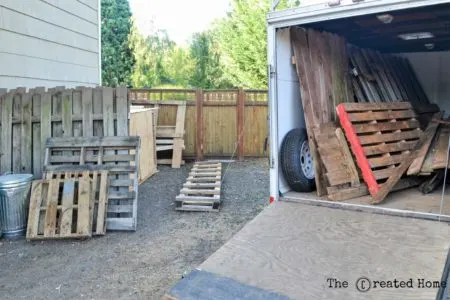
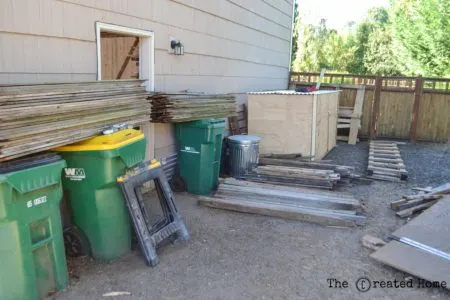
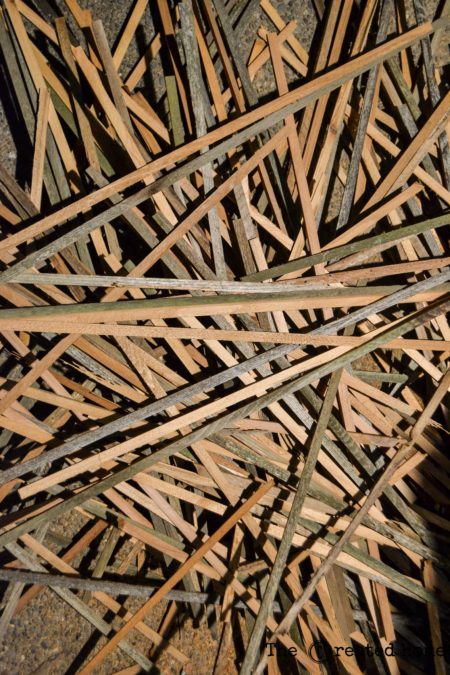
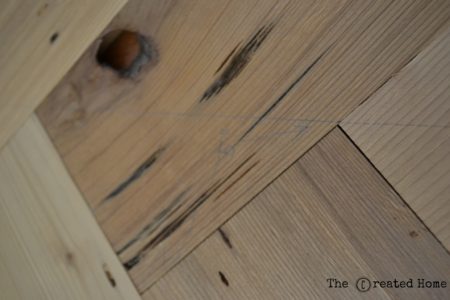
We are big fans of reclaimed wood around here, and love to repurpose what we can. That said, it does add a certain amount of work to the process. We used old fence panels to create our herringbone wall, and they didn’t exactly start out in prime condition. Years of moisture made for some rough material. Here’s a look at what we started with.
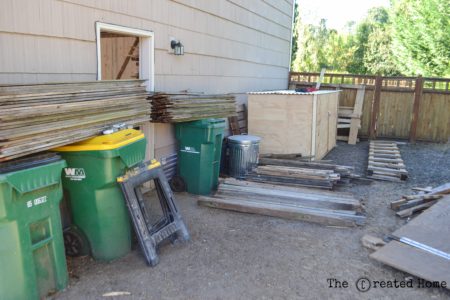
The first step, after getting it to the house, was to dismantle all of the panels and denail the material. Around here we make use of everything, so 4×4 posts, 2×4 stringers, and the slats were sorted respectively after all metal was removed.
For the project I only needed the slats. The weathered gray look was absolutely an option, but we decided that we wanted a cleaner (and easier to clean) look for our room. If we had gone with the gray look the next step would have been to scrub it all down with water and a bit of soap to remove grime, algae, and whatnot.
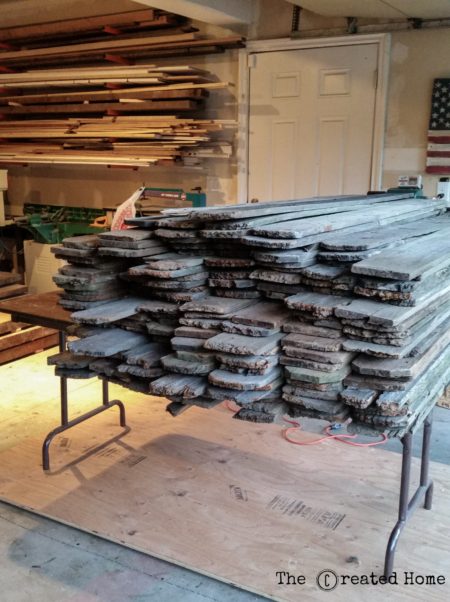

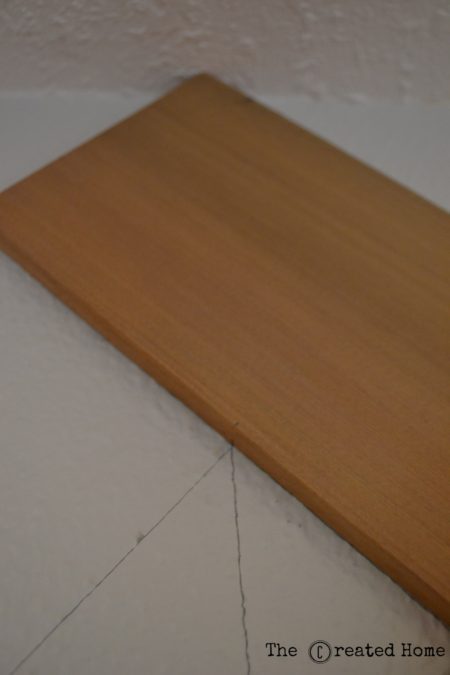
To get the look we wanted I ran every board through the planer, front and back. Each board ended up at exactly 1/2″ thick.
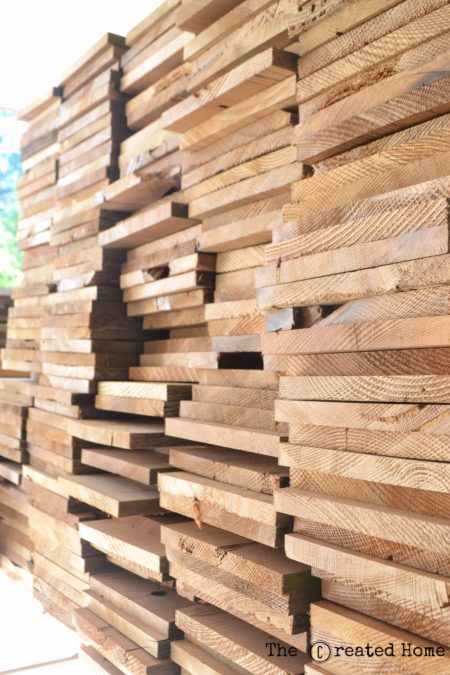
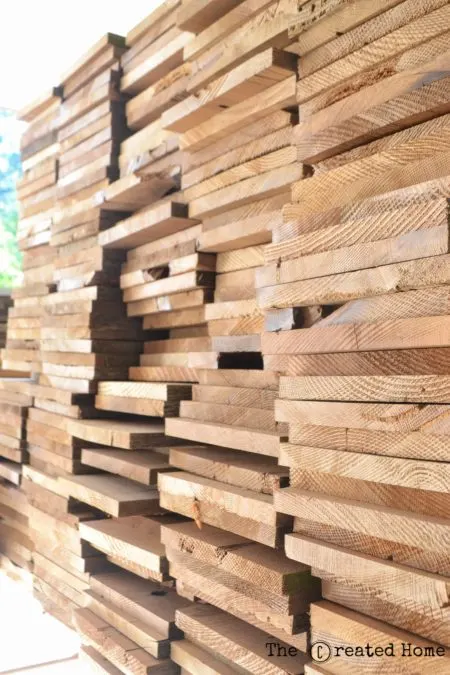
Looking better!
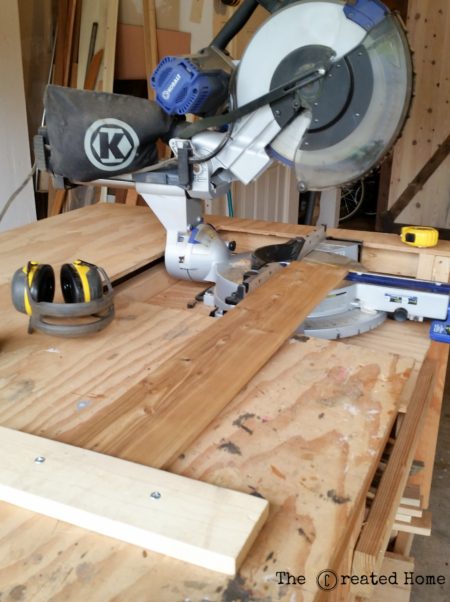
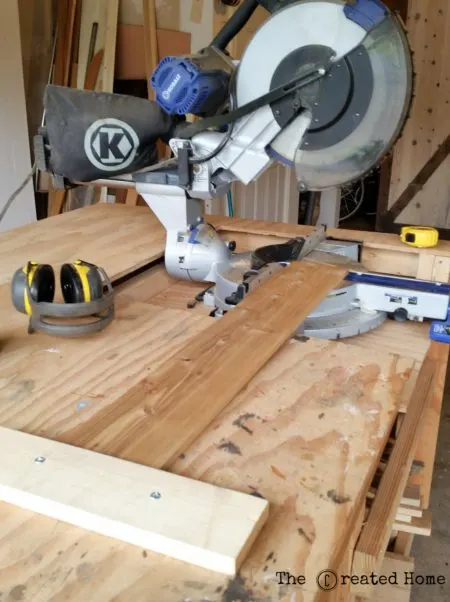
The next step was the cut each board to the same length. For repetitive cuts I set a stop, which is simply a piece of wood that I screwed to the workbench so that with the board to be cut square to it and the back of the miter saw fence the length would be precisely the same no matter how many boards I cut.
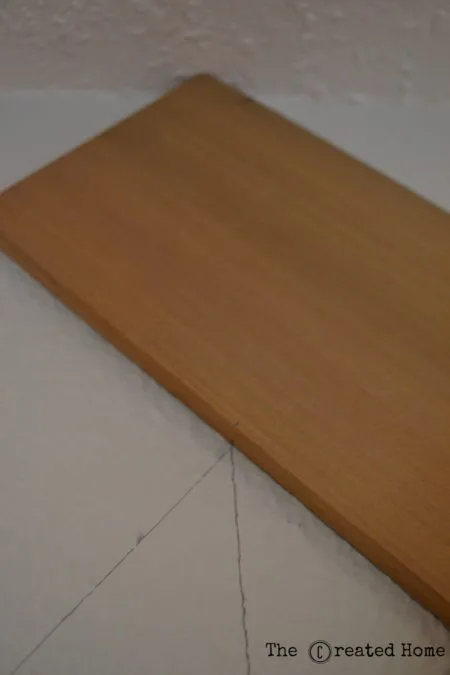
We then went through the extra step of ripping each piece of wood on the table saw so that the sides were clean and square.

When all was said and done we had taken off enough material to remove every trace of dirt, algae, and the detritus of the years. Again, we could have simply scrubbed the boards clean and used them, but that wasn’t the look we wanted this time, and we really wanted to ensure the boards were clean and bug free. We could also simply have gone to the hardware store and purchased rough cedar boards, which would have taken considerably less work. But there’s a certain satisfaction in looking at your work and knowing it used to be something else entirely.
But, seriously, it’s a lot of sawdust.
How to lay out a herringbone pattern
Herringbone is a classic pattern that is never out of style. It can also be a bit tricky to start. I couldn’t find any really great resources on how to do so, so I’m going to share what I did. First I laid out a bunch of scrap boards and drew a line to show how they would line up along the middle of the wall. You can see from this photo how the points should line up.

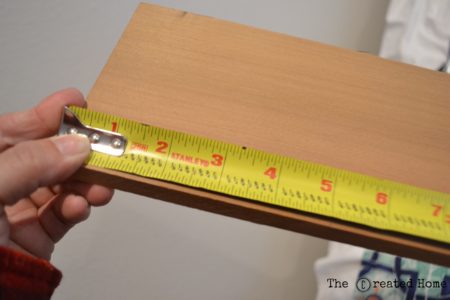
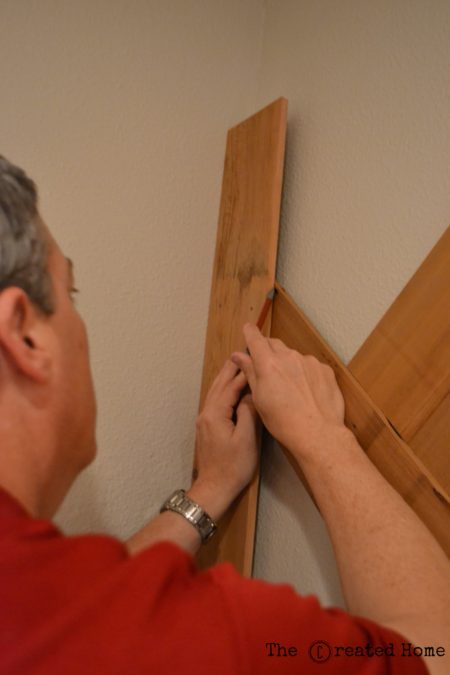
I started the pattern and the top middle of the wall, and I knew that the top point of the first board would need to be dead center. But it was trickier to figure out what angle the board should then be. So I measured from the bottom point to where the line passed through in my layout above, and found there were five inches from that point to the line.

I then measured and marked five inches on the first board.

Now when I set that first board I simply lined the top point up with a small mark I made on the ceiling, and the bottom point up with the line I drew down the wall. I repeated this step for the next several boards as I moved from working down to over in the pattern until I was sure the pattern was forming precisely. After that I was able to simply snug one board into the next.
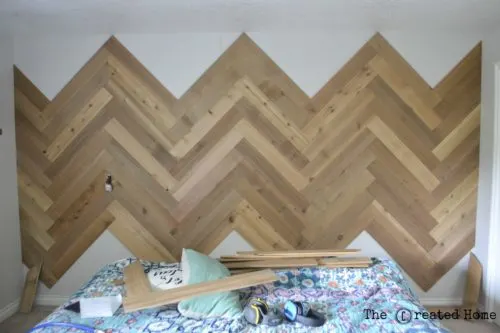
Here is the pattern just starting to take shape using that process. I should add that before I started this I drew lines on the wall indicating where the studs were, as well as where dead center was (which also happened to be on a stud). This gave me my points to nail to. We also removed the baseboard.


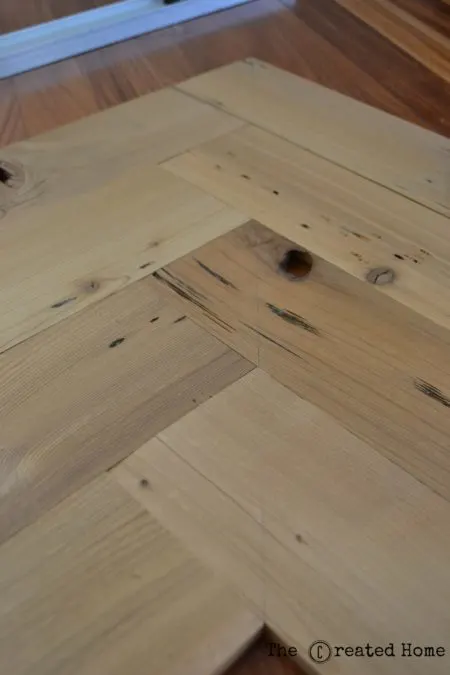
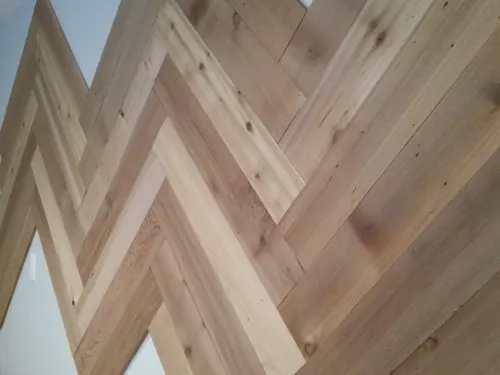
The pattern taking shape…

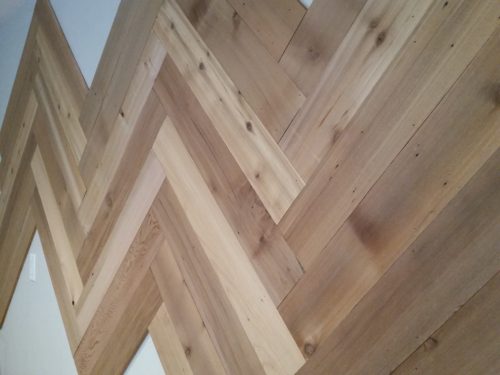
Up close. There are minor gaps, particularly where the wall was not perfectly even, but they look fine.
How to cut the edge pieces
Once you have filled in the full size pieces the next thing is to cut the short pieces at the top, bottom, and edges of your herringbone pattern. This is not so tricky as it might look. Here is how we did it. Start by holding a piece in position, with the bottom point edge against the edge (wall, in this case).
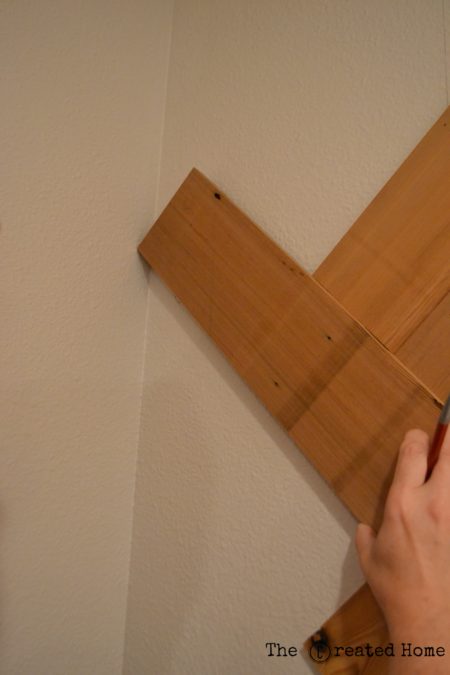

Place another board or a level or some other straight edge against the first piece of wood and use it to draw a line along the first board. This gives you your angle. As expected, ours were 45 degree cuts. Cut the angle using the miter saw, then cut the 90 degree on the opposite side to length.

Measure and cut as you go to get it as tight as possible.

Finish and Trim
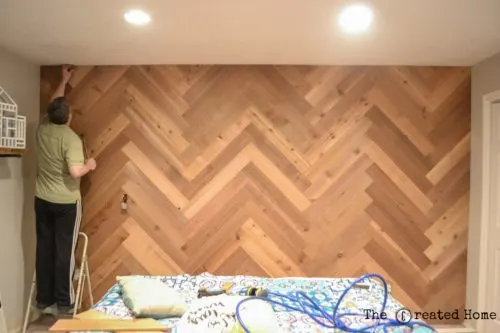
Here’s my husband placing the final piece. The entire wall should only have taken us a couple days (not full days – days as in working around work, schedules, etc.), but we had company so we it sat untouched for several days.

After all of the herringbone pattern was in place I reattached the outlet covers (with long screws) and put the baseboard back in place over the boards. We finished it out with some 1 1/4″ wide square trim. We spent $38, which brought our entire project total to…$38.
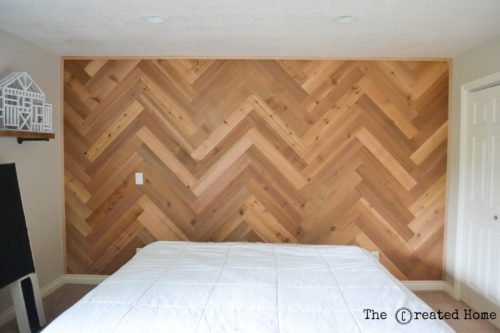

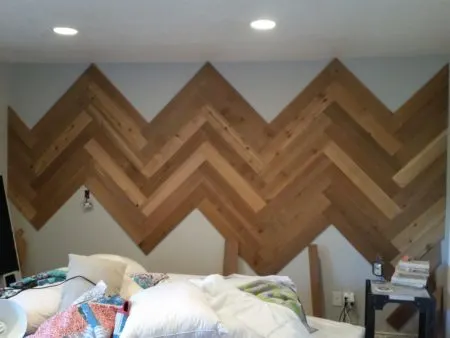
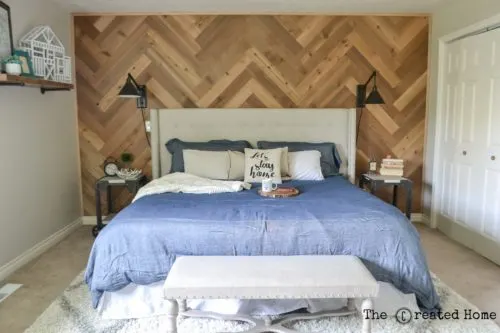
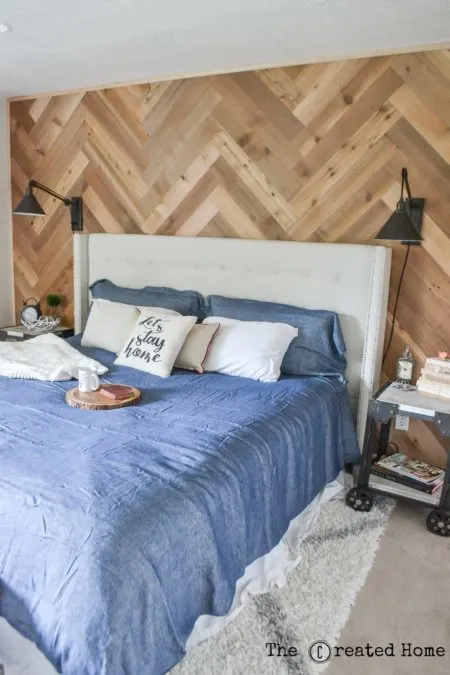
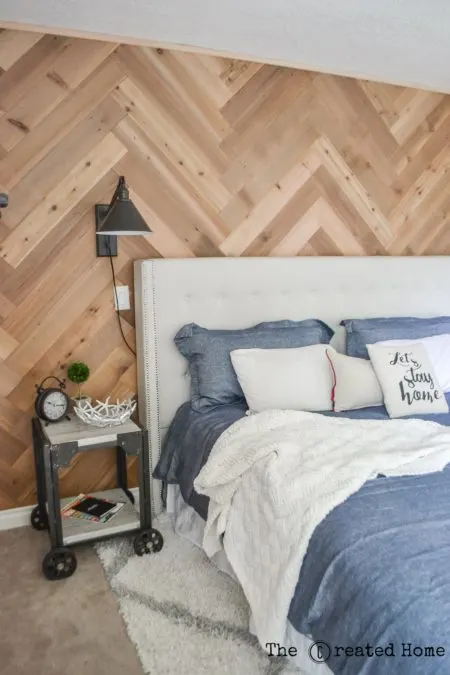
Here it is! We love how the wall finishes the room. I took this photo on a particularly dark, rainy day, and even then I don’t feel that the wood darkens up that end of the room really. Some day I would also love to remove the carpeting, but for now this is a considerable improvement.
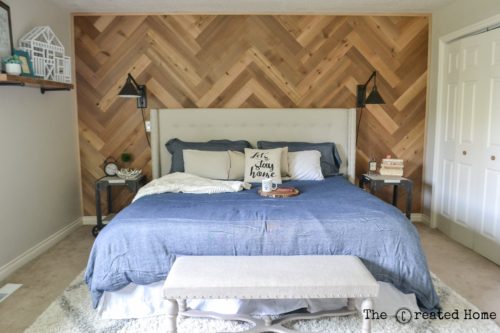

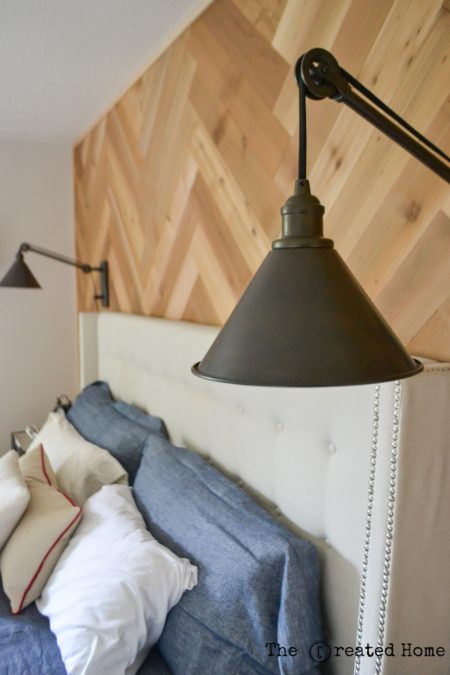
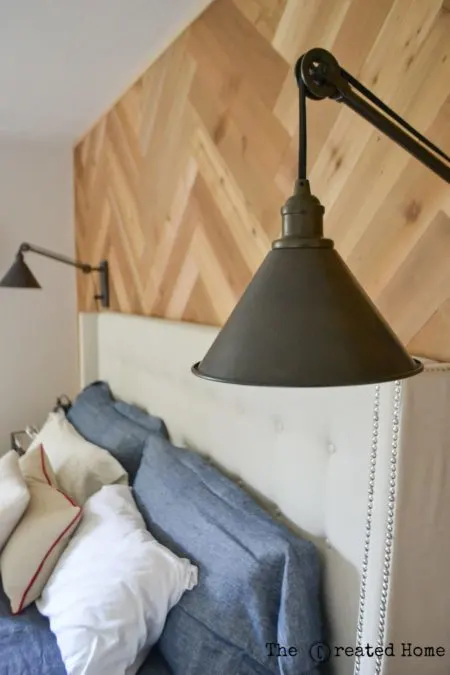
These lights from Pottery Barn were my splurge item. I love them so much.
The nightstands are from Decor Steals. I don’t know if they will carry them again, but if they do it is one heck of a deal. Target just started carrying a new line that includes something very similar. You can find that here.

In the next week or so I will be sharing the full bedroom makeover. For now, here’s a source list for some of our favorite parts from the bed area.
Warren Pulley Sconces, Pottery Barn
Madison Wingback Headboard, Target
Diamond Trellis Moroccan Area Rug
If you create your own accent wall be sure to share photos! Happy building!


Beau
Friday 27th of November 2020
How big is this wall and how many boards did it take? Looks great by the way.
Sarah
Thursday 1st of April 2021
It is a little over 13' wide, and 8' tall. As to how many boards, I don't have the faintest recollection. :) Thanks!
pet friendly apartments waynesville mo,
Sunday 1st of November 2020
There is visibly a bundle to identify about this. I assume you made some nice points in features also.
A DIY Master Bedroom - The Created Home
Tuesday 22nd of September 2020
[…] The wood for the herringbone wall is from old fence boards, run through a planer and cleaned up. The tutorial for how to create a herringbone accent wall is here. […]
SimCity BuildIt guide
Sunday 20th of September 2020
If some one desires to be updated with most recent technologies after that he must be visit this site and be up to date every day.
Blue Accent Wall Design ideas Wood - Bedroom - Stone - Black Wallpaper
Thursday 9th of July 2020
[…] Source: thecreatedhome.com […]