
Dogs are wonderful. They love unreservedly and fill our homes with happiness. They are also muddy. So you are thinking “What if I build a dog bath right in our home?!” Perhaps you have already gone down the proverbial rabbit hole and have a Pinterest board full of pictures of magazine worthy dog baths.
But what does it really take to build a dog bath in your home, and how well will it function in your space?
Part 1 one is some considerations in planning for a dog wash station in your home.
Part 2 is a generalized tutorial to help you construct one for yourself.
I have divided the sections so you can jump to one or the either if you like, or stick around and check them both out.
Quick note: I have added links to products I used as appropriate. All links are through Amazon because that’s just easy to do, and it is where I bought everything anyway. As an Amazon affiliate I earn from qualifying purchases. This disclosure pertains to all the links in this post. You can learn more about affiliate links here.
Part 1: A diy dog wash station in your home: Considerations
“Anybody who doesn’t know what soap tastes like, never washed a dog.” — Franklin P. Jones
A wet dog will shake. If you are planning a dog bath, look around and ask yourself if you are okay with everything in that room being sprayed with water. Dirty water. The fact is that most of us probably do not have a closed off, dedicated dog bathing room.
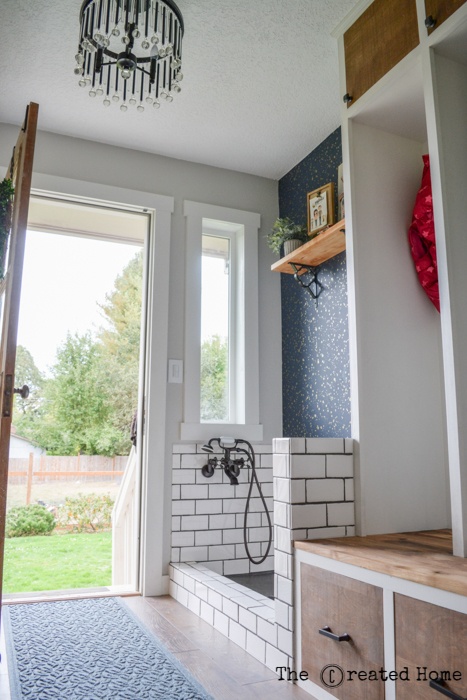
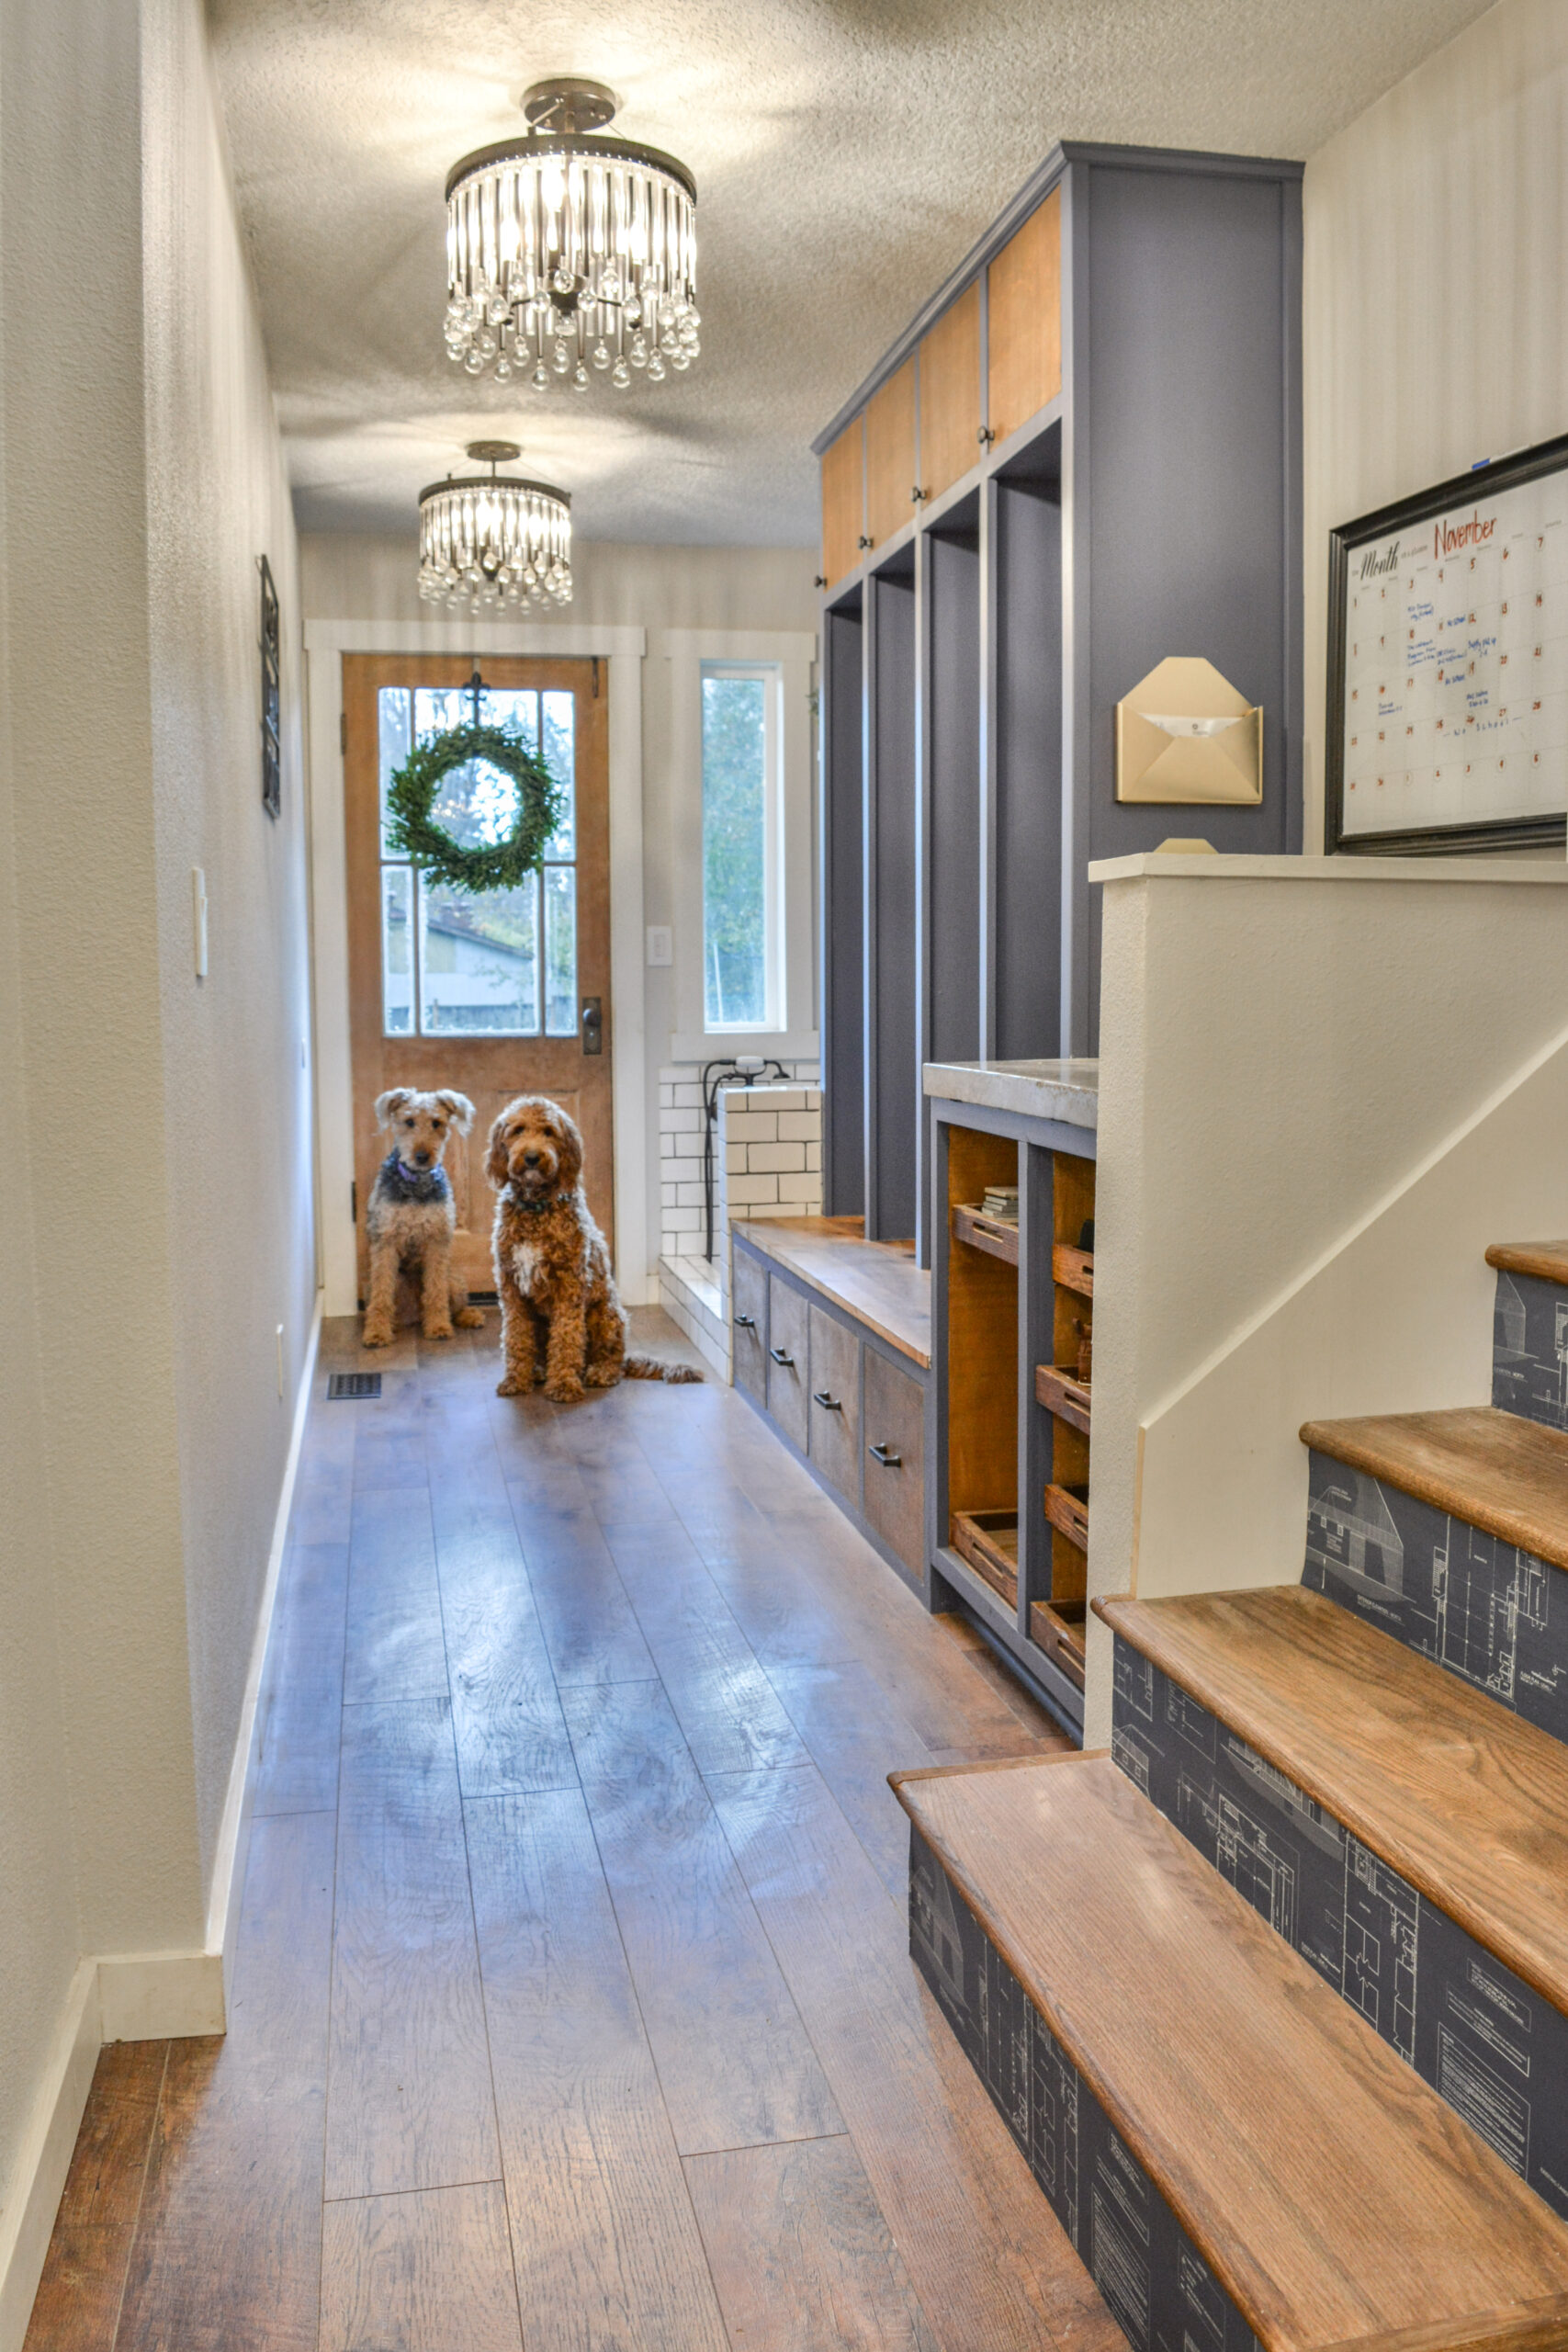
Our dog bath is constructed in our back hallway, in a room that we turned into a mudroom. I get a ton of comments about how impractical it must be to bathe a dog. They are not wrong. We had our reasons for moving forward, however, and they may be applicable to you.
Firstly, our dog bath, not being elevated, is a great place to keep the dog’s food and water dishes. Dogs are messy. I’ve tried various mats, elevated dog bowels, and whatnot. Nothing has worked so well as keeping their dishes in the bath.
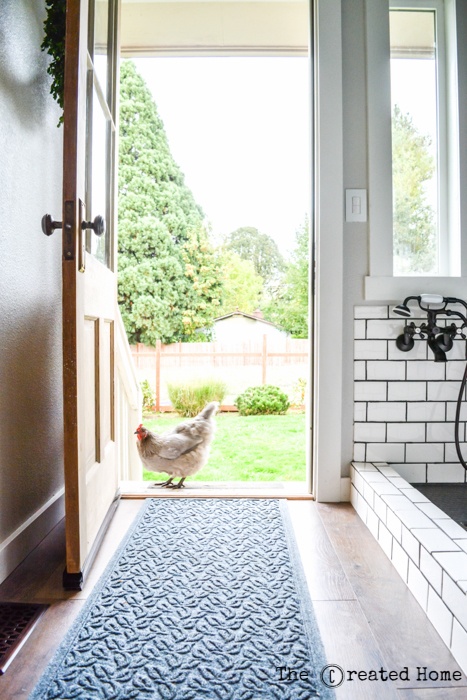
Secondly, our dog bath is not just a dog bath. With a large backyard, a rainy climate, a flock of some 30 chickens, and two young children we bring in a lot of mud. The dog bath is the repository of all mud and poo-caked boots.
Thirdly, the bath works great for cleaning excessively dirty paws. I have a thing for dogs with lots of hair, and giving them a quick spray and wipe there by the door before they continue into the rest of the house is an absolute game changer.
So, if you do not have a dedicated space, don’t necessarily rule out a bath. And if you want to use it to bathe the dog, consider adding a plexiglass screen to it to help guard against some splatter. Also consider that if you can, building a raised bath will save your knees. That wasn’t something that we could make happen, and again, this worked better for our space, but for actual baths it would be better to raise it up.
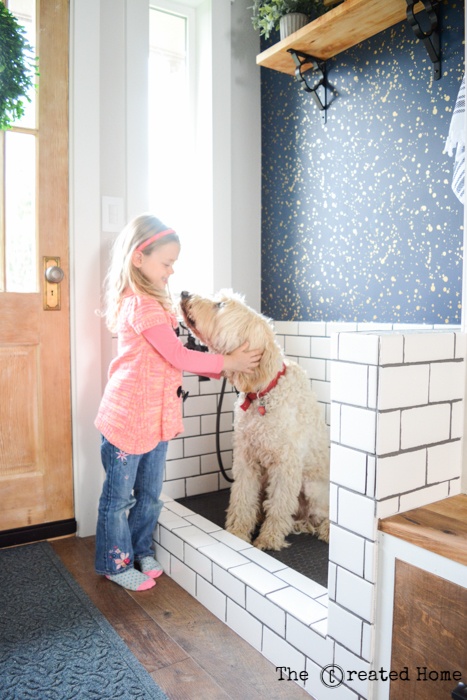
Finally, consider the temperament of your dog. When I built this we had a sweet pup named Maddie. She had been my companion for many years and was exceptionally well behaved. Since that time she has passed on, and we ended up getting a young rescue Airedale and a goldendoodle puppy. Let’s just say that the bathing game has become a bit more intense since that time.
Part 2: Constructing a dog bath in your home
You’ve decided to move forward and make this thing happen. First things first, check local building codes and be sure to get any required permits as this will be an additional water feature in your home.
The cost of adding the plumbing itself will be dependent on how much pipe has to be run to connect to the drain lines, and to run supply lines to the bath. We were able to do this work ourselves, but if we had not I would definitely bringing in a plumber before making any decisions about the bath design and final location.
Once you have determined that a line can be run you can determine what sort of design will work for your space. Will the bath be used entirely for the purpose of bathing the dog, or will it be multi-functional as ours is? The bath will either be elevated or on the floor.
There are a few ways to go about the construction. For ease let’s break them into three “methods.”
3 Ways to Construct the Dog Bath
–“From scratch” without the use of any kits, meaning you will need to shape the slope and curb, as well as purchase supplies for waterproofing based on the form of the bath.
-A sort of “partial kit” build might include a kit for building in the slope and curb, but then separate supplies purchased for waterproofing.
-A full kit system, carried by companies such as Schluter (no, this isn’t sponsored) is great if your bath fits a standard measurement.
So which one should I use?!
Anyway you choose, you are essentially building a miniature shower. For our kit we used a pre-slope and kerb system. This was the first time we built any sort of shower, so the thought was that a kit would be best. Since that time we have built a couple of full showers, using a couple of different methods.
My biased (read: unsponsored) advice on this one is to consider going with a full system, especially if you are new. The kit we used was just fine, though I wish it had come with a couple more of the sloping sticks. But there was still room for flaws, particularly with a newbie doing the installation.
Side note: If you are okay without having a tile base and are constructing the bath with a set of standard dimensions go for a preformed fiberglass base. They are simple to install and the slope will always be right.
Choosing which method involved three main considerations: Cost, durability/longevity, and ease of installation. Also of consideration in this case is also the matter of a dog bath likely requiring a non-custom size base
For cost, the kit we used, plus purchasing the other necessary waterproofing supplies was best.
For durability/longevity I recommend going with a reputable kit maker such as Schluter. That was what we went for in our master bath, and I have zero regrets.
For ease of installation go with a kit. Or a preformed fiberglass shower base if you are good with that look.
For non-custom sizes: Shower kits are designed for, well, showers. For example, the narrowest Schluter base is 36”, which is wide for a dog bath. The kits work the same for dog baths, but if you need to build something smaller than a standard shower, for example, you will need to consider something like a slope kit and then picking up the rest of the pieces separately.
The bottom line is that I would recommend utilizing a kit as much as possible.
*Be sure to design your dog bath so that it will work with the kit you purchase.*
The Basics:
Construction of your dog bath consists of the following basic steps:
1. Framing
2. Forming the base
3. Waterproofing the walls and fixture openings
4. Tile
5. Hardware installation
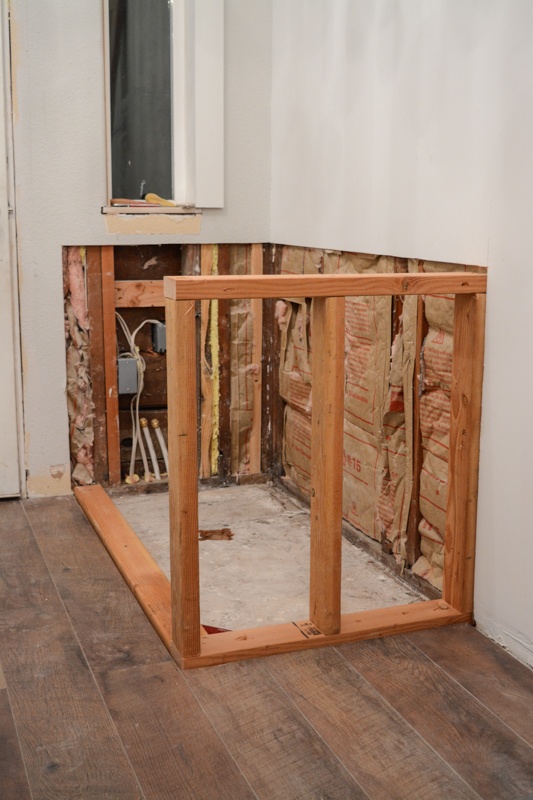
1. Framing
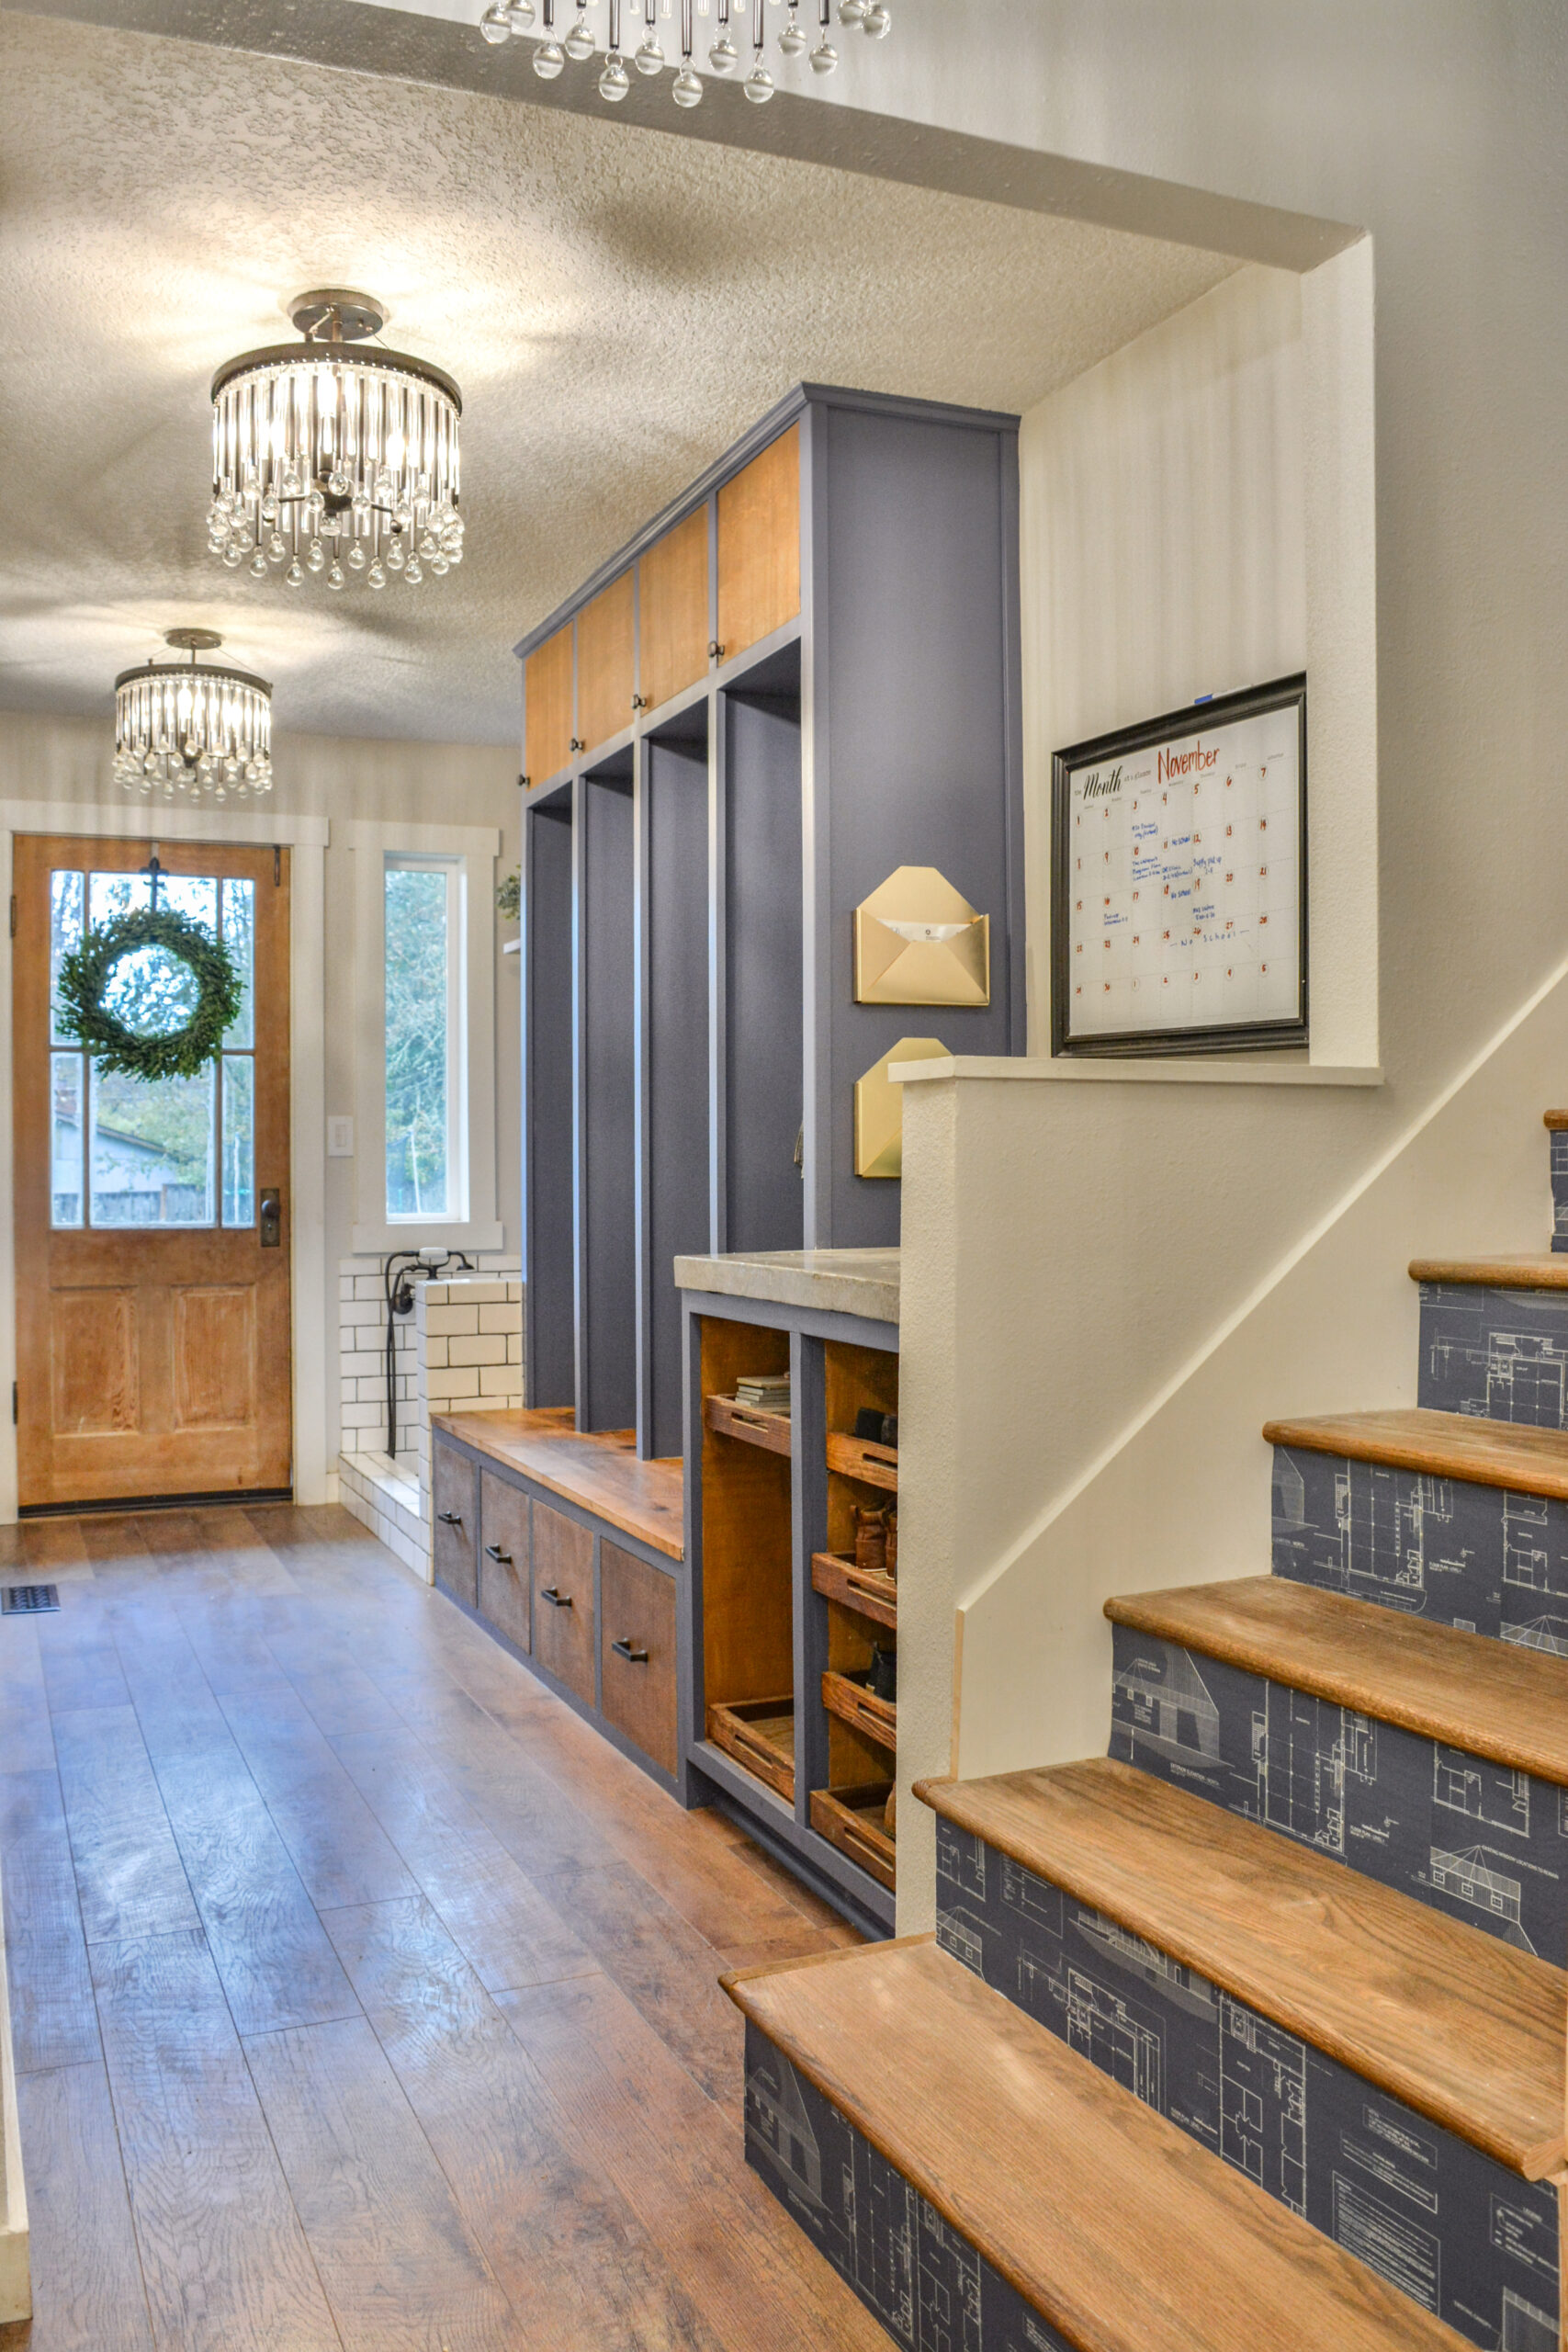
Once you have weighed all of the options with their pros and cons in determining the dimensions of the dog bath, you will need to frame the structure. There are just too many options to go over how to do so. As you can see from ours, it was a matter of pulling away the drywall around where the bath would be, and constructing a small wall on one side. This wall measures 30” high by 26” wide.
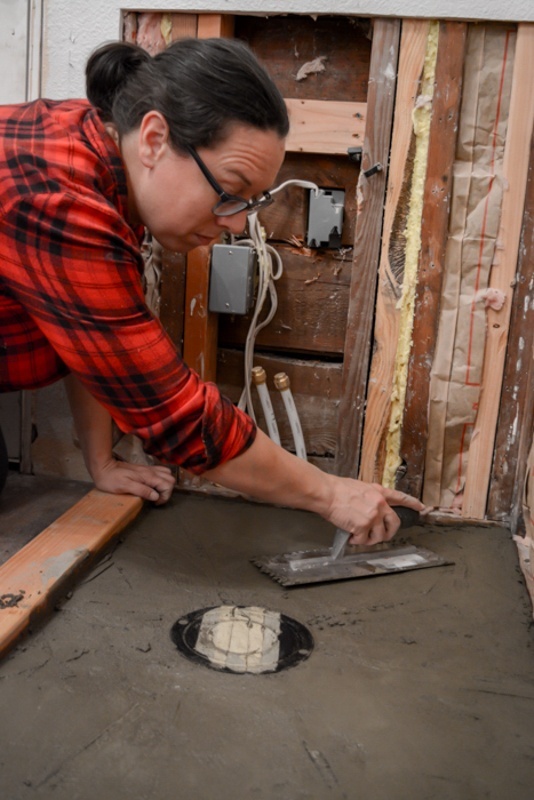
2. Forming the base
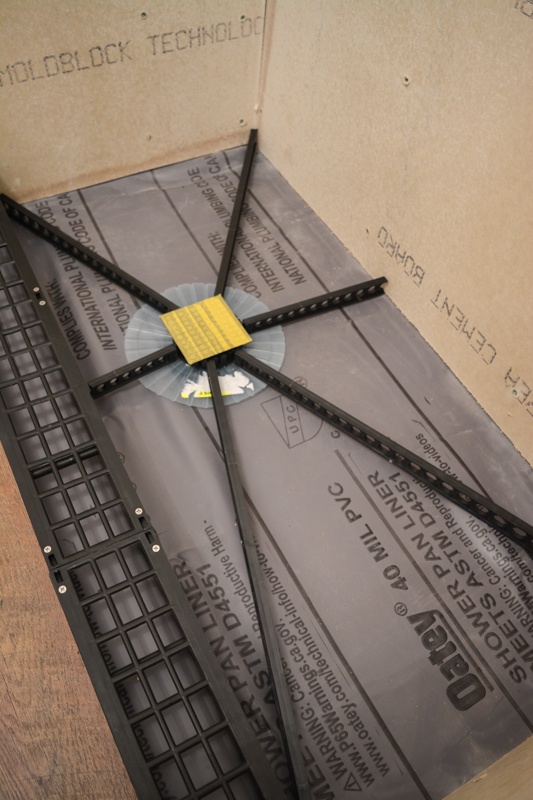
Again, we opted to try out a sloping kit, with mixed results. The system essentially consists of two sets of sloping sticks that run to the drain. (Have your plumber run the drain for you, as I will not cover that here.) This kit had a series of pre-slope sticks that are placed over the subfloor and mortared in place.
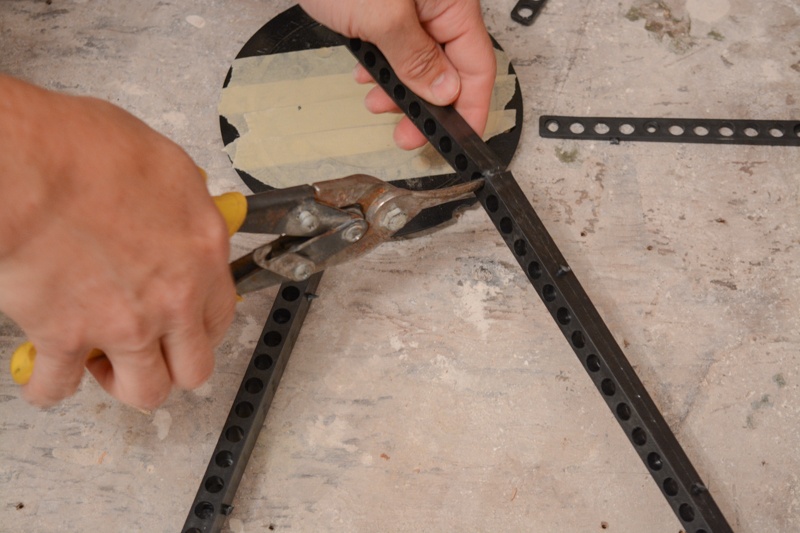
That layer is then covered with pan liner and a second later of sloping sticks is set down on top of the liner and mortared in place. The kerb was formed using 2×4’s and a plastic piece that was then covered with mortar. It too is covered with liner.
The mortar used is a mixture of Portland cement and sand that you can purchase from various companies.
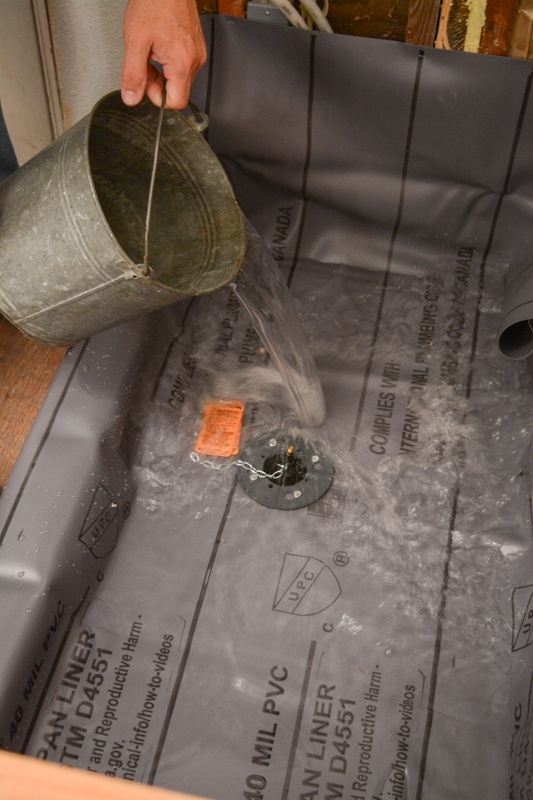
I’ll not go into specifics for this kit. The takeaway here is that whatever system you use you’ll need to ensure that you have the proper slope and that the floor has been properly waterproofed (cement is permeable!). Depending on which kit you use you will also need to perform a water test to insure that nothing is leaking. Believe me, it is better to find out now than after you have finished the tile.
This is maybe the most technical part of the build. It is worth taking a good deal of time on because it will take a lot of water and abuse over time, and if any part of this fails it will mean ripping out a lot of work.
Is this a DIY project?! Absolutely, with the correct research, time, and attention to detail. Or, if nothing else, I just helped you realize that you should hire it out.
3. Waterproofing the walls and fixture openings
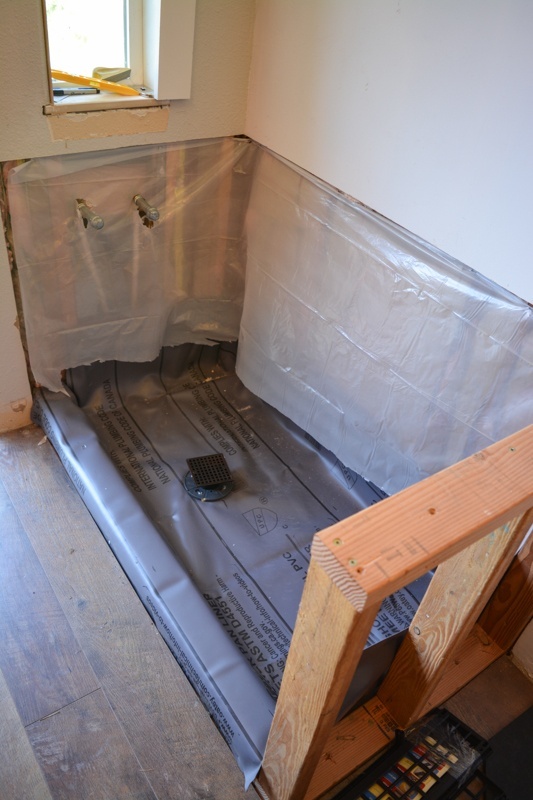
A plastic sheet covering the studs forms a vapor barrier for the walls. The base liner will continue a short ways up the wall as well.
 We then hung cement board on all three sides and coated it with waterproofing membrane.
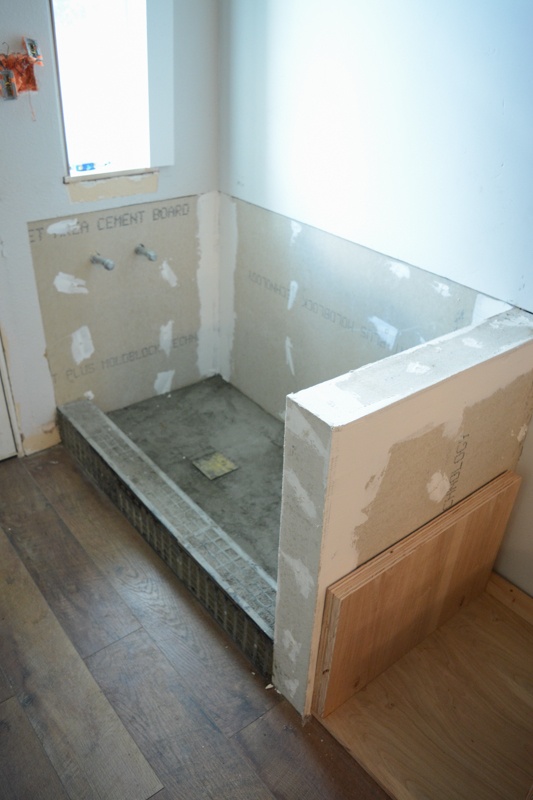
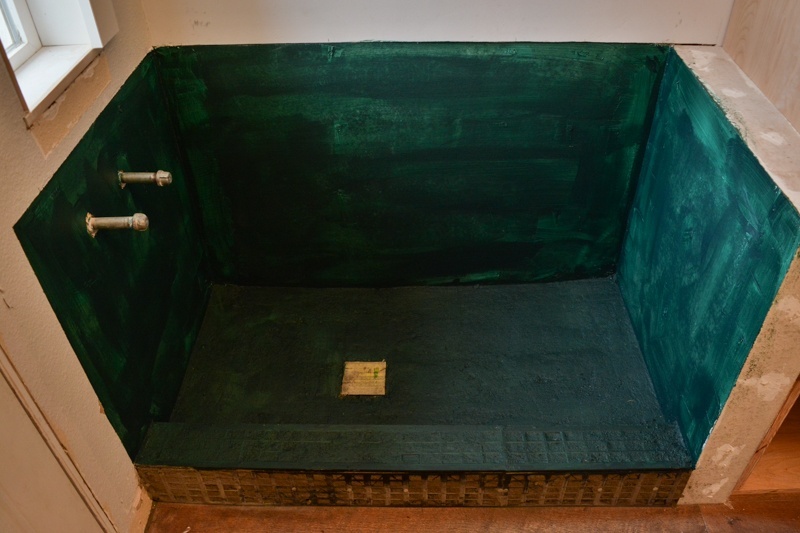
The orange box store sells a red version, while the blue box store sells an aqua-green version. Both work. Simply paint on a few layers to form a thick water barrier.
Schluter sells membranes that fit around plumbing openings, and having built a couple of showers now I would definitely use those if I did it again. We have not had any issues, but better safe than sorry.
4. Tile
I’ve got separate posts and videos for tile installation and grouting, so I am not going to go into detail here.
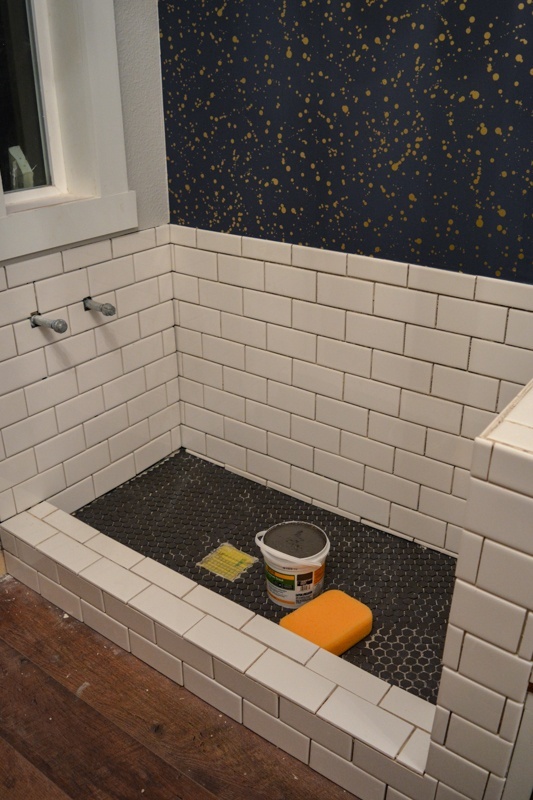
We opted for these small mesh tiles with the idea that they would form well to the base of the bath and be easy to work with. They were…and they weren’t – the sheets laid out great, but those tiny hexagon tiles we had to cut at the edges were a pain. We found a tile snapper like this worked best, but it was a laborious task. If I were to do it again I would stick with a smaller mesh tile, but maybe one just a little bit larger. You do not want to use large tiles here because of the slope factor.
5. Hardware installation
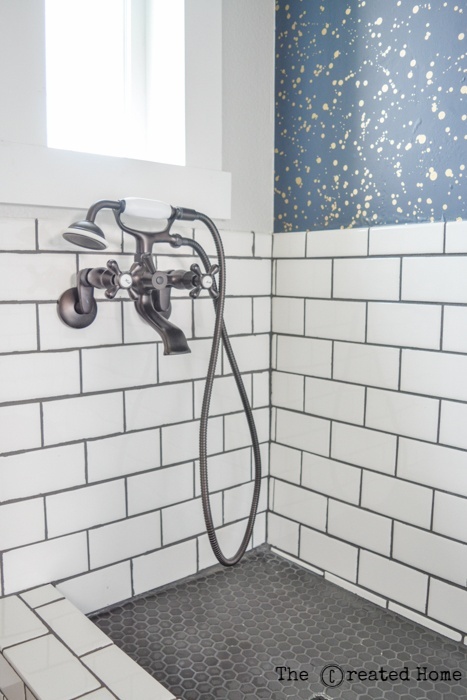
Once the tile is installed, grouted, and sealed, you are good to install the hardware. We opted for an inexpensive sprayer, which I like in general, but we have had to replace the hose so maybe higher quality from the start might have been better.
And there you have it, the basic steps to installing a dog bath in your home.
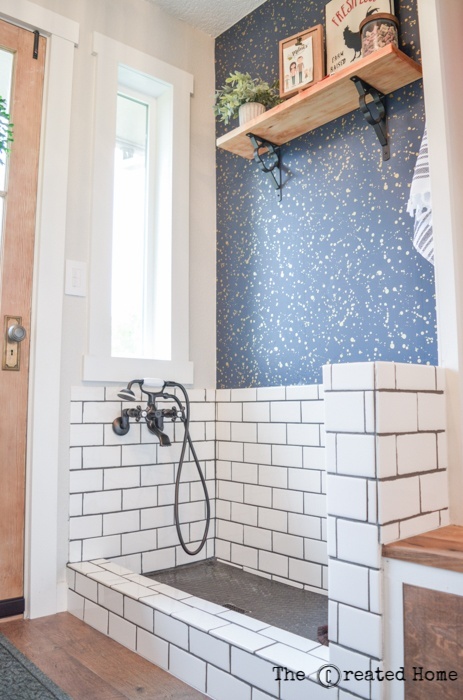
Would I do it again, even if it still meant I had to do a bath that sits down on the floor?
Yes, definitely. It has turned out to be useful in more ways than we could have imagined. It turns our mudroom into more than just a place to drop stuff – it basically acts as an armed sentry battling the grime my kids and dogs bring inside. And that is worth every bit of the work it took.
