
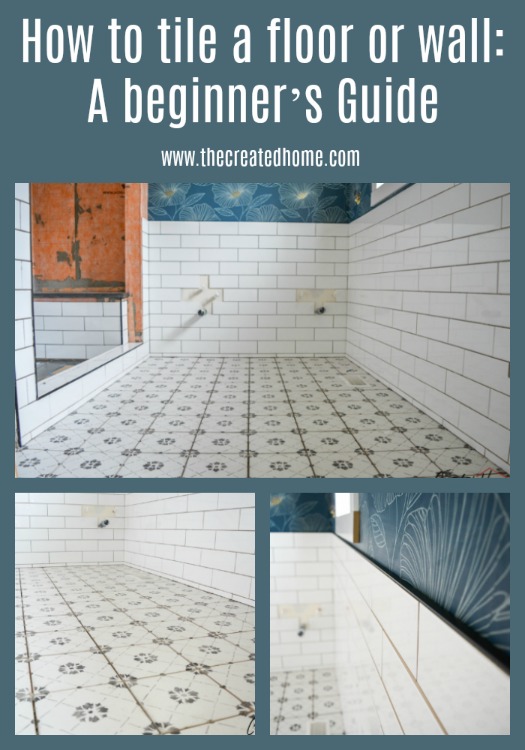
I’ve thought long and hard about what kind of tiling tutorial to bring you in this, the third week of the One Room Challenge. And here’s what I think I know about you, person reading this. I think you are a competent DIYer who found your way here because you need to learn to tile. So I’m going to show you, oh capable beginner, the basics of tiling a wall and a floor.
In the past couple of weeks we have worked to do both in our bathroom, as well as the shower. In the interest of focus and depth, I am not going to cover shower wall tiling. This is mostly because I would have to spend a good deal of time explaining how to figure out and layout the pattern, which is both a headache to do and to write about. And anyway, you should start by getting comfortable with other tile work first.

Ceramic and porcelain tile
This tutorial is good for tiling with either ceramic or porcelain tiles. In fact, the floor tile you’ll see us using is porcelain, while the wall tile is ceramic. The basic differences have to do with density and water absorption. Porcelain is the harder, more water impervious choice. And heavy. Dang, it’s heavy. Ceramic is generally less expensive, and easier to cut. However, both are absolutely approachable.
*As an Amazon affiliate I earn from qualifying purchases. This disclosure pertains to all the links in this post. You can learn more about affiliate links here.
What you will need:
Tile (I like to factor in a 10% overage)
Tile saw (wet saw and/or manual variety)
Mortar (thinset)
Notched trowel
Spacers (these and these are the two we like most)
Level
Grout
Grout float
Sponge
Face visor
If you want to skip all the reading and just watch the video, here it is:
How to tile a floor
For this project you will need all of the above materials, excepting perhaps the level. Substitute a tape measure instead.
Layout
The first part of tiling is spending some time planning your layout. Place as many tiles down on the floor where you want them so you can see how many cuts you will need to make, and if any of the cuts will be problematic. Planning allows you to see problems before you start putting mortar down and it’s too late to turn back. Are there places that will be too difficult to cut – where pieces will be too small or the pattern will look funny? How does the tile line up with objects in the room, or with flooring in the next room where it will meet up in the entry?
Laying out the pattern also allows you to plan for out of square areas. For example, we discovered that one wall dived in about ¾” over an 8’ span, and were able to arrange the pattern so that the tiles that would have to be cut to fit were in an out of sight area.
*Tip: Avoid butting cut sides up to factory edges, or where they will show. Hide them where they will not show, such as against walls or where they will be covered by baseboard or other tile.
Cutting the Tile
Tile can be cut using a wet saw or a manual tile cutter (that scores and snaps the tile). I recommend a tile saw. We have used this little Ryobi for I think six years now, and through I believe 6 bathrooms, 4 kitchens, and 1 fireplace. It’s an inexpensive little saw that has paid for itself many times over.
Manual tile cutters are good for small tile pieces like these hexagons tiles in our shower. For larger formats they just don’t do a clean enough job. Here is a link to the tile cutter we use and have liked the best. If you use a manual variety tile cutter just be sure to score the tile repeatedly before snapping.
*Tip: If you don’t want to invest in a wet saw check out your local tool rental place, as they likely have one. Though, really, for the cost you’ll spend you may find an inexpensive saw like the Ryobi is a better bet.
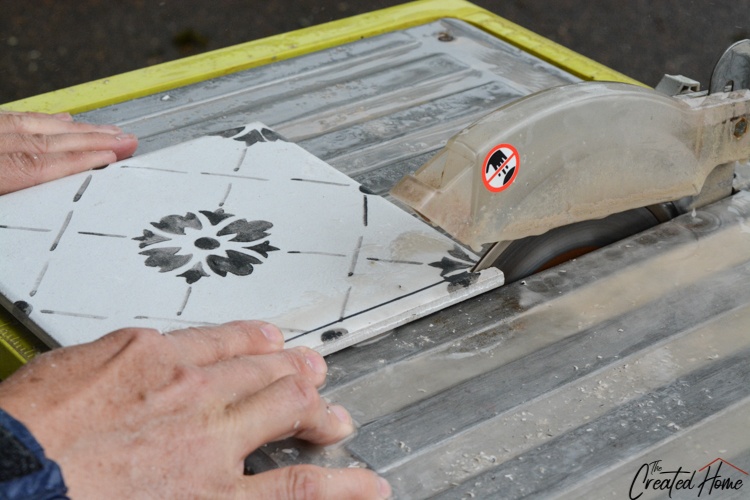
Wet Saw Operation
Wet saws resemble table saws in design, but utilize a diamond blade and have a reservoir of water that the blade runs through to keep it cool while cutting. Set the cutting distance on the fence (using a tape measure for accuracy). Any lines you draw on the tile will likely be washed away during the cut, so I find it best not to rely on those.
Move the tile slowly through the cut, being especially slow and careful at the end of the cut so as not to chip the tile. Unlike a table saw, you can and will need to get your fingers a little closer to the blade.
*Tip: Wear waterproof clothing, because the spray from the blade turning through water will soak you. I also like to use a visor like this one to both protect my eyes and keep my face dry.
*Bonus tip: It is possible to cut curves on a tile saw! Make several straight line cuts up to the line, then carefully run the blade along the rough edges left behind to knock off the points. Check the video out to see this in action.
Mixing the Mortar
Mortar can come either premixed or in powder form. The pre-mix is nice for when you want to do a little work at a time and not worry about the mix drying out quickly. However, it doesn’t always set up so fast or so well, and in some applications is not recommended at all. We used pre-mix to tile our wall, but in the shower we only used the stuff we mixed ourselves.
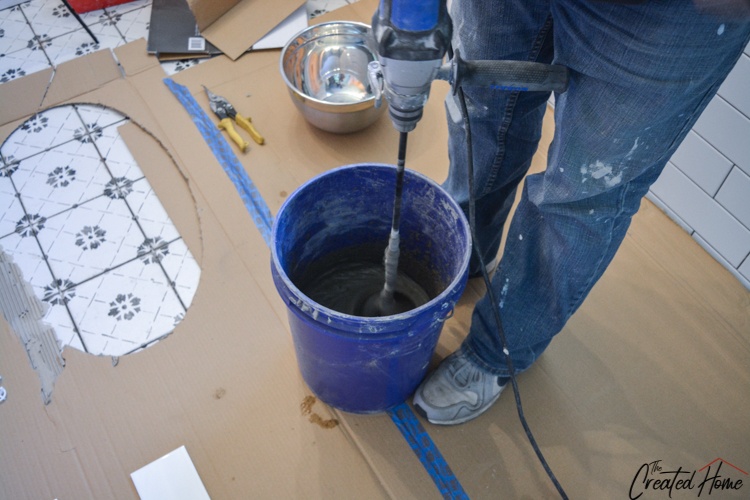
You will need to closely follow the instructions for whatever mortar that you go with. Your mix should be thick but not runny. It needs to be able to hold the grooves that you will create using a notched trowel. If that’s confusing, read on to the next step…
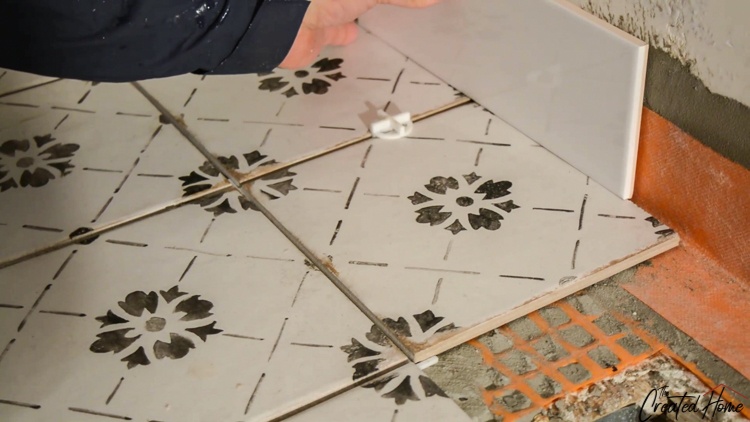
Setting the tile
Start by setting your full size pieces, and then move to the cut pieces. To set a piece of tile you will butter the back with the mortar. Yeah, “butter.” That’s the term, I didn’t make it up. Just don’t take it to literally – it refers to the action, not the amount or consumption.
To butter the tile you’ll use a notched trowel – we used a ¼ x ¼ trowel for both the 4×12 subway tiles and the 8×8 floor tile in our bathroom. Spread the mortar across the back of the tile, then hold the trowel at an angle (around 45 degrees or so) and run notches through the tile in a left to right direction, as opposed to an up and down direction.
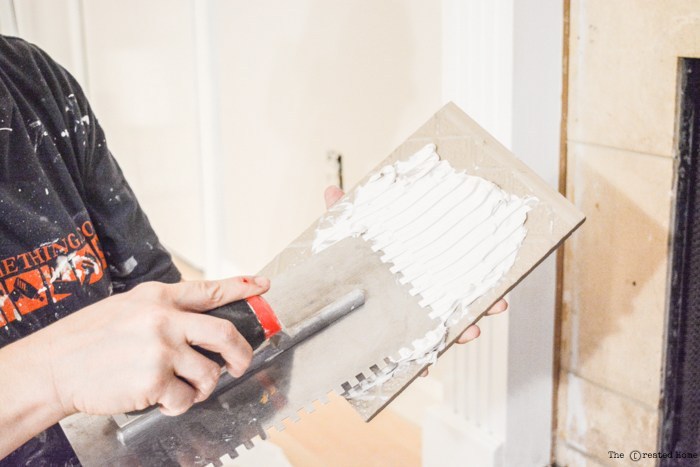
When you set the tile in place use a firm amount of pressure, and move it around a bit to settle into the grooves you created with the notched trowel. Grooving the tile helps the mortar to settle into position without trapping air behind the tile and weakening the installation.
Check out these videos if you want a really good look at what it takes to set tile. They explain everything you need to know, and more.
https://www.youtube.com/watch?time_continue=94&v=Way5bMh-eYg (The first couple of minutes are about all you really need to see)
There are some different schools of thought out there about how to properly set tile. If you watched that last video, they say butter the back and the surface to be tile. My husband grew up tiling with his grandfather, who was a builder, and only buttered the back. (Obviously if you are using small format mesh tile, this doesn’t apply). I was dubious that this would provide the right level of coverage, but after testing it for myself repeatedly, it indeed does just fine, which is why you see us only back buttering in the video.
Let me just say that you can try both ways out for yourself, and test them by pulling off the tile after setting it to check coverage. If you have blank spots where you set it or on the back of the tile, switch it up and get that coverage. You don’t want tiles coming loose.
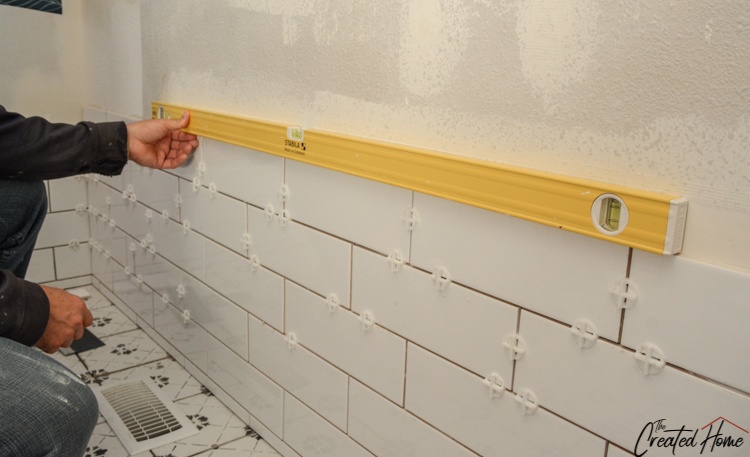
Spacers
Tiles need space between them. The common increments are either 1/16” or 1/8”. Or, I guess, ¼”, but honestly I’ve never seen it. There are a number of variety of spacers our there, so try a few to see what you like. We have collected so many over the years that use just keep them all in a bucket and use whatever is best for the space. I’ll link the three we use the most.
Round spacers
Stay in place spacers
Lever type spacers
Rubbery cross ones
You have covered a lot of ground, so let’s save the grouting tutorial for sometime in the next week. I promise that’s only partially because I haven’t actually completed the grouting in our bathroom and need video footage.
Okay, it’s mostly because of that. Look for that soon, as well as some pointers about sealing the newly installed tile.
Tiling a wall
Honestly, most of what I wrote about tiling thus far applies to tiling a wall as well. There are only a few extra pointers that I want to include here.
Layout
You need to know where your tile will begin and end. So if, for example, you are tiling a half wall like we did you need to plan it out to see whether you can use the full width of tile or if one row will have to be cut down. Then you need to decide whether that cut row will be at the top or bottom. For our half wall the cut row is at the bottom. This is because the wall tile needed to line up all around to our shower curb, and the curb needed 1 ½ pieces of tile. And because we preferred to keep the cut pieces down low. In the shower, however, we have a full row at the bottom, and up high where the wall meets the ceiling will no doubt be cut. (We aren’t there yet, so ask me in a few days.)
Leveling
It’s very easy to get a little off and end up running the tile out of level. For that reason you should start with a level line, then check it periodically to make sure that is staying true. Getting off track down low can lead to some pretty shoddy looking work once you reach a little way up the wall.
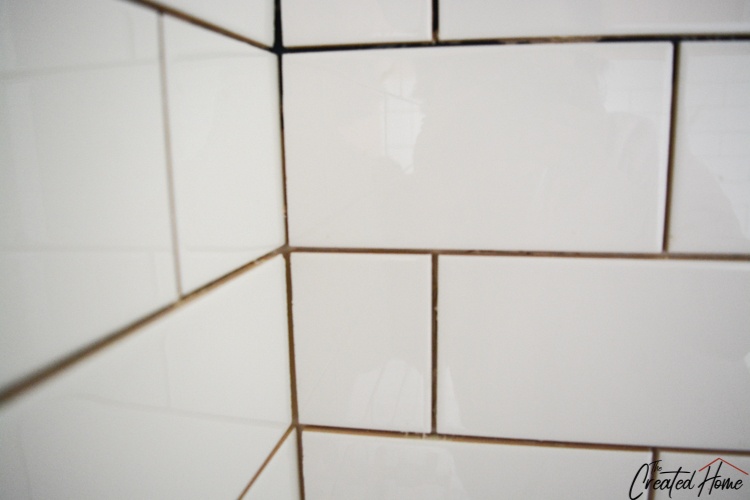
Turning Corners
When running the tile from one wall to the next you need to think about the tiles as continuous pieces, even though they will have to be cut. So if, for example, 4” of a 12” tile piece are on one part of the wall running into a corner, then I’ll do a 8” piece starting the row on the next wall. Check that out in the video if it is confusing. It’s also helpful to make sure that the cut end is facing the corner so that it is not seen.
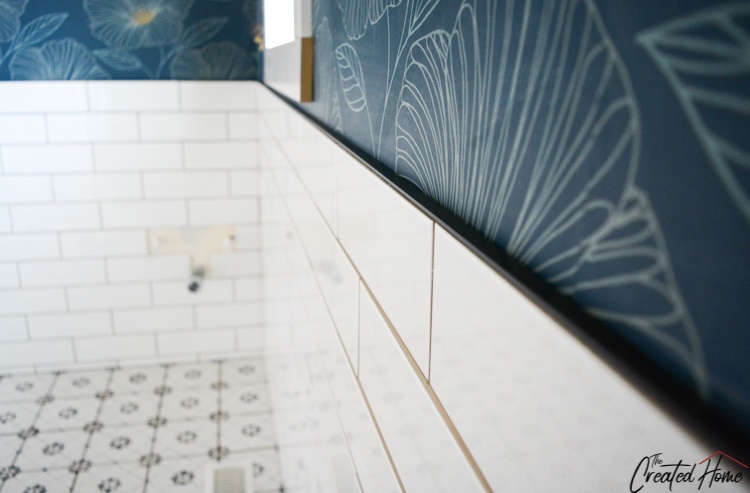
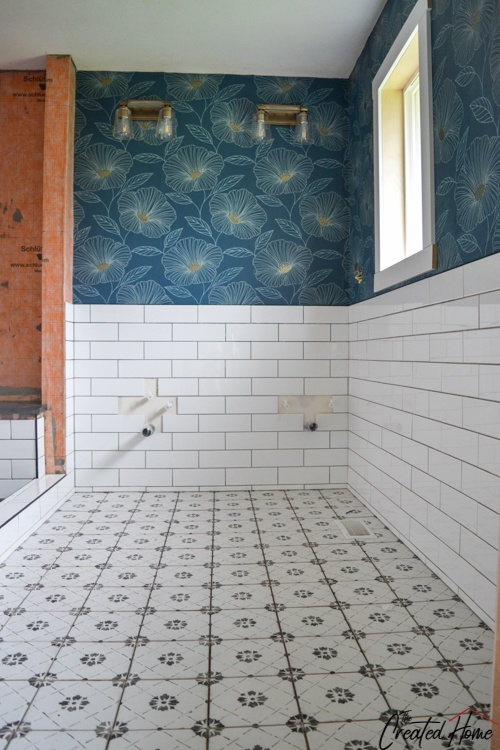
Finishing the top edge
If your tile has a terminal point that is not against a wall or a ceiling you will need to think about what you want to show. If the tile edge looks good, you might be just fine leaving it. But more than likely you will need a decorative piece, such as a bullnose tile, to finish off the space. For our wall we elected to use these decorative metal edges by Schluter. They match the edges used in the shower and we really like how they finish the space.
There you have it, a beginner’s guide to tiling a floor or wall. Next time I’ll cover how to grout all of your hard work so you can have a truly professional looking job.
Happy tiling!
Derek Campbell
Wednesday 24th of February 2021
This is challenging but thanks for sharing this!
Sarah
Wednesday 31st of March 2021
The first time is definitely a bit scary, but it is a DIY project you can get the hang of fairly quickly if you learn the basics!
How to Grout Tile: A Beginner's Guide - The Created Home
Sunday 16th of February 2020
[…] If you missed the first part of the tutorial you can find that here: […]
Hallway Bathroom to En Suite Retreat: A DIY Bathroom Renovation - The Created Home
Sunday 17th of November 2019
[…] case you missed it, I have tiling and grouting tutorials for this bathroom. And in the next week or so I will have a tutorial and […]