
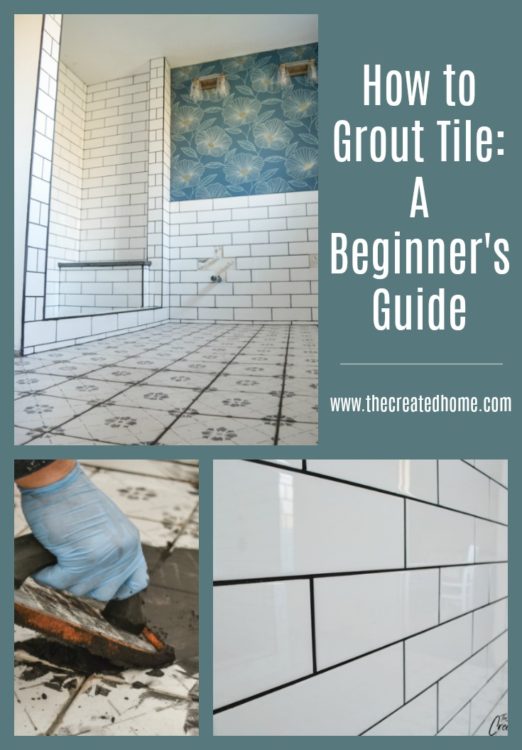
This is the second in a two part tutorial teaching you how to DIY tiling. In this part I’m going to show you how to grout your tile work. It’s not glamorous. Actually, it can be pretty dang messy work. But this is one DIY that can pack a real punch in terms of improving your home and saving a whole lot of money.
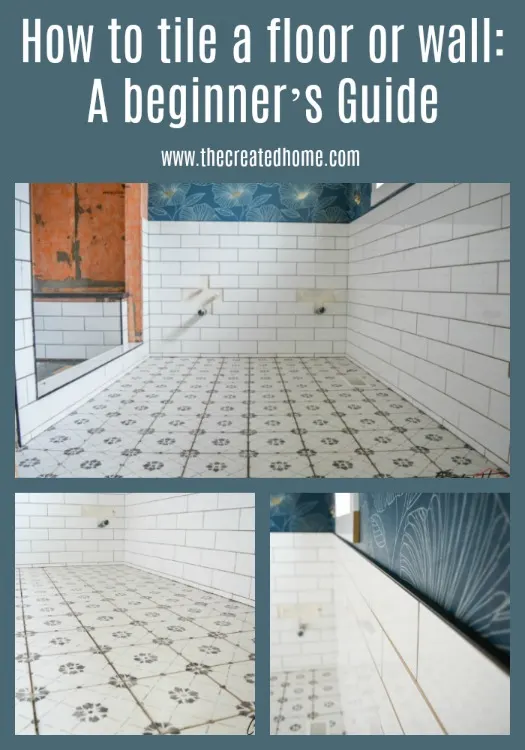
If you missed the first part of the tutorial you can find that here:

This part will be a lot shorter than the first. So if you made it through the actual tile setting process, good news! You are almost there!
This is the fifth week of the One Room Challenge, in which I’m sharing a renovation of this bathroom. Next week is the final reveal. Which means I have a lot of work to do! It’s also when I reveal the DIY custom vanity that I’m very excited about, so I hope you will stay tuned for that.

But for now, let’s wrap up all of this tile work, shall we?! Here’s a look at what you will need to grout the tile.
*As an Amazon affiliate I earn from qualifying purchases. This disclosure pertains to all the links in this post. You can learn more about affiliate links here.
Materials:
Grout (pre-mixed or powder…but buy this stuff locally – it’s cheaper that way)
2 buckets
grout sponge
grout float
rags/cheesecloth
tape
cardboard, plastic, or something else to protect surfaces
paddle mixer and large corded drill (if using powder)
Sealer
Prefer to watch instead? I got ya covered. (But there’s more tips below, so read it anyway.)
Before we get started on the actual process there are a few things to consider in planning:
Choose a Color
This isn’t like choosing a paint color, as in there are not 5,000 choices here…which is a great thing. But you will need to consider what look you are going for. One helpful resource is to look at the questions and answers online. So if you bought your tile at Home Depot, for example, odd’s are that someone has asked about grout color for that tile. Sometimes the manufacturer offers suggestions, other times others who have used the tile have some good (or bad ideas). Do you want your grout choice to mask in with the tile, or stand out? Our kitchen backsplash tile blends well with the tile:

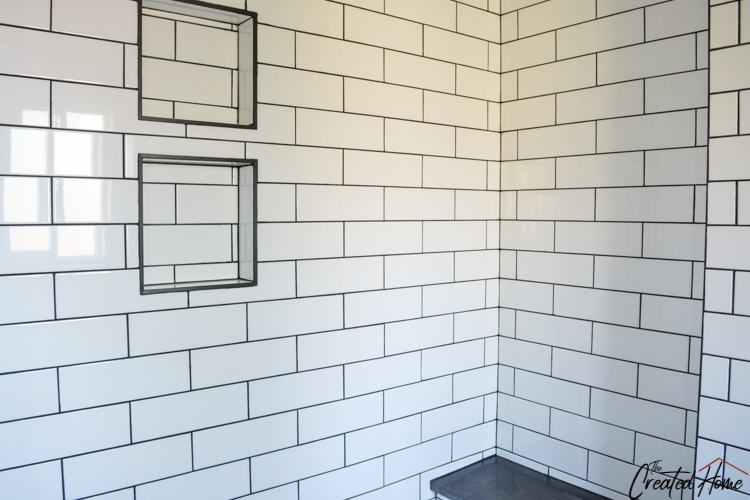
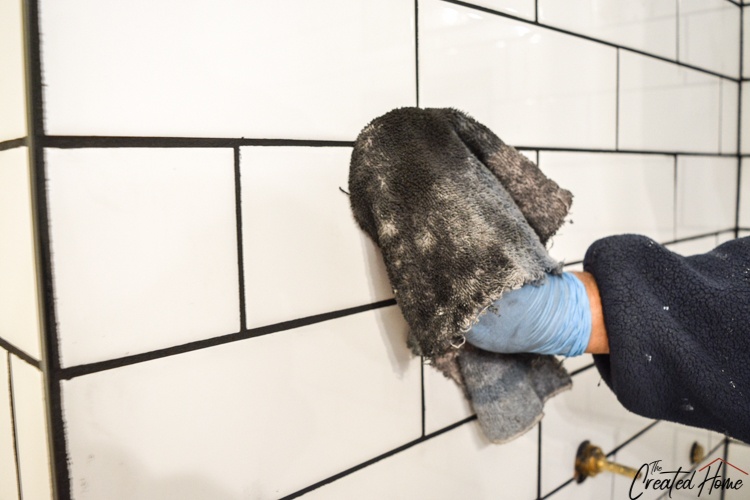
But for this bathroom we went for a strong contrast:
Sanded versus Non-Sanded
Use sanded grout.
Okay, it’s not that simple. But it’s also not too complicated. Sanded grout has sand in it. Which makes it inexpensive, helps it bond and set, and means it is the go to for any grout lines 1/8″ or larger. Non-sanded grout uses polymers as the bonding agent, which cost more. As you would expect, it is smoother, which makes it ideal for thin grout lines. It’s also a good option for shower walls, where I’m told it is easier to apply.

We typically use sanded grout. For this bathroom we went through two 25 pound bags of sanded grout, and rather than use something else for the shower walls we just stuck with what we had. I couldn’t tell you whether unsanded would have been easier, but it does offer the advantage that it doesn’t have to be sealed.
Pre-Mix Versus Powder
It’s definitely cheaper to buy the powder. For small jobs I don’t mind picking up a small bucket of pre-mix. It saves on time and clean up. But if you have any real amount of time to grout, pick up a bag of grout powder. We’ll cover that in a bit.
Sealer Additive or Post-Seal
Sealer is typically applied somewhere around 2 or 3 days after grouting. You can use a specialty sealer that replaces the water in the powder mix, but be aware you cannot mix regular sealer in with grout mix. Sanded grout is a cement product and therefore cures via a chemical process, which would be compromised by adding a water based sealer.
Prepping the area
As I’ve said, grouting is messy work. Protect your floor, countertops, or wherever you are working. We used charcoal colored grout for our bathroom and holy hannah was it messy. If you go for a dark grout be prepared for stained hands, clothes, and…well, everything for a bit. Yes, it will clean up. But it is a good idea to minimize the mess.

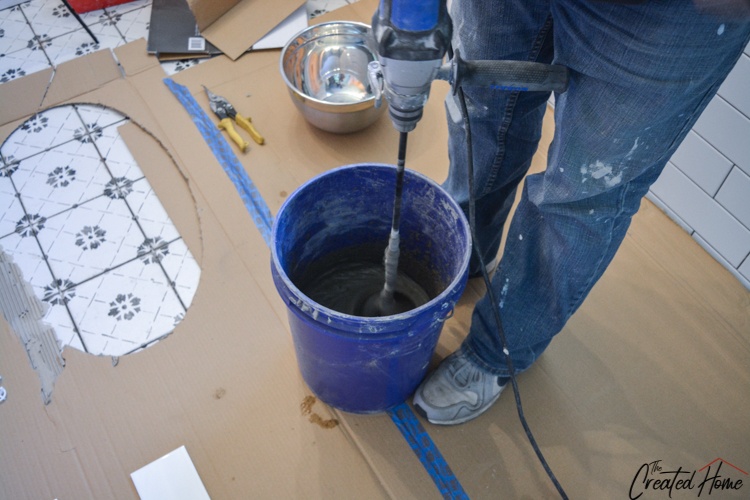
Mixing
Follow the instructions for your individual product. They will recommend a specific amount of water. This will mix up thicker than the thinset. There is an allowance for a little more water, but my tip is not to go to far or your grout can develop holes as it cures.
I don’t think I covered this in the tiling tutorial, so I’ll do so here. When working with cement products you will need more than your usual 20 volt drill. If you use one of those you will burn out the motor. Ask me how I know. You need something corded and that can handle pushing a large paddle mixer through the mixture.
After a lot of searching, and a bit of despair over the cost of the recommended drills for mixing concrete products, we took a chance on a Kobalt corded drill that was a lot less expensive than any other option. The next closest was this Dewalt drill, (which we also heard works great.) The reviews seemed to indicate that it would work, though it is not recommended for concrete-product mixing. When we bought it it was with the understanding that we might well burn it out. One set of kitchen countertops, a coffee table, 2 side tables, a dining table, and floor, shower, and wall tile later – it’s still working great. So take that as a non-recommend recommendation.
Working Time
Only mix as much grout as you will be able to get through in about 30 minutes time. My advice is to mix up a small first batch while you get your process sorted out. After that first mix you will have a much better idea how much you can get through and will apply it quicker. Having a second person for this job helps the work go so. much. faster. We like to put the grout up as quickly as possible – really go for an all-out focused grout session. Then after about half an hour or so, when the grout has started to dry a bit we switch to sponging the tile.
Right before we started grouting this bathroom I was at Home Depot and the cashier told me that he used to work as a tile setter and his recommendation was to buy an epoxy grout float. That seemed like solid advice, so I picked up an inexpensive one from Amazon. Turns out Home Depot dude was right – I liked it a lot better than our old grout float. And now we have two so hubs and I can grout together. Awwww.
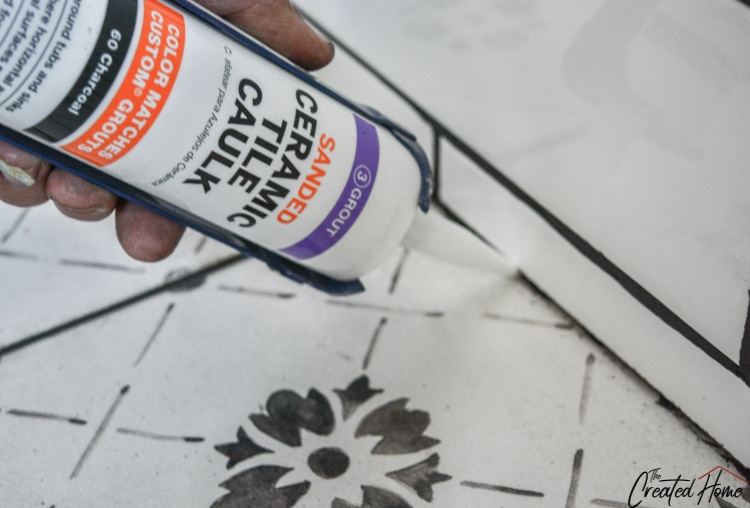
Caulking
Because I’m not sure where else to put this – you will want to use caulk as opposed to grout in the lines where a horizontal and vertical surface meet. So at the bottom of a shower, for example. You can find caulk to match your grout choice at most home improvement stores.
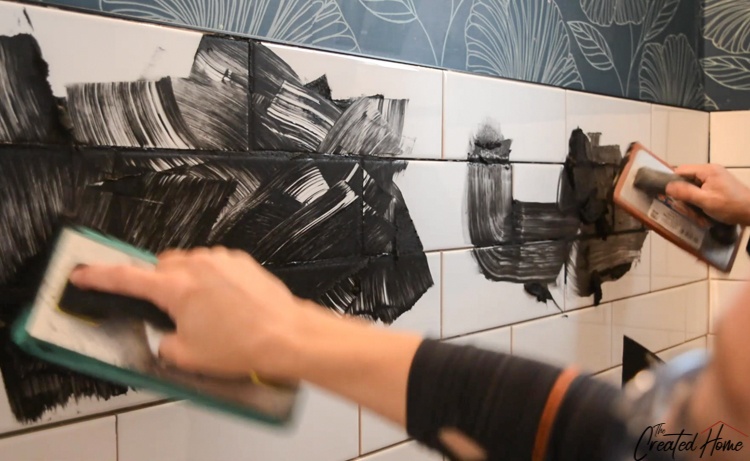
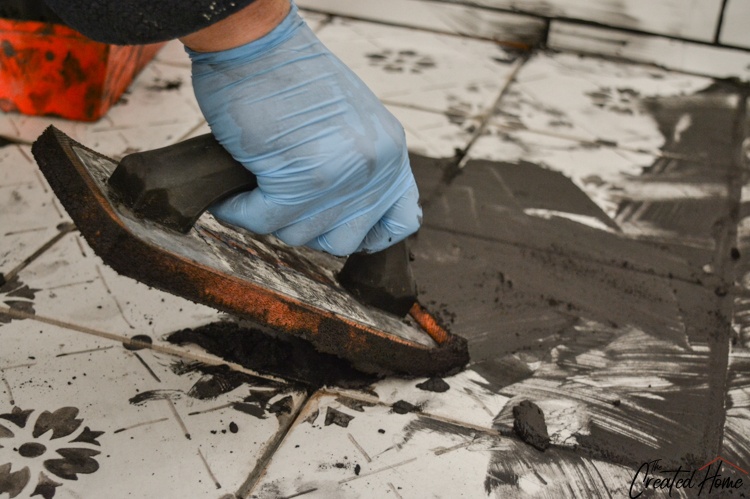
Spreading the Grout
Okay, so let’s talk about the actual process of grouting. Really, there’s not much from here.
Apply the grout using the grout float held at a roughly 45 degree angle. You’ll want to smush the grout in to the seams by wiping at an angle from multiple directions. I like to work to fill all of the lines in an area, then go back and use both hands to run the float back over the area, diagonally, up and down.
You’ll want to work quickly, but be thorough.
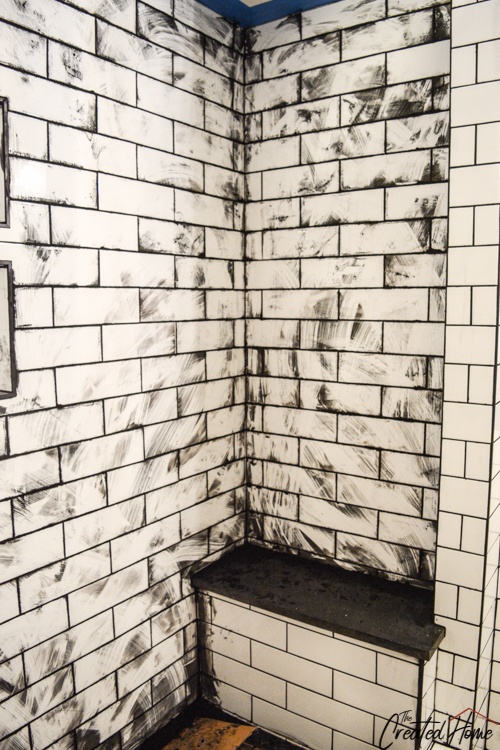
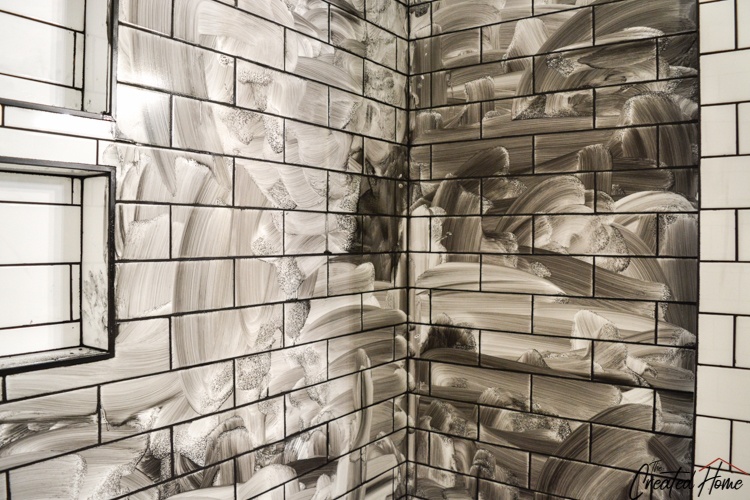
Here’s what our shower looked like after grouting, just to give you an idea of what is left behind. What I like about the epoxy float is it leaves the tile relatively cleaner.
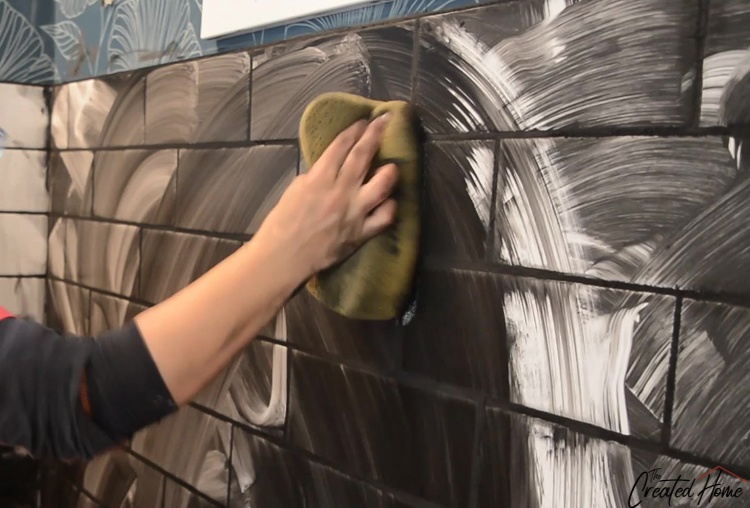
Process: Dry, Wipe, De-haze
The first bucket in the list is for the grout mix (assuming you are using non-mixed). The second is for water. Get your grout sponge wet and wring it out. Then start wiping everywhere you grouted. Rinse. Repeat. Rinse. Repeat. It’s going to be messy for a while. The goal isn’t to get it totally clean at this point. You also don’t want to wipe all of the grout of out the seams. This is basically where you are setting how much grout fill will be left between the tile.
My tip here is that if you aim to be able to see the corners of the tile – meaning they are not covered by the grout – you’ll form some pretty clean lines. But don’t overstress that goal at this stage.
Here’s our shower after several rounds of sponging. Seriously, dark grout is some seriously messy stuff.
Cleaning the tile
The grout needs time to cure, so at this point you can use a rag to get the bulk of the mess off and clean up those lines. But you will want to be careful that you don’t wipe out the grout, which is already hardening. If the sponge gets it clear enough, great. But if you have a royal mess, like we did with this charcoal colored grout, you may want to take the rag shortcut.
Confession: The directions say to use cheesecloth for this step. I don’t know why, and we always just grab rags and use those. So take that for what it is.
The key here, if you switch to a rag is to use a dry rag.
It should look pretty darn good at this point. But leave it overnight or 16 hours or something like that and you’ll see that there is still a haze on the tile left from everything drying out. You can now wipe off the rest of that grit – again with a dry rag.
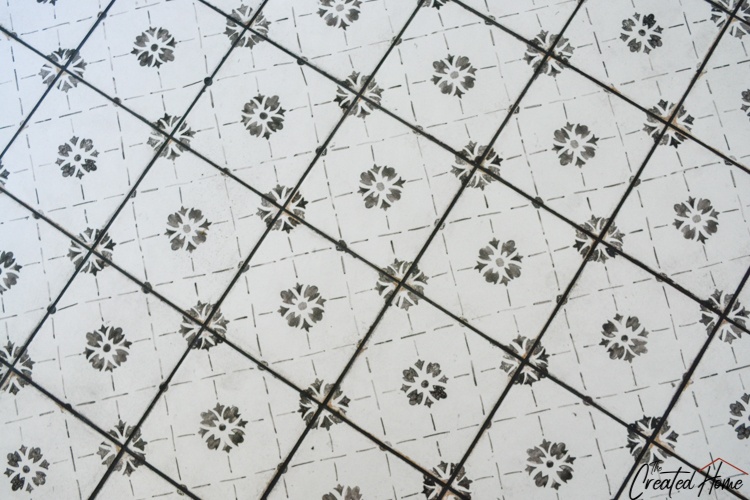
Glazed tile wipes off a lot easier than unglazed. We had to use a bit of cleaner to get the porcelain floor tiles looking good again.
Seal
Your tile job looks great, but it’s not finished until it is sealed. If you used sanded grout you will need to make sure it is sealed to protect against water and other damage (food, dirt, mold, etc.)
Most sealers are a simple spray on, wipe off process. Just be sure to let the grout cure before sealing.

There you have it! Your tile work is finished. You worked hard. Take a break, and know that the next time a tile job comes up, you are absolutely an expert now.
Happy tiling!
Floranet
Thursday 14th of November 2019
Your work seems to be great. Continue the great effort!!