

Welcome! This is the final installment in the Concrete and Wood Geometric Collection, a series of four furniture builds brought to you by Jen Woodhouse and myself.
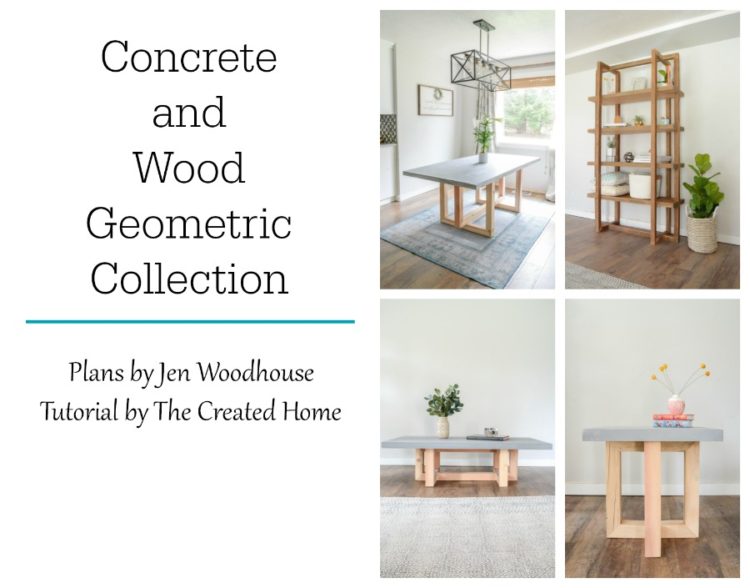
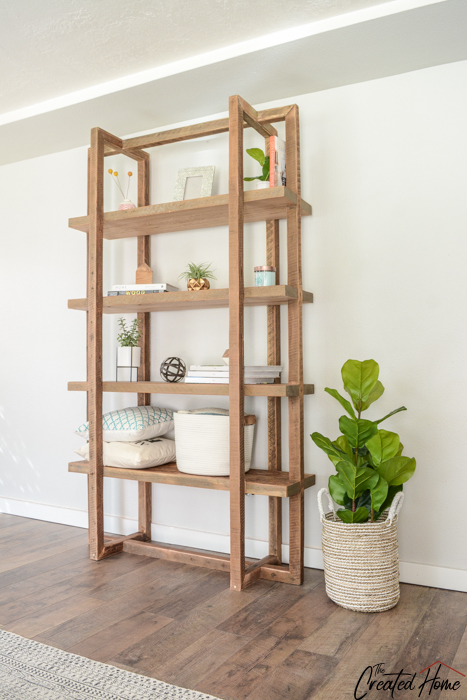
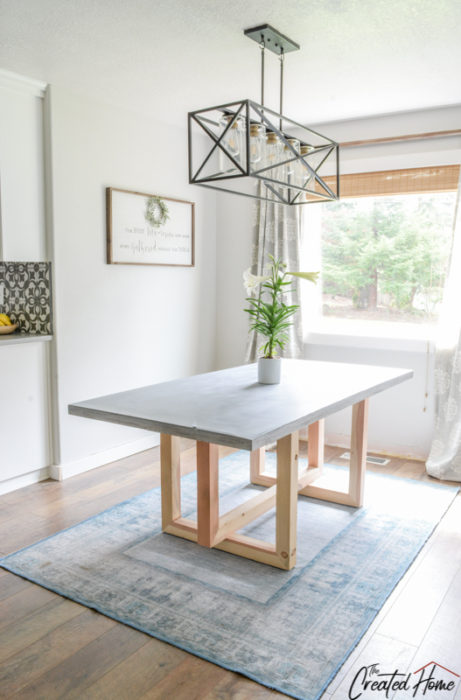
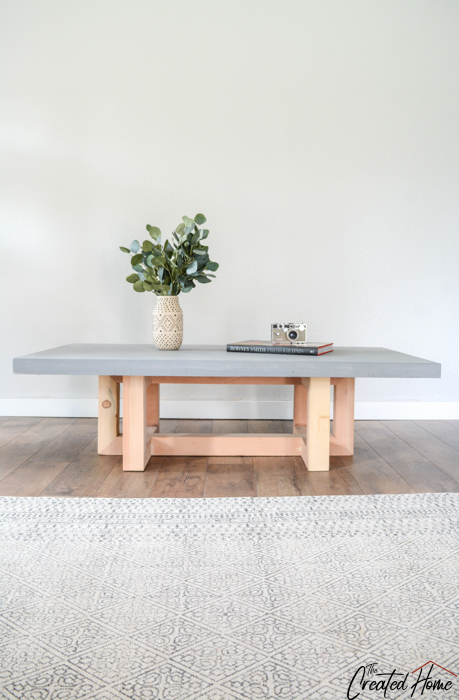
In case you missed them, we previously introduced this bookshelf, this dining table, and this coffee table. The base on the side table is the same as the coffee table, and for that reason the tutorial looks nearly the same, with a couple details particular to forming this base.
As with the rest of the pieces in this collection, the plans are at jenwoodhouse.com, and I’ve got a tutorial and build tips here for you. (And a video!)
Here’s an idea of what you will need for this build:
Materials
2 3/4 x 2 3/4″ lumber
Concrete
rebar mesh mat
4×8 sheet 3/4″ melamine
3/8 ” wood dowels
wood glue
Tools:
miter saw
table saw
dado stack
drill
9 mm drill bit
clamps
Here’s a quick video overview of the side table:
Build the side table:
Step 1:
Mill your chosen wood to 2 ¾” square. You can use reclaimed or fresh lumber. I used reclaimed and cut down all sides for a clean look.
If you use reclaimed be sure to plan where each piece will go in the design so that the desired faces are showing. That can be a bit more tricky with salvaged wood.

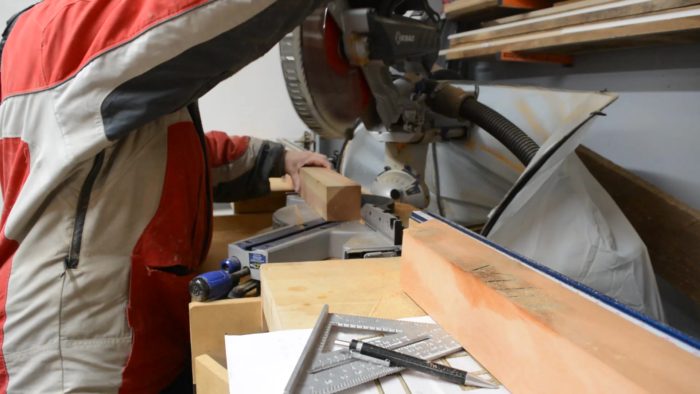
Step 2:
Cut wood to approximate sizes – l like to leave them an inch or two long while I’m still planning and determining layout. Once you have determined where each piece will fit, cut the miters. Keep pieces laid out so you don’t mistakenly cut a miter the wrong direction.
Step 3:
Cut the half laps. Start by marking out the location of each of the half laps.
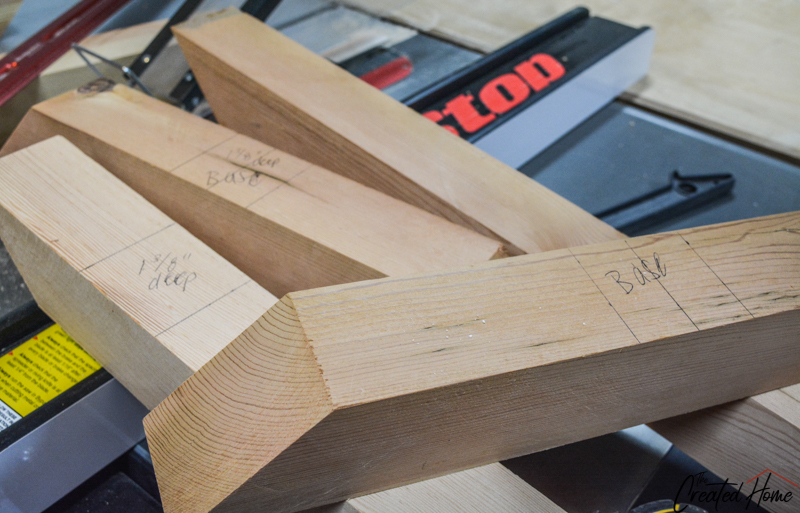
This is also a great time to double check that the joints are all lining up right by lining up opposite boards, as shown:

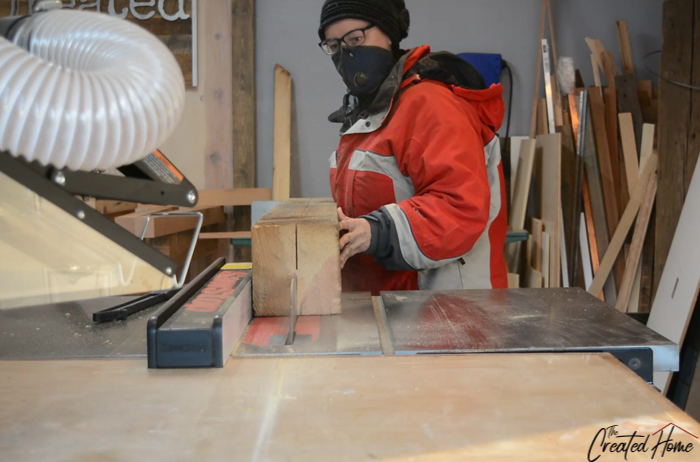
Half lap set up:
The video shows how to do this far better than I can describe this, so if you missed that scroll back up and watch. My chosen method for half laps is a table saw with a dado stack. You can cut with a regular blade, but you will have to make 5 trillion cuts instead of like 5…or something like that. Set the height of the blade to half the thickness of your wood.
Next, set up the wood for the cut. The simplest way to set it up is to clamp your piece of wood to the miter gauge. I set a terrible example here and didn’t use a sacrificial piece of wood, which just means that you first screw a piece of wood to the miter gauge, then clamp your piece of wood to be joined to it. That way when you make the cut it won’t tear out at the back because the backer – or sacrificial – piece prevents that from happening.
Why didn’t I do it that time? I really don’t know. Do as I say, not as I do.
Carefully line the blade up with one side of the line, make sure the piece is clamped securely, turn on the saw, and run the piece through. I like to use the clamps as handles, as shown in the video. Stop the saw, move the piece over, and run it through again. When you get to the opposite side don’t go right up to the line. Sneak up on it slowly over a series of cuts, fitting with the other board (the one you are joining to) each time so you can get a good, snug fit.

Step 4:
Seal the end grain before gluing the miters. As in the other builds in this collection, I used a 50-50 mixture of glue and water.
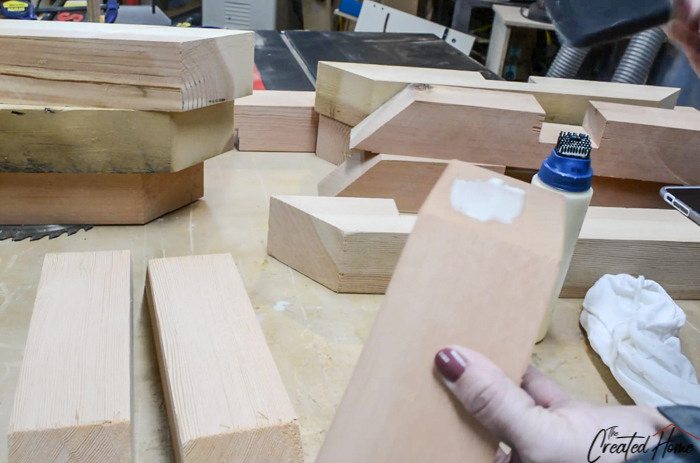
Step 5:
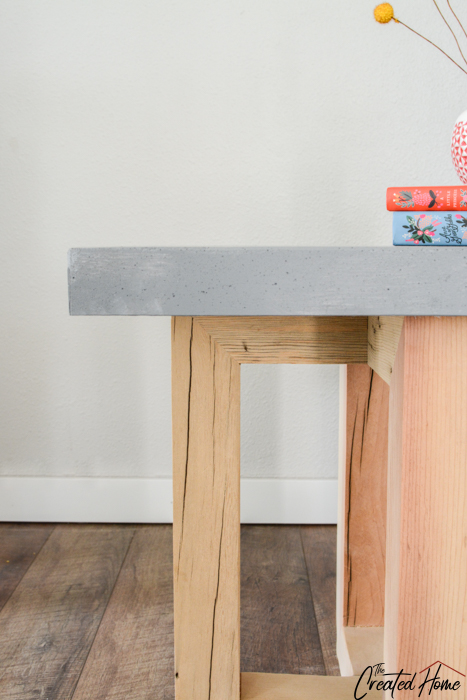
The side table is really just two rectangles.

For the glue up you can do all sides of one of the rectangles, and three sides of the other – leaving the top piece off until assembly.

Step 6:
As in the other parts of this collection, I chose to use dowels or pegs to join the mitered corners. I like this method because it is simple and very effective. I use a doweling jig to start a hole through one miter into another, running the hole maybe 2 inches or so. Due to the size of the wood the jig couldn’t sit over the wood, so I left it on the surface and was able to at least get each hole started straight. You’ll notice in this photo that I worked with only two pieces at a time. In other words, rather than gluing the entire rectangle together I glued two pieces together, let the glue cure, then ran the dowels – before moving to the next glue up.

That was enough to then drill by hand. I used a brad point bit for this, at either 3/8″ or 9mm. I switched dowels mid way through and realized that they were not precisely the same size. One fit best with a 3/8″ dowel, and one with a 9mm. Those a reallllly similar sizes, but you want the tightest fit possible, so check this with the dowels you use.
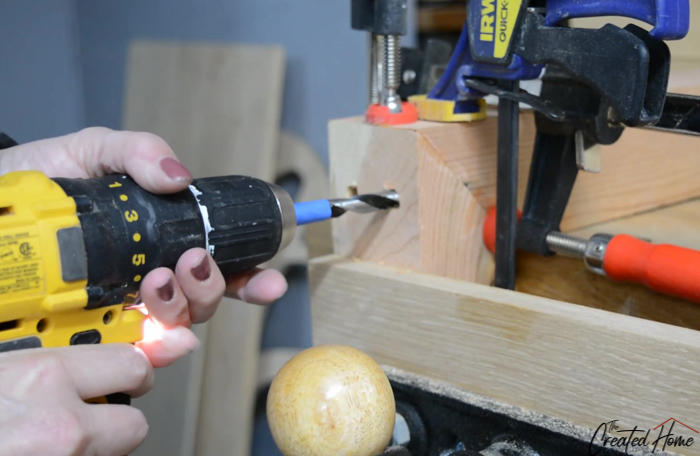
I dropped glue in each hole, then glued in a 3/8 dowel. I like to cut mine a bit long, then use a flush cut saw to cut off the ends.

Work through the pieces and sections a couple at a time, clamping and setting as you go. I keep the sections in clamps while drilling and tapping in the pegs because it can be rough on those end grain glue ups.
Step 7:
Assemble the table.

Step 8:
Sand. I wait until this step because things tend to get roughed up a bit in process, but you could smooth some earlier if desired.
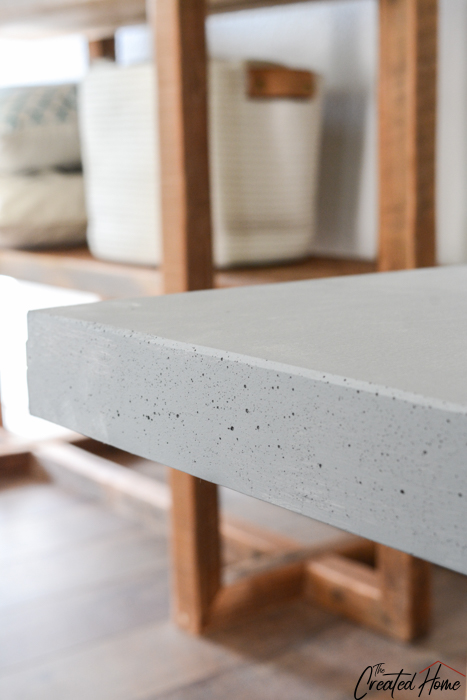
Step 9:
Attach the concrete top. I’ll give information about making concrete furniture tops in a separate post.
Step 10/Tip:
To protect the floors it is a good idea to add felt or some sort of slider feet to the bottom.
That’s all there is to it. What do you think? The real question is, will you build one or two?!
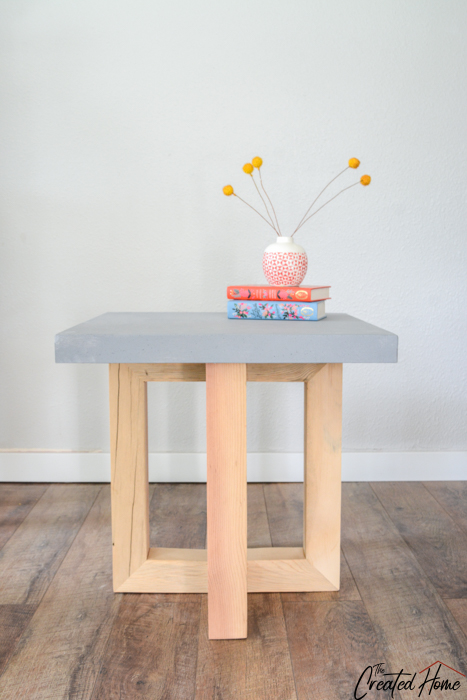
Of course there are a lot of ways to interpret this base. it would look great light or dark, stained…painted…or any number of ways. I’m on a natural light wood kick right now, and love how this takes something that is rustic and makes it feel modern.
There you have it – all four pieces in the Concrete and Wood Geometric Collection. Stay tuned for a concrete tutorial next week. Here’s another look at all of the pieces in this collection. Which is your favorite?!
Kelsey
Thursday 6th of August 2020
How did you attach the top to the legs?
Sarah
Thursday 1st of April 2021
I used concrete adhesive. Probably not the most elegant solution, but it was easy!
How To Make A DIY Concrete and Wood Side Table Geometric Design
Wednesday 27th of May 2020
[…] been a wonderful two weeks so far because I teamed up with my friend and fellow badass builder, Sarah from The Created Home to bring you the plans and tutorial on our Geometric Furniture Collection. Did you see the […]
Nikki
Saturday 6th of July 2019
I can't seem to find the concrete tutorial. Thank you!
Sarah
Monday 23rd of September 2019
Here you go! https://thecreatedhome.com/diy-concrete-counter-table-tops/