
I built this bookshelf in collaboration with Jen Woodhouse, who developed the plans. You can find them on her site here.
And I’m excited to announce that this shelf is part of a series of builds we are calling the Concrete and Wood Geometric Collection. So be sure you are following us on Instagram and the other usual social media places in order not to miss plans for a dining table, coffee table, and side table coming out over the following week and a half.
Because seriously, these things are pretty.
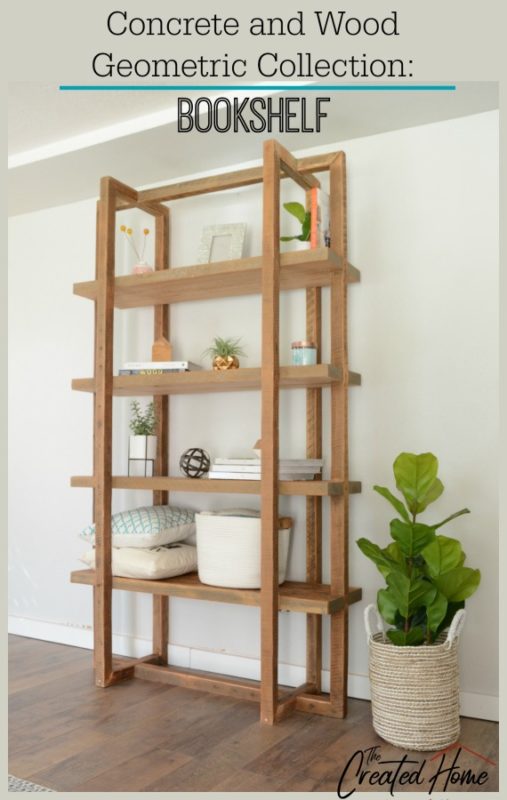
The Geometric Bookshelf
Jen’s got the plans with all of the necessary details, but to give you an overview of what you will need. Be sure to download the plans for more specific details. I will provide links in the tutorial to items that I found particularly helpful in constructing the bookshelf.
Materials:
2×2 lumber
dowels
wood glue
wax or other finish
Tools:
Table saw
dado stack
miter saw
drill
clamps
sander
Step 1:
Mill wood to 2”. You will need to either mill this down from 4 x 4 lumber, or mill from whatever reclaimed stock you can get. If you choose reclaimed wood you will either need to go for a clean milled look by ripping all sides, or veneer the ripped sides back. You can see how I did that in the video.
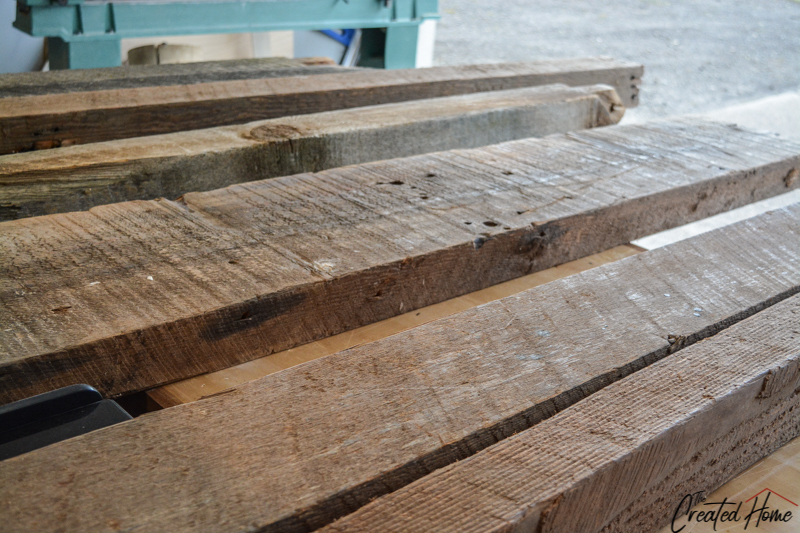
Step 2:
Cut wood to approximate sizes and determine layout – particularly if reclaimed. I find it helpful to oversize each piece by just a bit. (An inch or so)

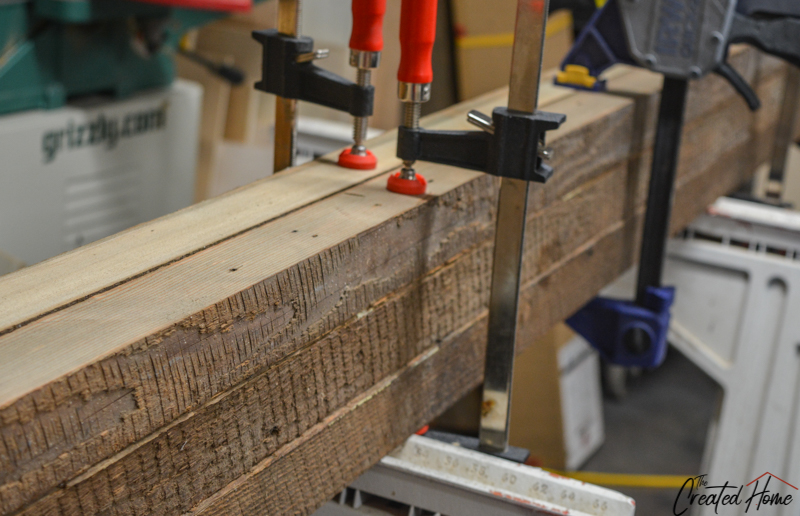
Step 2.5:
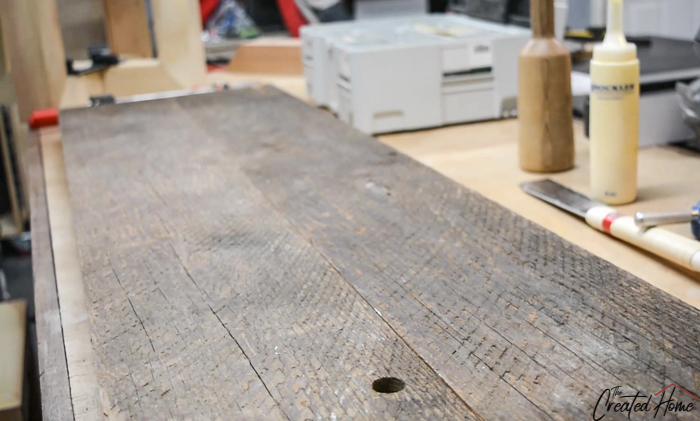
OPTIONAL – I wanted to roll with the rough, aged look thing, so I made sure to leave the surface with patina in place on two sides, then cut and re-glued the veneers back on the other two sides. Word to the wise: This adds a considerable amount of work and time to the process.
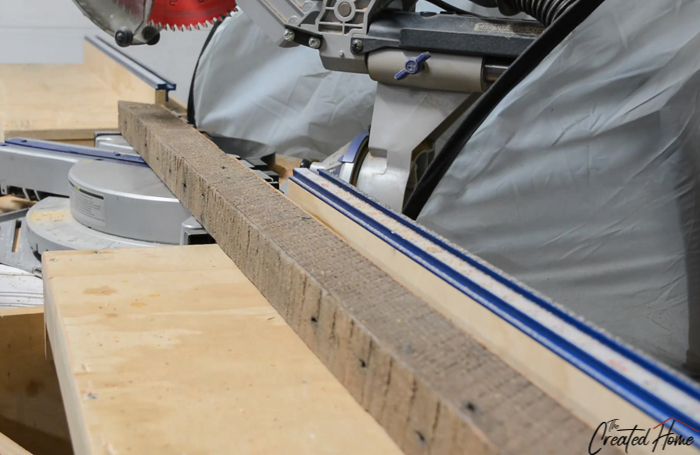
Step 3:
Once you have determined where each piece will fit, cut the miters on the miter saw. Keep all of the pieces laid out so you don’t mistakenly cut a miter the wrong direction.
Step 4:
The half laps. Begin by penciling out all of your half laps. You will need to cut down each lap 1″ so that when joined together the pieces sit flush. There are a few ways to accomplish this joint, my preference being the table saw.
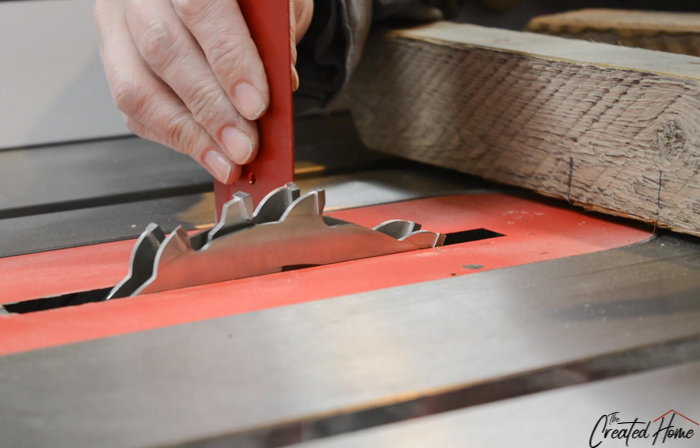
You can cut half laps using any blade, but a dado stack is best if you don’t want to make a gazillion cuts (more or less). Set your blade height to half of the wood thickness – in this case 1″. There are a number of ways to do this, but for ease and simplicity I like to clamp the piece of wood to a miter gauge. Here’s a picture of that set up. It’s a different project, but the picture is clearer, so bear with me.

Set your blade to the line, then make the cut. I like to use a clamp as a hand hold as it adds stability and keeps my hands that much farther away from blade. Stop the blade, adjust the wood position, then make the next cut, and so on. Sneak up on that last cut a bit at a time, fitting as you go to insure the best fit.

Step 5:
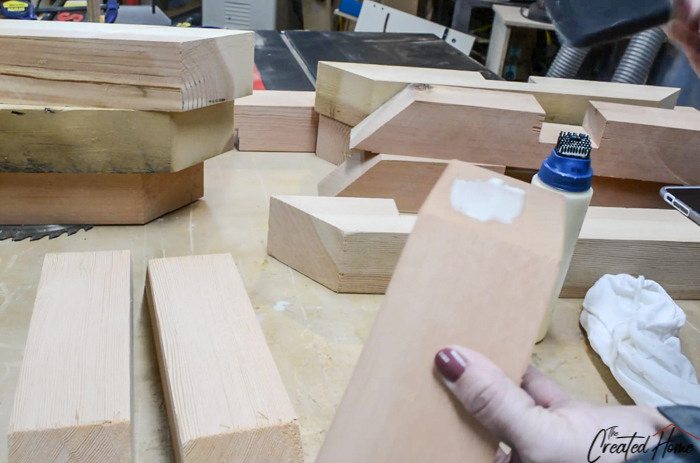
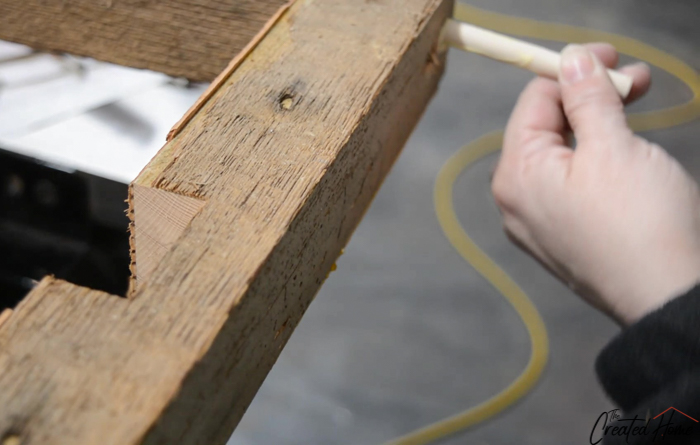
Seal the end grain. It’s a good idea to seal all of the miter cut ends with a 50-50 mixture of glue and water. End Grain doesn’t glue up well, and this will keep the glue you apply to join the joints from absorbing into the wood.
Step 6:
Cut the shelf material. I used two 2” thick boards ripped and joined to make one 13” wide board. I joined them with my Festool Domino since pocket holes will show. Pegs or biscuits will also work here, or simply glue the boards up.
Step 7:
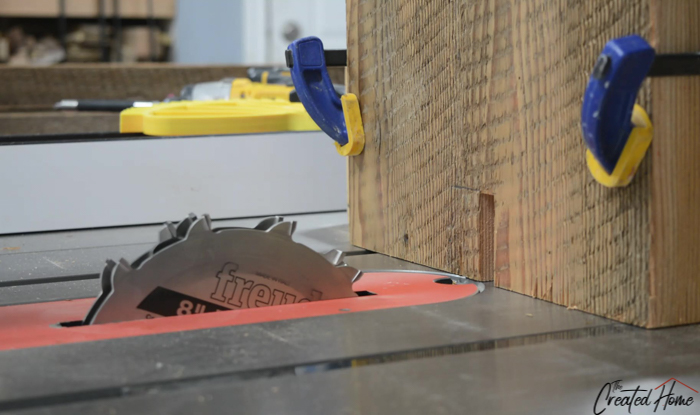
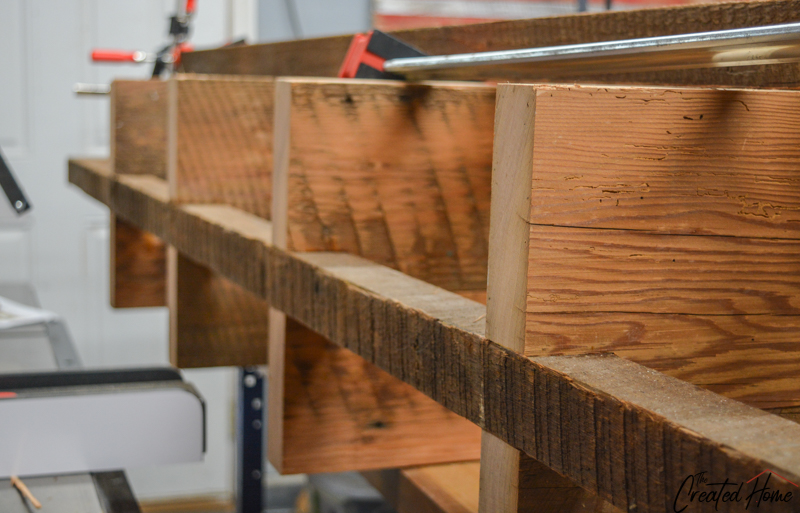
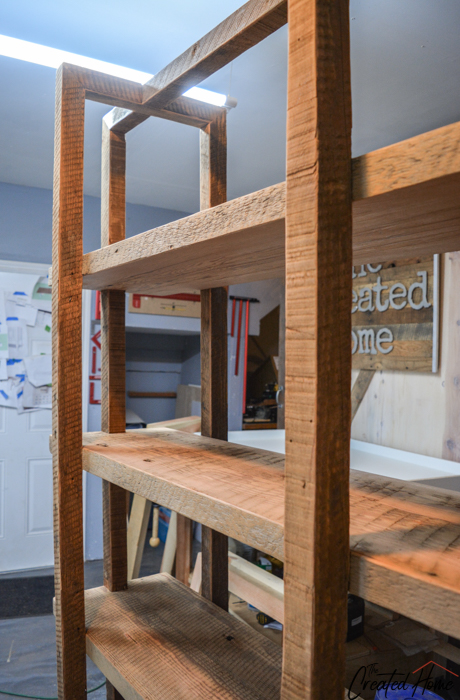
Cut notches in sides of shelves – I used the table saw. Because these boards are so tall and cumbersome I attached them to a tall sacrificial board. This gave them a good bit of stability, but I still took the cuts nice and slow, making sure not to rush anything. Be sure these are the precise depth of your frame boards.
Step 8:
Glue the notches thoroughly and slip the side frame/legs in at premarked spots. I’m not going to lie, this part was tricky for me. I probably made them a bit too tight, and the assembly ended up being a two person + lots of pipe clamps affair.
Step 9:
The single most difficult part of this build is from here on, when you pray everything fits right. You’ll need to add the shorter legs – the parts that join up those long frame pieces you just snugged into the shelves. Those miters need to match up. Use glue and as many clamps as you have. Do the left and right frame pieces and their connectors first, then let them dry for a day. I moved through each piece that I added one at a time, gluing and clamping as I went, then giving the glue a full day to dry before moving to step 10.
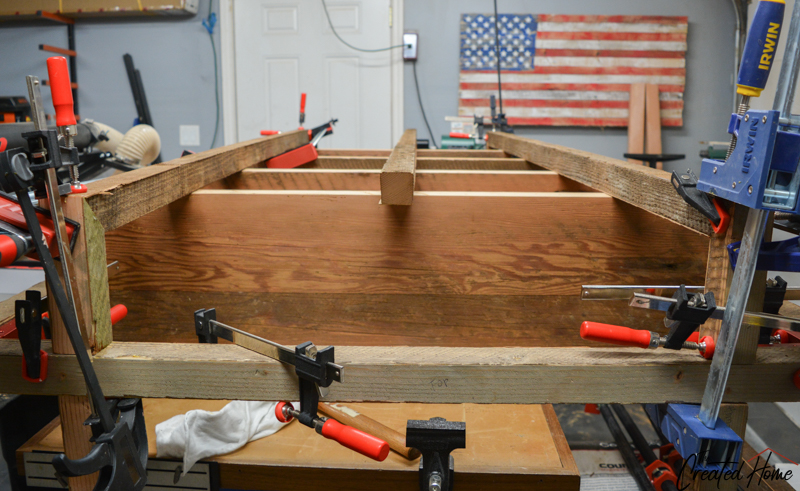
Step 10:
Peg the existing joints together.
Step 11:
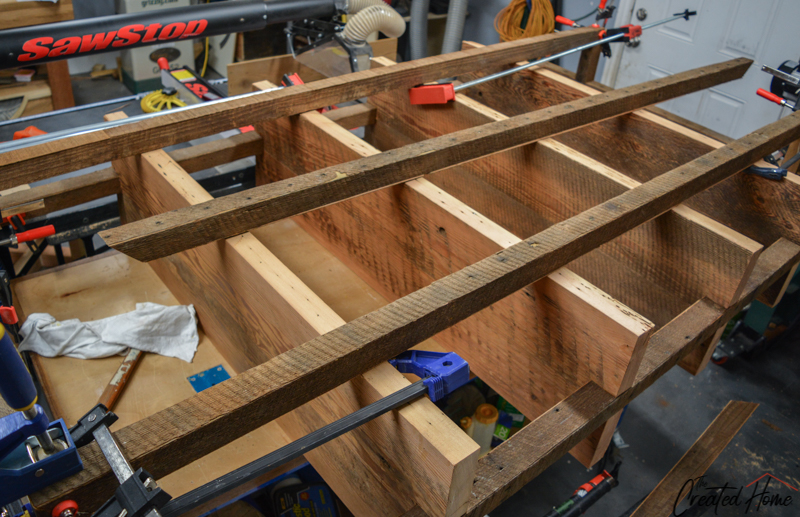
You’ll probably have to maneuver the shelf around to do this – I had it on it’s side and had to hang parts off of the workbench it was on. You’ll need to “wrap” it in the other two frame parts – big rectangles…whatever you want to call them. See if you can get to enough of it to dry fit an entire frame at one point so you can get an idea of any issues that might arise. Glue and clamp the ever-loving daylights out of it and give it another day before adding pegs.
Step 12:
Repeat for the second rectangle section. Peg after letting the glue cure.

Step 13:
Stand the bookshelf up (with help) and peg the sides where it is notched into the shelves. This adds extra support and stability, particularly when the shelf is being moved about. You can go back and touch the pegs up with a bit of stain afterward so they blend in.
Step 14:
Sand. Let’s talk timing for a moment: I waited until this step because things tend to get roughed up a bit in process, but you could smooth some earlier if you like. If you have used veneers (bless you, and don’t hate me) you’ll really want to take your time on the corners because it’s the sanding that blends them together.
I sanded the reclaimed wood carefully, moving from 120 to 220 to 320 grit and following the lines of the wood so as not to take away the texture. It is possible to do this and smooth the wood while retaining the texture.

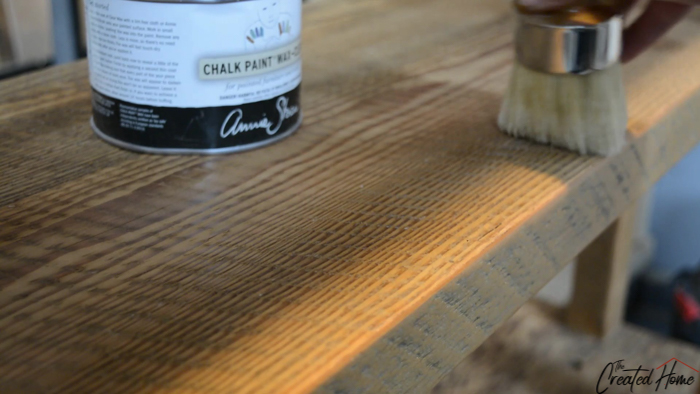
Step 15:
Finish as desired. I used clear wax. Consider adding felt to the bottom of the shelf to keep it from scratching up the floors.
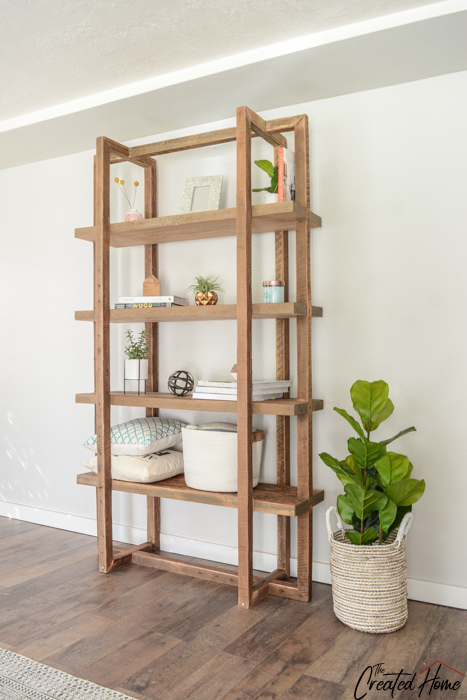
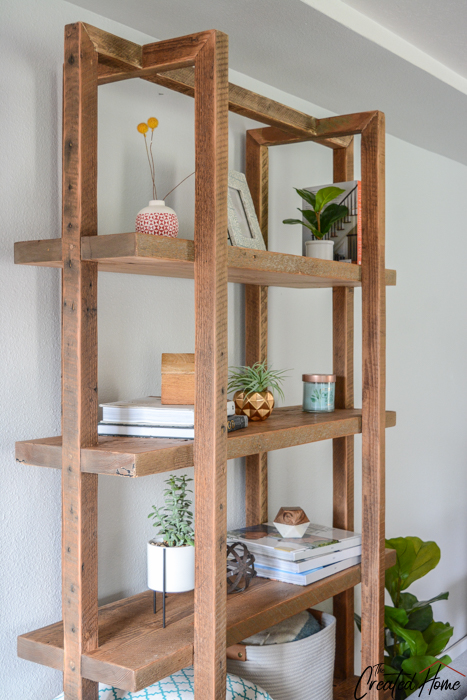
The final step is to stand back and appreciate all of your hard work.
How To Build A DIY Geometric Bookshelf
Wednesday 15th of April 2020
[…] I excited to share these next few projects with you!!! Once again, I teamed up with the incredible Sarah from The Created Home on these next few builds. Remember her? I mean, how could you forget? She built this gorgeous round […]
Concrete and Wood Geometric Collection: The Side Table - The Created Home
Sunday 16th of February 2020
[…] case you missed them, we previously introduced this bookshelf, this dining table, and this coffee table. The base on the side table is the same as the coffee […]