Welcome! I’m so glad you are here. If you have been following along you know that I am working with a group of awesome woodworking bloggers to bring you 13 days of build plans. That, and a giveaway for $300 worth of tools are our gift to you!
Day 7 is here, and it’s my turn!

Today I am sharing my Christmas star mosaic.
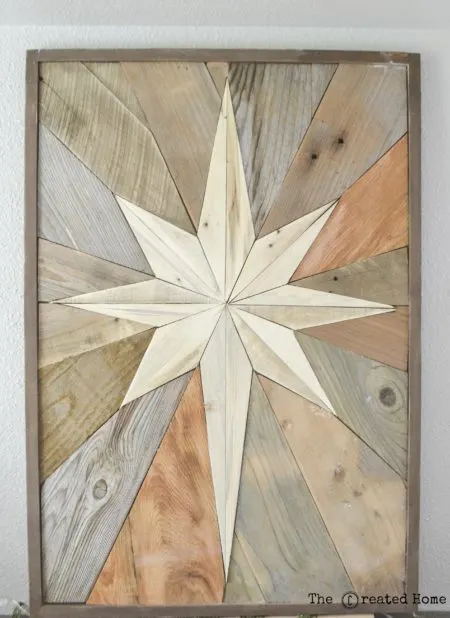
I love the symbolism of the star at Christmas, and this is one of those designs that kind of hit me over the head and sketched up easy. And it gave me the opportunity to work with all those wood scraps laying around!
Before we get started let’s talk frankly for a bit. Yes, this is a bit labor intensive. However, if you spend a little time looking at wood mosaics you’ll notice they are…not inexpensive. I was able to create this in maybe 6 hours total, and I have two toddlers.
Because this project requires a little more detail cutting let’s just put a reminder out there to always use proper safety measures when operating saws, okay?
How to create a wood mosaic
I’m going to give you the design, and the template. After that, the best I can do is to give you some tips and tricks to make it work. It’s up to you what wood you want to use. Mine is a mix of fencing, barn wood, pallet wood, side-of-the-road wood, and taken-from-the-home-of-a-deceased-gentlemen-at-an-estate-auction wood.
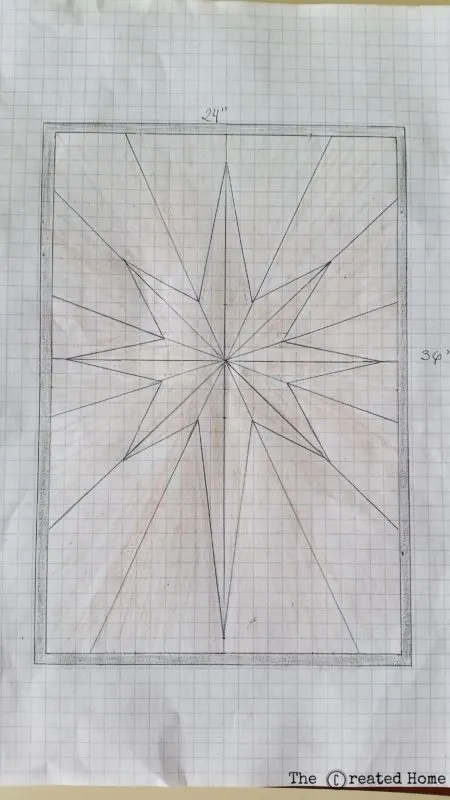
First, the template:
Take the template to Staples (or wherever) and have them enlarge it onto 24×36″ engineering paper. It’s inexpensive, maybe $3.50 or thereabout. I provided the template in PDF and JPG forms. Use whatever is easiest.
Supplies and Cost
*This post includes a couple affiliate links for your convenience. You can read about how that works here.
I picked up a piece of 2′ x 4′ birch plywood at 1/4″ thick for my backing. If you have scrap plywood, that should work just fine, too. For the frame I used a piece of 1″ x 2″ poplar board, ripped down the middle. Those supplies cost around $25.
Other supplies are some glue and wood stain. That’s it.
Let’s get this party started.
Lay your template out on the plywood.
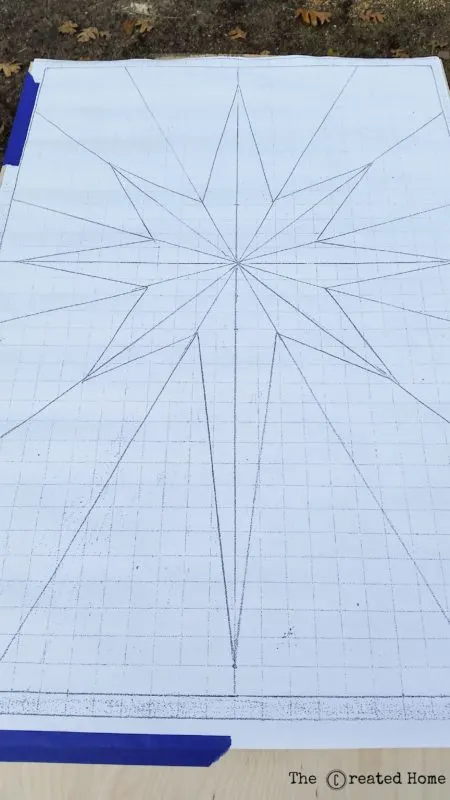
Trace the pattern using a ballpoint pen. Apply some pressure.
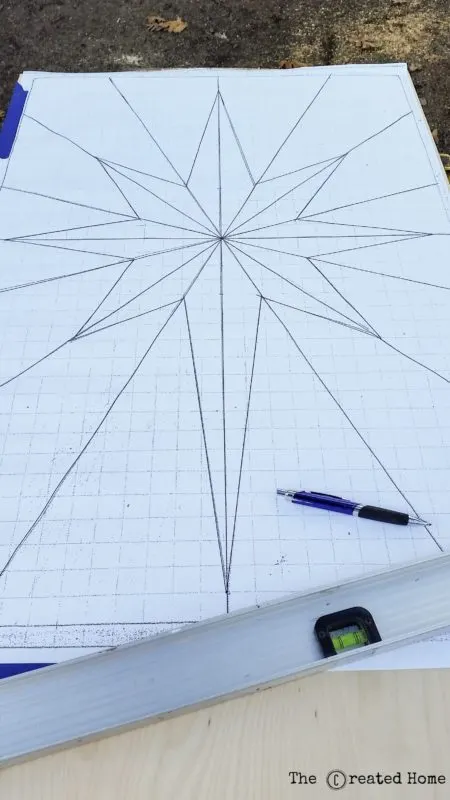
The tracing will leave a light indentation in the wood. Remove the paper and trace those marks with pen right onto the board. Start with the diagonal lines that run through the star and out to the edges. Like so:
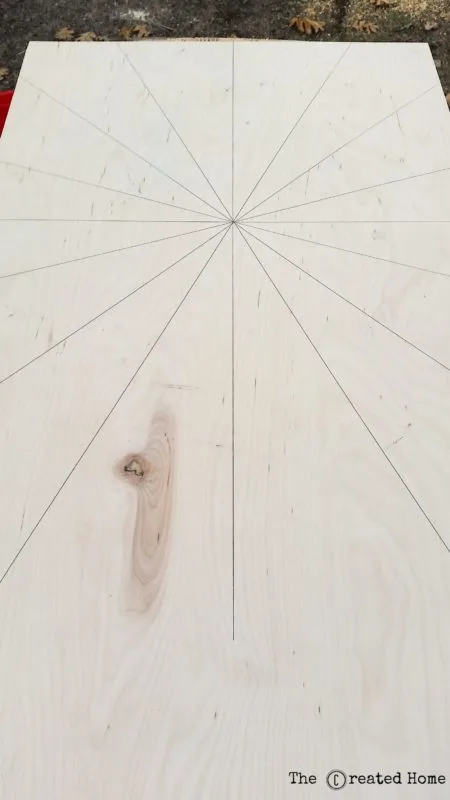
Then add the lines for the star.
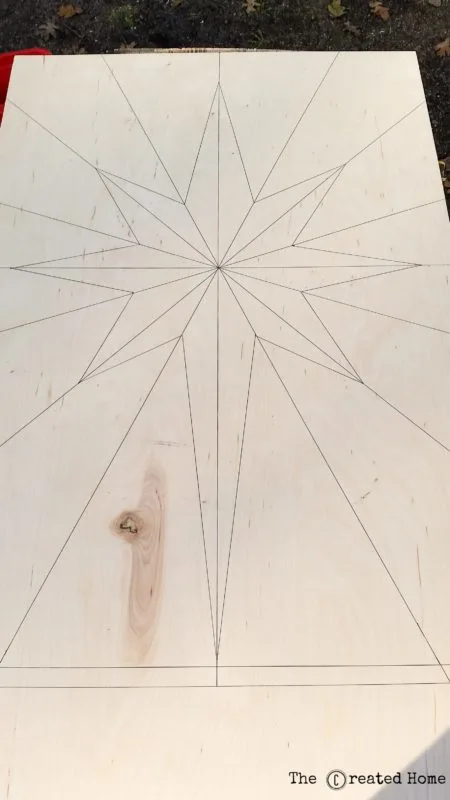
Cut the plywood to size with a table saw, jigsaw, or circular saw. Choose your weapon.
The frame
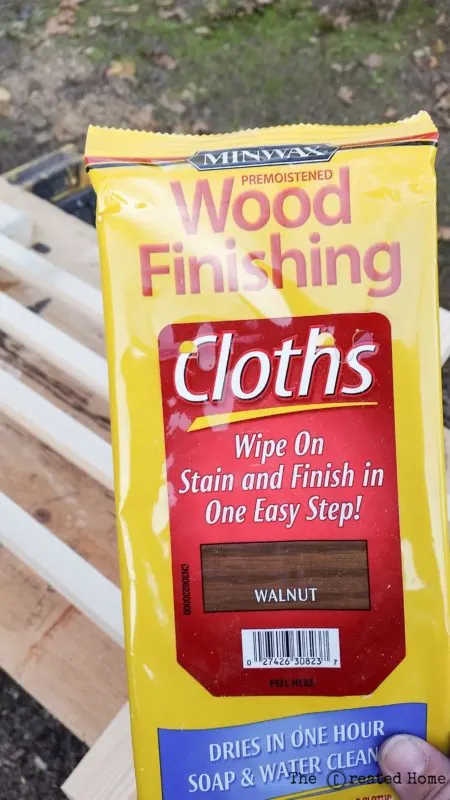
Next, make the frame by ripping the wood in half on the table saw (or purchase trim wood in the size you want if you want to avoid that). Then cut the pieces to length on the miter saw. I used Minwax finishing cloths to make the job quick and simple.
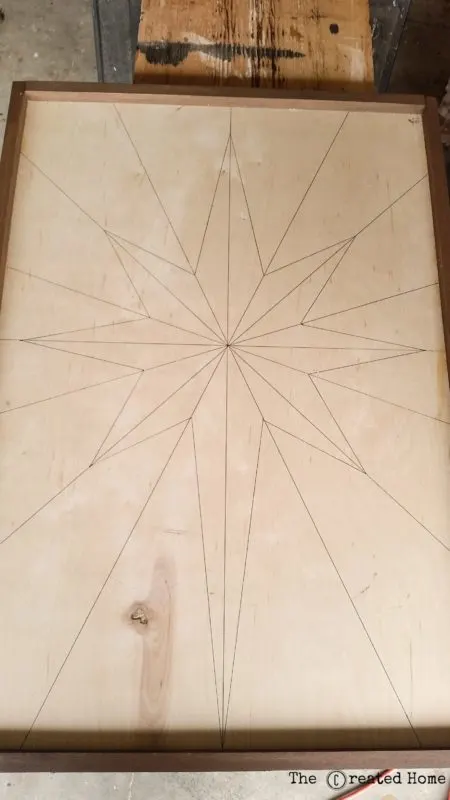
Attach the frame right on top of the plywood. The template has an allowance for a 3/4″ frame. Use glue and finish nails (through the backside).
Cutting the wood pieces
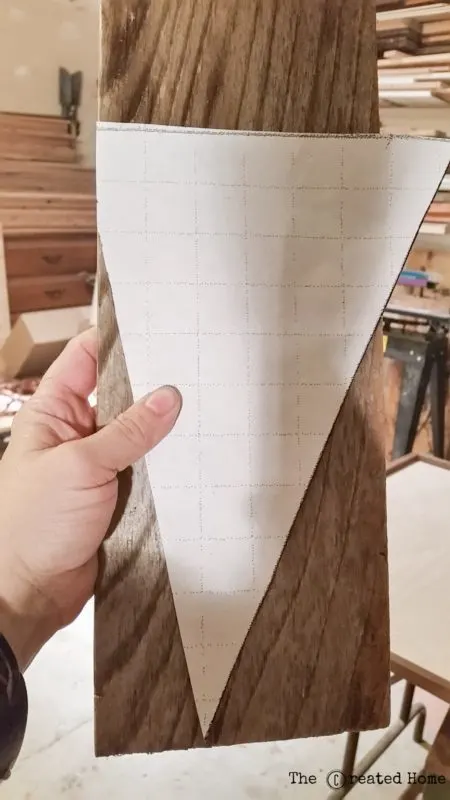
I’m not going to include a lot of photos of the process here. What you are going to do is to cut out the template one piece at a time, and trace each piece onto wood. start at the top and work your way around, a piece at a time. Cut and fit once piece before moving to the next. Likely you will have spots that don’t line up with the template perfectly. It’s not going to be perfect, but it will look great. Don’t worry about it, just continue to work on one piece at a time and adjust as you go. Relax and just enjoy the process. Put on some music.
Tips and Tricks:
*dry fit each piece of the template after you cut it. Make any adjustments.
*fit a few pieces at a time before gluing. You don’t need to nail. Glue works great.
*try to vary the tones of wood for visual interest. Your pieces can be the same thickness, or it can vary. It’s up to you. I used lighter wood for the star, which was my awesome husband’s idea, and I love it.
*use whatever cutting method is comfortable for you. The miter saw works great for cuts where your fingers have some safe working distance. Consider using a band saw or miter saw for closer cuts. Again, don’t take chances, and find what is comfortable for you.
*If you find you need to adjust a piece of the template, cut the paper then lay it in place, creasing the edges where it needs to be trimmed, then trim and trace as usual. (I really hope that made sense.)
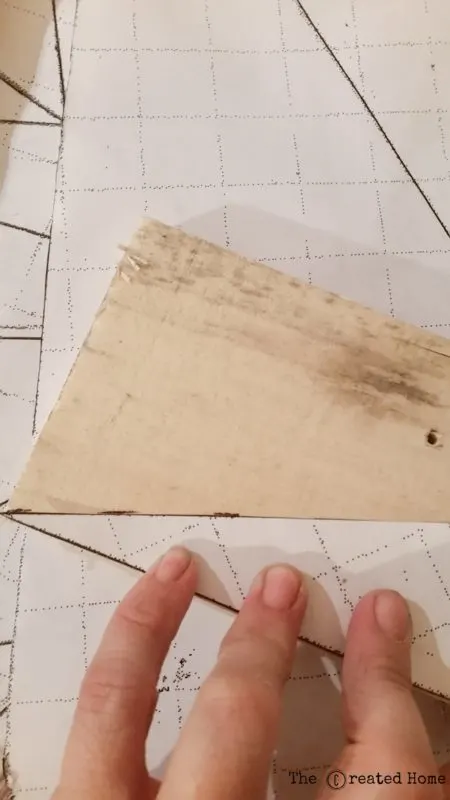
If some of the pieces are larger than your board size cut out what you can, then use the scrap from the board to finish the rest of that section of template. If you look closely I did that a few times and it looks just fine.
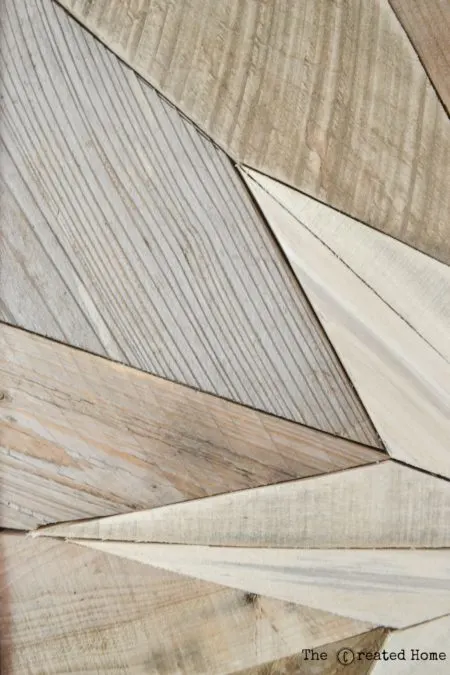
Don’t stress getting the pieces exactly perfect! There will be small gaps, and they will look fine. Here are some up close shots of mine so you can see that it is not all perfect.
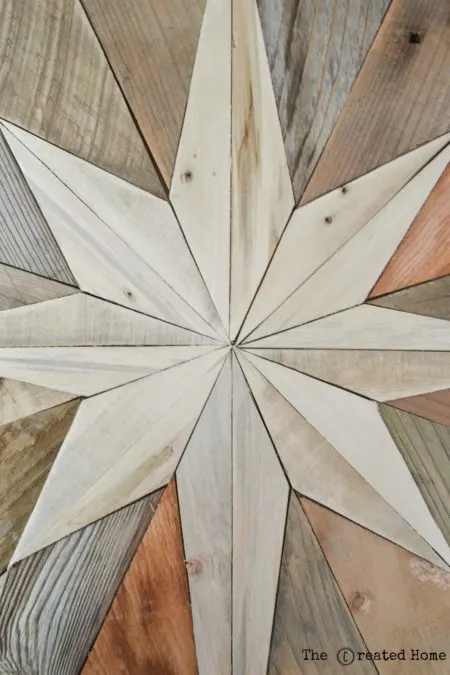
It all comes together!
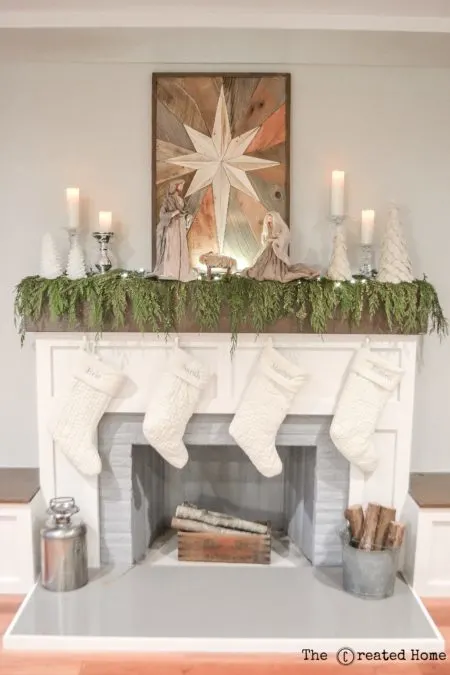
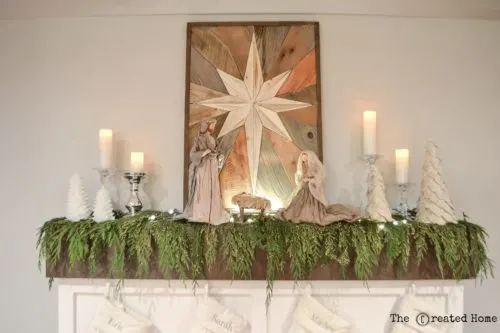
I love that this goes so well with our nativity and highlights the reason for the season.

I realize this is a different sort of tutorial. If you have any questions please don’t hesitate to ask. Do share how it turns out if you decide to make one for yourself!
Annnnnd, the hashtage you need for yet another entry to our Ryobi and PaintWiz giveaway is #starmosaic.
Thanks for reading! Merry Christmas!

Star Mosaic – Free Woodworking Plan.com
Monday 25th of January 2021
[…] along at the link and build this beautiful wooden star mosaic using these step-by-step […]
Christmas Gift Box Ornaments - The Created Home
Sunday 16th of February 2020
[…] it! I love Christmas projects that have some deeper meaning. My Christmas star from a couple years back is still a favorite. But this project is a simpler one that can be made in […]
Woodworking Tutorials For Beginners – Health Care
Friday 10th of January 2020
[…] Download Plan More @ thecreatedhome.com […]
Barry G. sumpter
Sunday 26th of August 2018
I've added a template to Sketchup - 3D Warehouse.
Wood Star Mosaic Update
https://3dwarehouse.sketchup.com/model/d5b50ac3-affb-45b2-894c-3ca47c4126a5/Wood-Star-Mosaic-Update
Sarah
Friday 23rd of November 2018
WOW! That is not a small amount of work! So dang awesome. From there it would be a simple matter to create an SVG for use with a CNC machine. Thanks for doing that!
Jason
Wednesday 31st of January 2018
Planning to build one but seems not easy and now planning to get one from you.