
You guys, I have finally done it. I have found the perfect coffee table. Nope, wait, scratch that, I built it. But let’s back up a moment.
After searching high and low for a coffee table that would at last be the one the heavens at last opened in the form of Joanna Gaines.
Not a huge surprise, right?
I was watching this episode, which features the sweetest house ever, and suddenly there it was, the coffee table of my dreams:

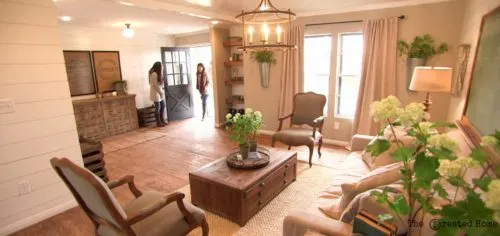
And I knew it was meant to be, because also right there – right there – was the sideboard that helped inspire the console table I built a few months earlier as part of a builder’s challenge. The plans for that challenge were drawn up by the master herself, Ana White, and she also did the judging. So, naturally that got me thinking. Who better to draw up plans for this most perfect of coffee tables?!
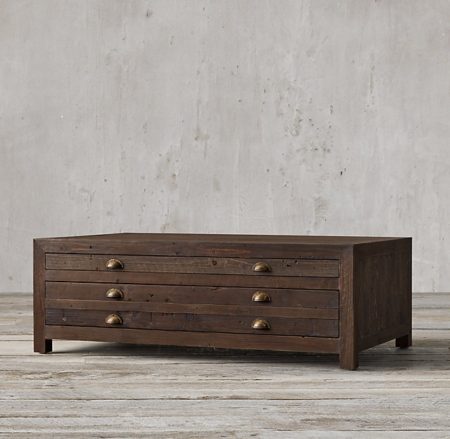
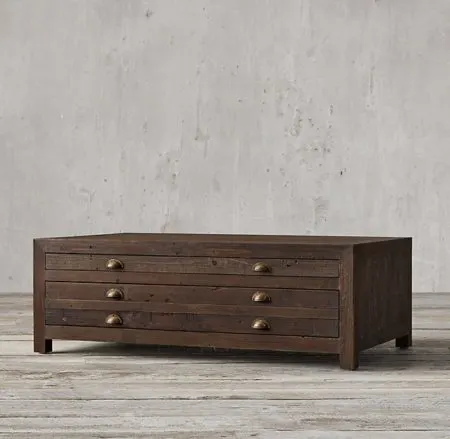
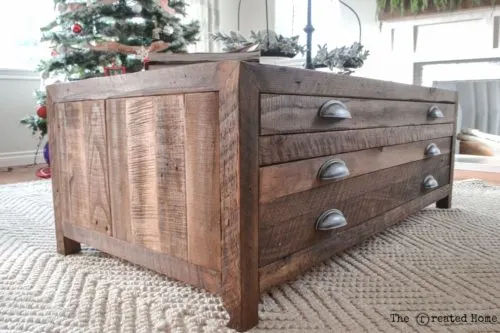
Ana noticed that this table was basically the same as the Restoration Hardware Printmaker’s Coffee Table, and she graciously agreed to draw up the plans, which you can now get for free on her site. Seriously, how incredible is that? Look at this beautiful thing!
*This post contains affiliate links for your convenience. You can read my full disclosure policy here.
There are a few things that were absolutely indispensable in building this life:
Spax screws (I used them in place of pocket hole screws)
Seriously, if you don’t any of the above put them on your Christmas list.
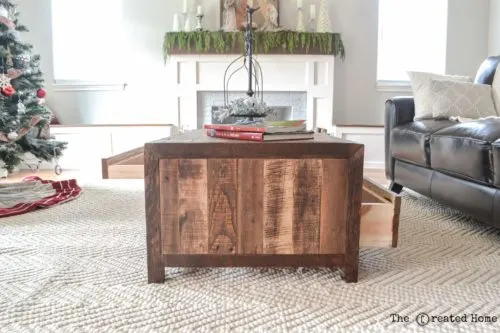
Drum roll, please…
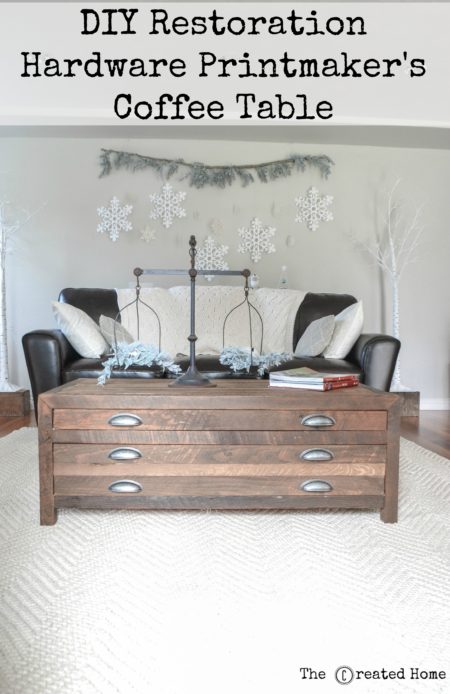

There she is in all her glory. I am in coffee table heaven. Ana’s plans are so clear and easy to follow, you can totally build this thing in no time. That said, I did throw myself a bit of a challenge and built mine entirely from reclaimed, salvaged wood. That does make for some additional work. Okay, maybe a lot of extra work. But if you are game for the challenge, here’s what that looks like.
How to build Ana White’s Printmaker’s Coffee Table with Reclaimed wood
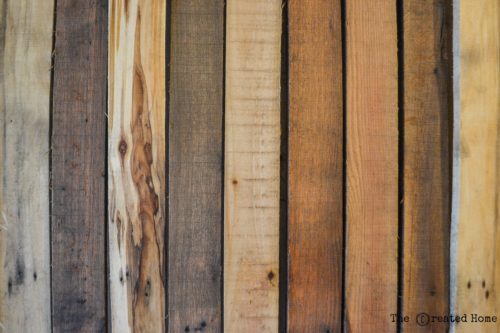
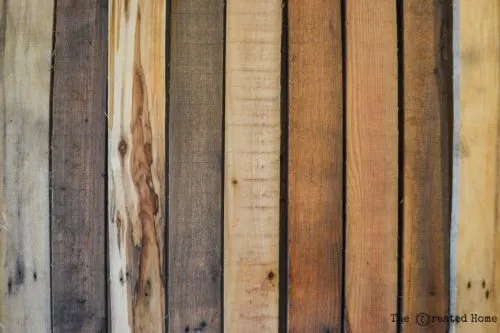
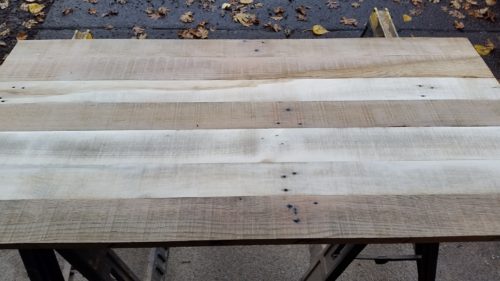
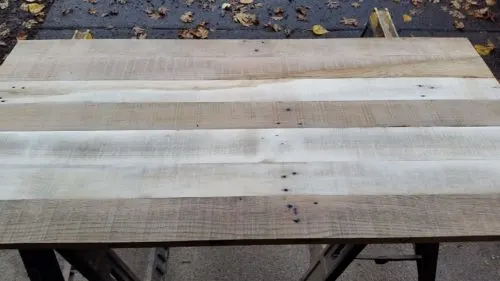
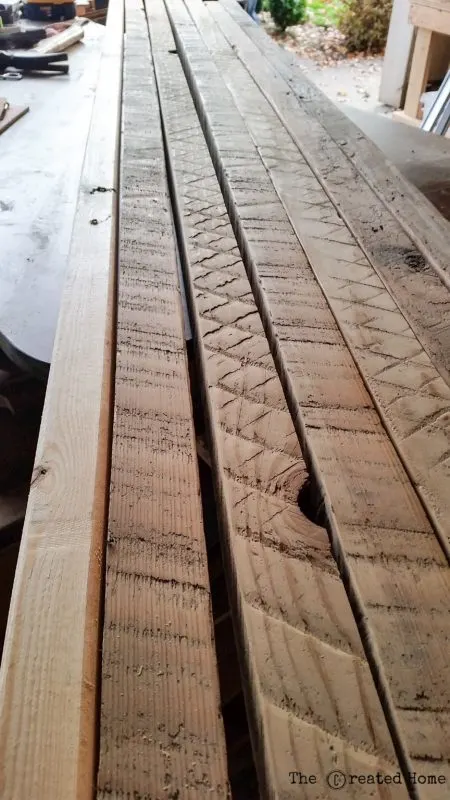
My awesome husband found these 1″ thick boards at a local factory…place that regularly tosses piles of pallets and other wood out for people to take. Honestly, I was skeptical at first, especially since they were all nailed together in these frames and I just didn’t know if they were worth the work. They actually sat outside neglected for a while before I took a closer look and saw how lovely they actually were. In fact, about half of them are oak.
Here they are drying after denailing and a good scrubbing.
After they were dry we took the straightest boards and squared them up on the table saw. If you want to know how to square up rough lumber you can watch a quick video on the process here.
Then it was time to pull out the Kreg Jig and go to town on the pocket holes.

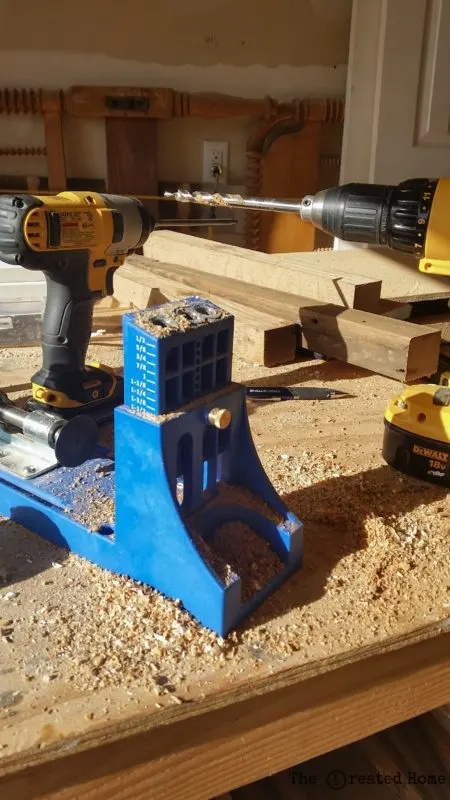
Sometimes salvaged wood isn’t exactly in perfect condition, and it can fight ya something fierce. So I pocket holed the devil out of it, then finished it off with a couple L shaped metal bars to ensure that thing is really flat. That might have been overkill, but whaever.

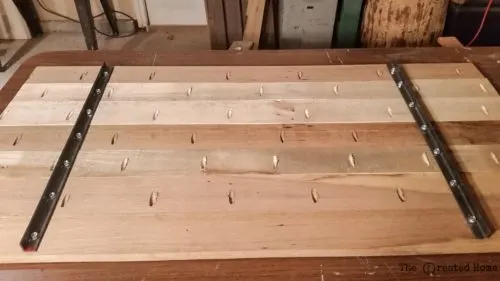
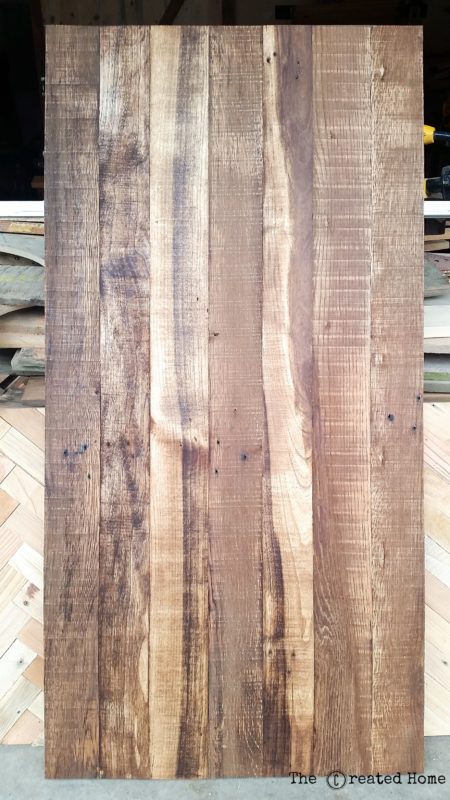
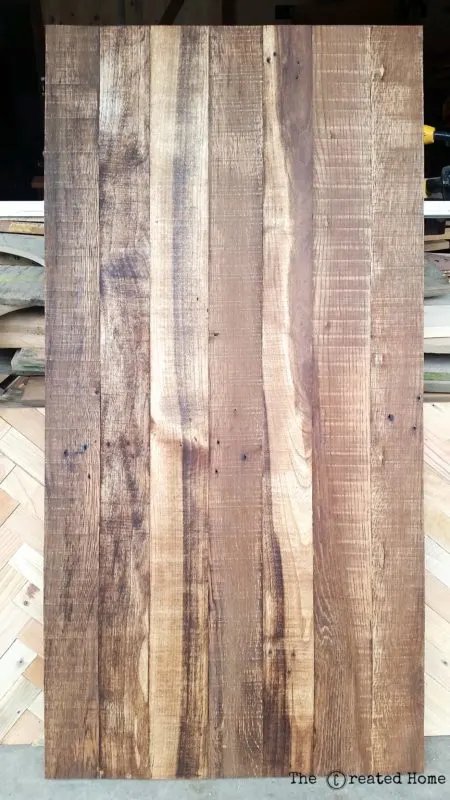
Once the top was assembled I did a bit of sanding, then squared the ends using a carpenter square.
Then I went ahead and stained the top. It doesn’t have to be done at this stage, but I really wanted to see it. I used Early American by Minwax.
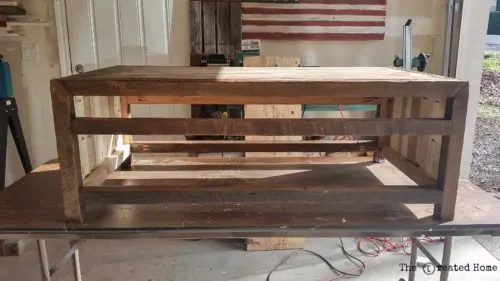
Now on to the frame!
Putting the frame together
I used reclaimed 2x4s ripped down to approximate 2x2s to create the frame. It was a labor of love and insanity that I’ll share how to do soon another day. I’ll also show how to create 45 degree joints where the frame and legs come together, but that’s a rather unnecessary bit of nuttiness. For now, here is what the frame wood looked like all ripped and ready to go.

Side panels…late at night in my garage, hence the awful lighting.


Make sure those cross supports are the exact same length to ensure the table is square.

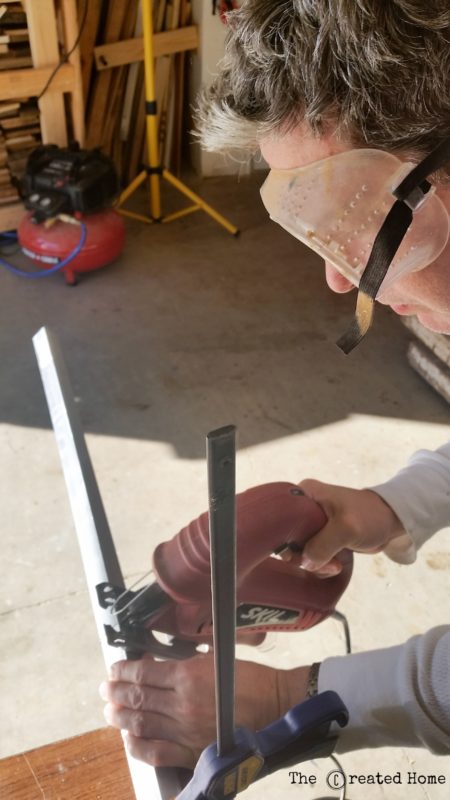
The drawer slides
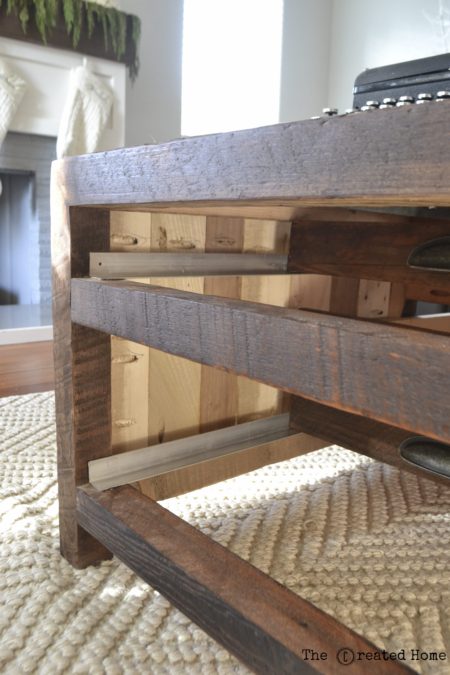
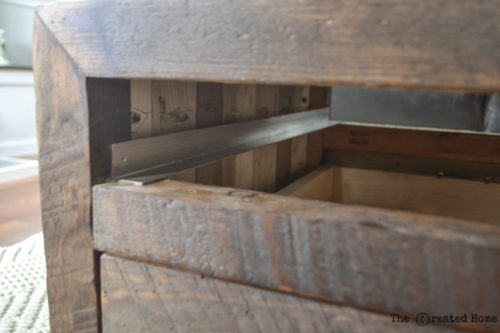
Guys, this is seriously awesome. Ana had the idea to create this plans using metal brackets instead of traditional drawer slides, and it is brilliant. So freaking simple. Grab one of these bars, and use a jig saw to cut it to length. Clamp it down and/or have someone hold it. It really does cut like butter. My husband did this part so I could grab a photo for you. 🙂

I attached the metal angles to the coffee table as in the plans, with one modification. I was afraid the metal would bend a bit with the screw, so I used epoxy to glue the parts down instead. Either way would work, though, I believe. The epoxy is holding great and was simple to use.
The metal slides make the drawers really simple to build. They sit right on the angles and you don’t have to worry about the various pieces fitting together just right like you do with traditional slides.
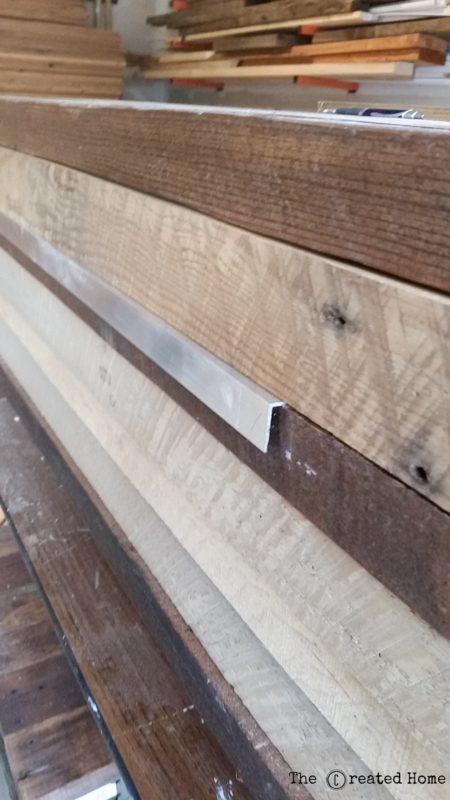
I built the faces to fit and discovered that because the drawers are made to slide all the way through both sides, the faces also have to fit through the metal brackets. Usually they are built slightly larger to cover that minor gap, but in this case they need to fit just above the face of the unit. My tip is to use a spare piece of the metal material to create a guide for where the face should fit.

Here is what the slides look like installed. I will definitely be using this method for drawers again.


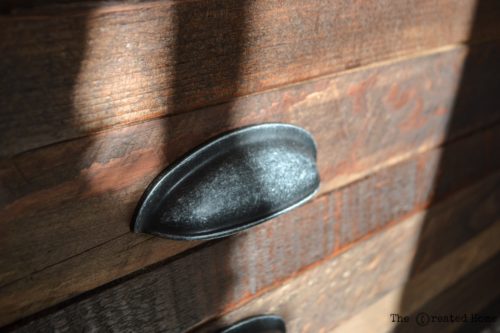
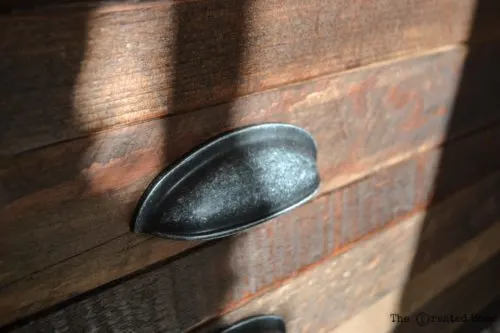
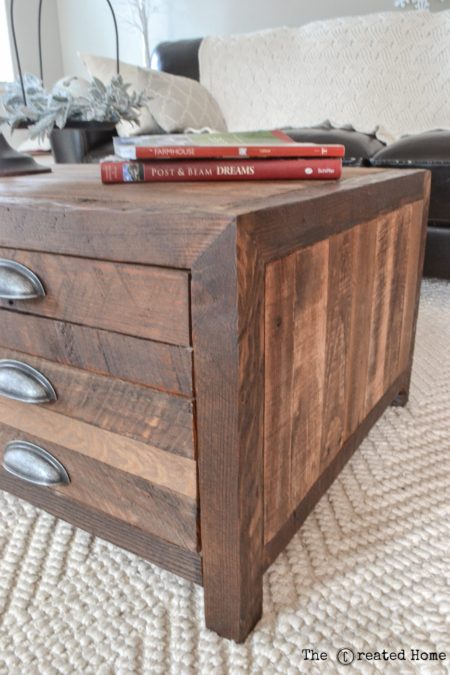
After that I finished up the staining, then attached the hardware. I used these pulls from D. Lawless Hardware for $3.99 each
Are you still with me?! No joke, the reclaimed wood made this build take a lot longer than it otherwise would have. Another approach would be to use lumber from the hardware store and then distress it. Seriously, either way would look great. This is just a gorgeous table.
If you have been following my blog you know that I am a huge fan of using recycled, reclaimed, salvaged, or whatever you want to call it materials. It not only just plain feels good to build sustainably, it looks great, too. I mean, check out all that drool worthy texture!

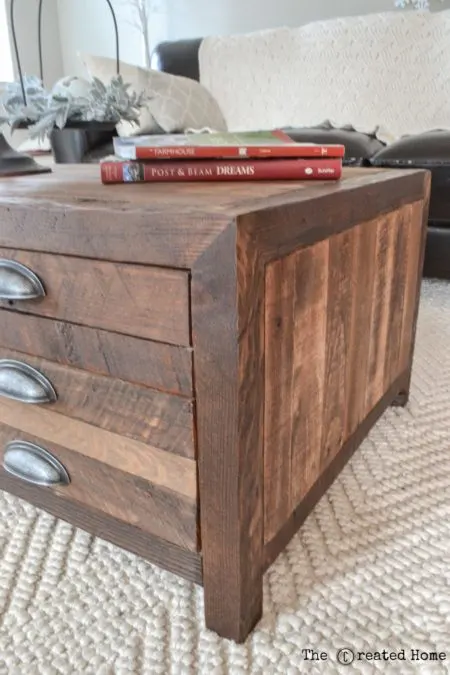
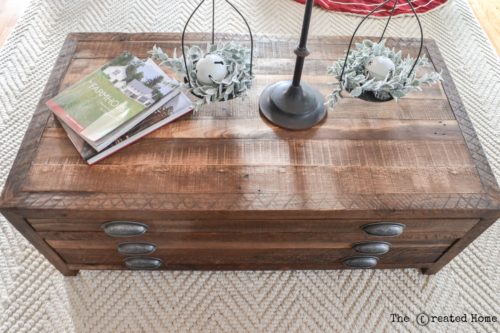
Another look at the top.
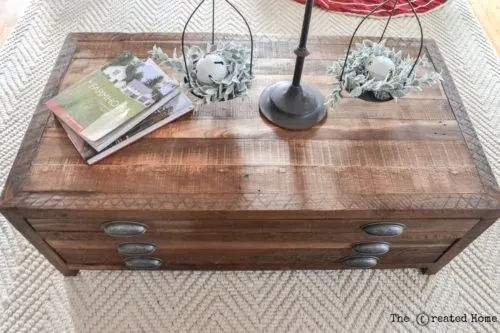
A little drawer action…

There it is. In the midst of the Christmas splendor, as it were. I am soooo in love with it.

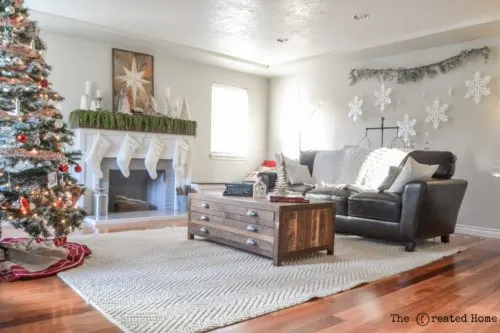
However you decided to build this coffee table, it will be a stunner. A huge thank you to Ana White for once again creating beautiful, easy to follow plans. Download the plans here, and don’t forget to share how it turns out!
Sarah
Monday 26th of October 2020
[…] cabin playhouse, and this pergola. I get excited about all things reclaimed wood, like this coffee table. I live in the beautiful Pacific Northwest with my husband, two toddlers, one goldendoodle, and an […]
How to build a faux apothecary cabinet - The Created Home
Monday 16th of March 2020
[…] even more drawer fun check out my Restoration Hardware inspired coffee table and sliding barn door hutch and […]
Mario Strim
Monday 21st of October 2019
Hi there,
You never explained the 3 way mitre joint used to attach the leg to to the top assembly. Can you please provide a link to this?
Sarah
Tuesday 16th of June 2020
I actually covered that in a separate post, here: https://thecreatedhome.com/printmakers-table-reclaimed-wood-frame-45-degree-joints/
Since then I have learned about the correct way to cut that joint. I have not, however, attempted it - and the one I did is holding up just fine. But if you like a challenge... https://www.finewoodworking.com/2012/05/29/see-it-in-motion-three-way-miter-joint
Sidonia
Monday 14th of October 2019
Looks great! Did I miss how much this costs to make?
Sarah
Thursday 1st of April 2021
That is a hard one to determine. It depends entirely on what wood you use. I was able to use all reclaimed wood that I got for free, so the costs were quite low. That would go up substantially depending on wood variety. Sorry!
Jim
Friday 24th of February 2017
HI! Love this! Do you remember what color you used for the stain?
wpadmin
Friday 24th of February 2017
Thanks Jim! The stain color is Early American, by Minwax. :)