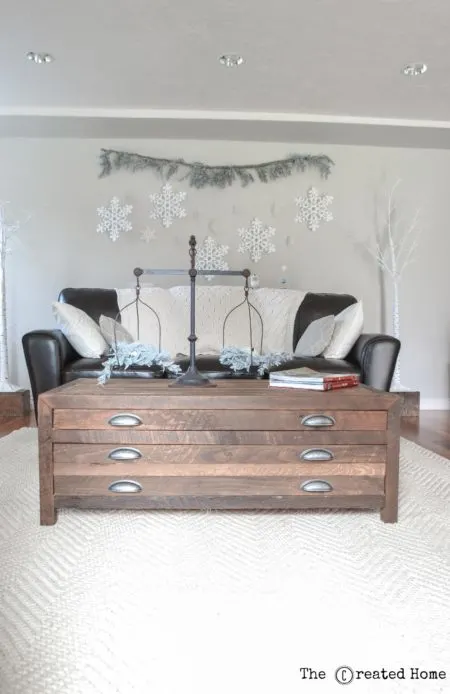
Remember this?
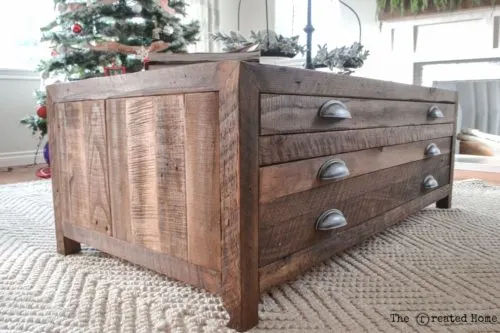
I’m still so in love with this printmaker’s coffee table. One of my favorite things about it was also the thing that made the build a bit challenging. If you have followed any of my stuff you know I love reclaimed materials. So when I started in on Ana White’s plans for this I knew I was going to attempt it all out of reclaimed wood.
The tricky part about using reclaimed wood is that you are not likely to find reclaimed 2x2s, because, well, it’s not like barns are built out of them, right? So I found some 2x4s in my garage (it’s a magical place sometimes) and scrubbed them up…
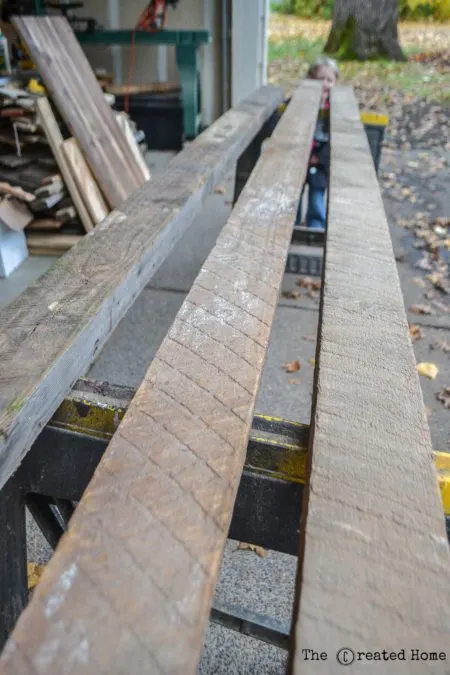
…then ripped them down. Here’s where things got a bit sticky. These were mostly true 2x4s, but since I wanted only one side to show freshly ripped wood and the rest to preserve the texture, the dimensions were not quite consistent. One option would have been to rip another side to bring them more even with each other, but the texture was just to die for.
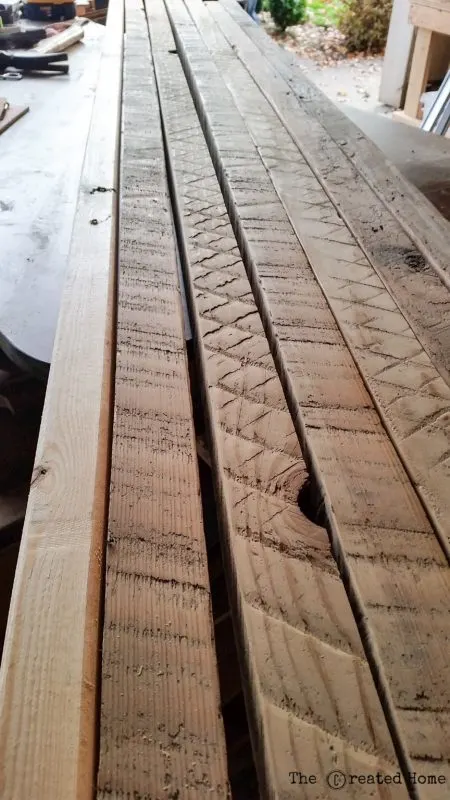
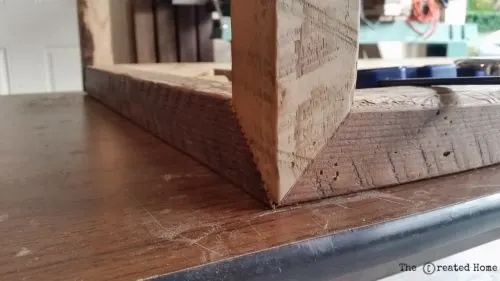
I think sometimes working with this sort of material is equal parts courage and foolishness, but it really is worth the effort. Bear with me. Because next I decided after weeks of deliberation that I just had to try to recreate the way Restoration Hardware used 45 degree angles to bring the frame together. My husband thought I was nuts when he saw what I was doing, and recently informed me that he still thinks it was kind of crazy…and absolutely a good move.
Really, this is completely, totally, and absolutely unnecessary. The 90 degree angles in the plans will give you a product that is every bit as lovely. Buuuuuut, if you just have to know how it is done, press on my friend.
How to create a 45 degree frame for the printmaker’s table
I mocked up most of the frame first before using the actual material. Here’s how it came together.
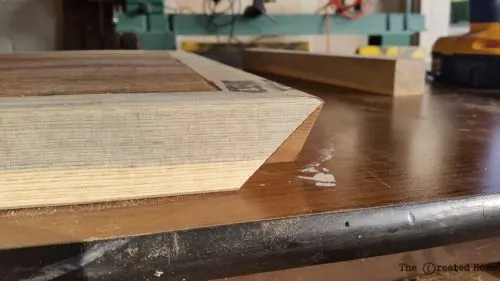
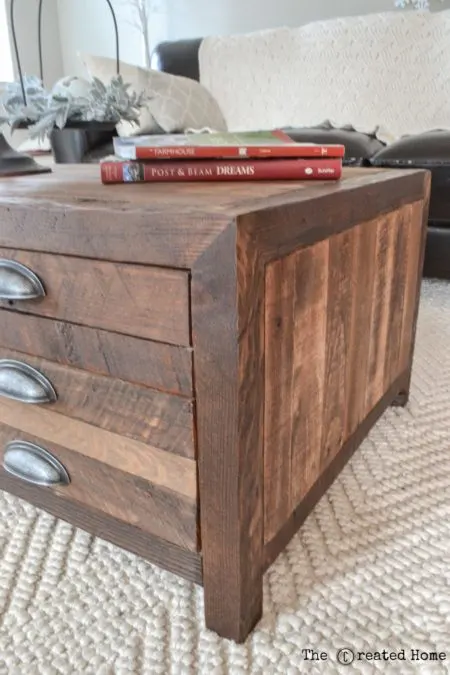
And here is what it looks like! It is not perfect. Because of the slightly different dimension of the wood I had to really work with it and use a bit of filler in the end.
I’ll let you be the judge whether it was worth all that effort. Personally, I’m happy I took on the challenge. But then, I kind of thrive on challenges.
Hop over to ana-white.com for the printmaker’s coffee table plans and check out my tutorial here. Thanks for reading!

Courtland
Friday 28th of December 2018
How did you actually attach the three pieces to each other?
Sarah
Wednesday 30th of January 2019
I glued them, and tacked them together with brad nails more to hold them while the glue dried.
Jennifer
Tuesday 25th of July 2017
I absolutely love how that turned out. It was worth the effort! Also, I love the area rug in your picture. It provides a nice contrast with the wood and the pattern adds more dimension without being overwhelming. Could you tell me where you purchased it?
Richard Robertson
Wednesday 7th of June 2017
Wow! Amazing article. Actually, I wanna know which wood do you use in your project? Thanks
Sarah
Wednesday 7th of June 2017
Thanks! I constructed it using a mix of oak wood I found on the side of the road and some salvaged doug fir boards. :)