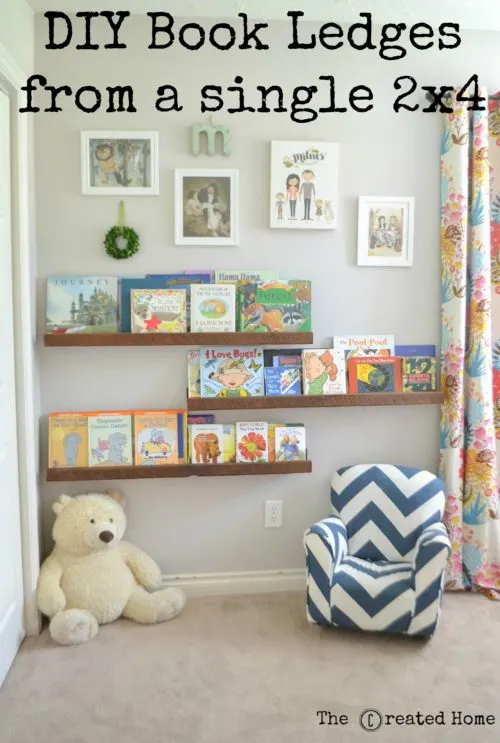
Book ledges are a popular way to store children’s books. They are stylish, make it easy for kids to put their books away, and unlike bookshelves they cannot be tipped over. They are also really easy to make. I made all three of these book ledges with a single 2×4. A ten foot 2×4 runs a little under $5 at my local hardware store, so that’s five dollars for three ledges!
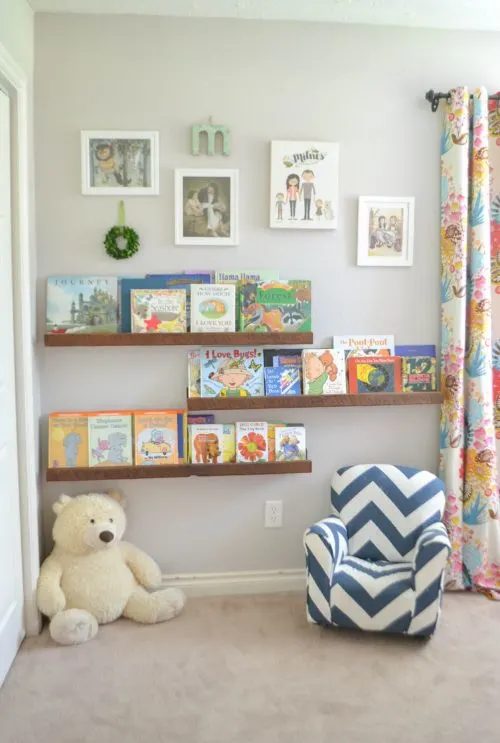
How to make three book ledges with one 2×4
*This post contains affiliate links for your convenience. You can read my full disclosure statement here.
To make the ledges you will need the following:
Materials:
1 – 2 in. x 4 in. x 10 ft. board
1 1/2 wood screws (These Spax screws are just awesome.)
1 1/2 finish nails (optional)
Tools:
Miter saw
Sander (Optional, but seriously, get this one if you don’t have one.)
Table saw
Nail gun (optional)
Tape measure
Cut the board
A ten foot long 2×4 will make three shelves at slightly under 3′ 4″. You can get whatever length of board you like for the size of shelves you want to make.
You will need to rip your board in two ways, like so:
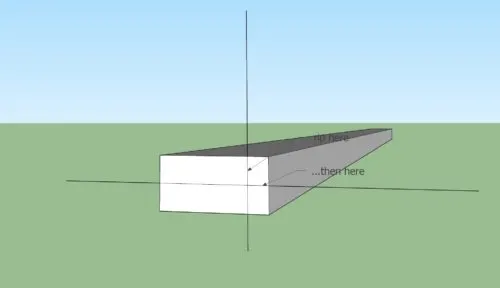
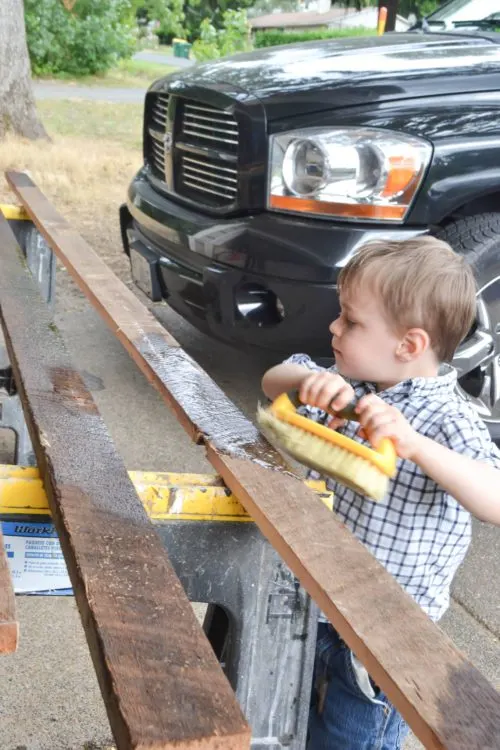
Start by cutting 3/4 off the front of the board first, then rip the rest of the board in two lengthwise. One slice will form the backer and the other the bottom of the ledge. The smaller 3/4 slice will form the front lip of the ledge. This will give you 2 3/4″ space for books. I used reclaimed wood for my ledge, so in my case the board was a true 2×4. This project works great with salvaged wood. However, if you are working with reclaimed material you will want to sand and scrub all of your wood at this stage in the process (or have someone do it for you).
Assemble the board
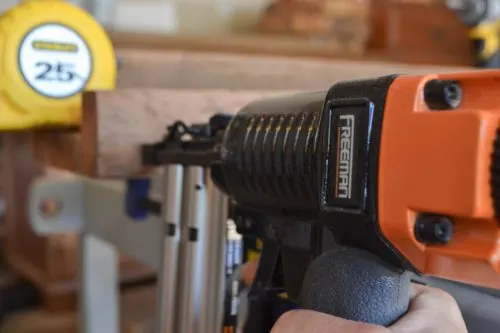
Set the three pieces up like so, then glue and screw in from the back to attach the backer. Pre-drilling will help ensure that your wood does not split. To attach the front piece you can either screw or use finish nails.
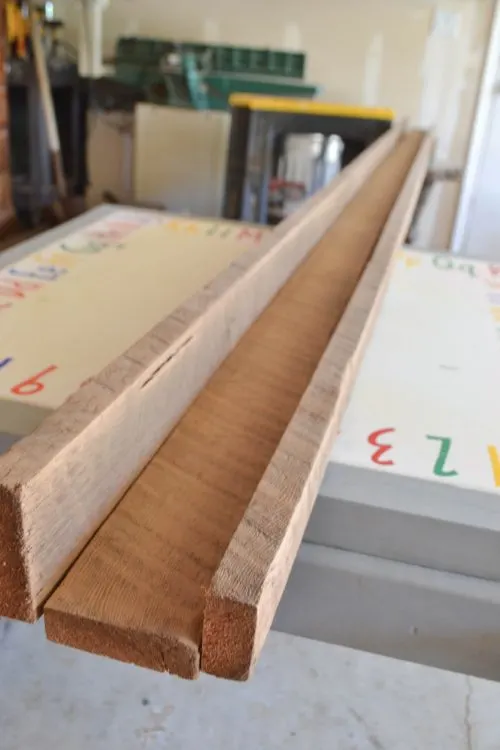
Cut it again
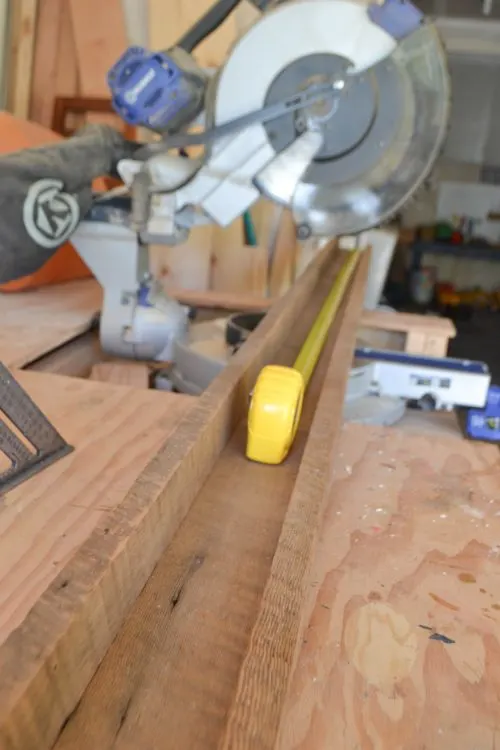
Once your large ledge is assembled measure for the length of the individual ledges, and cut them on the miter saw.
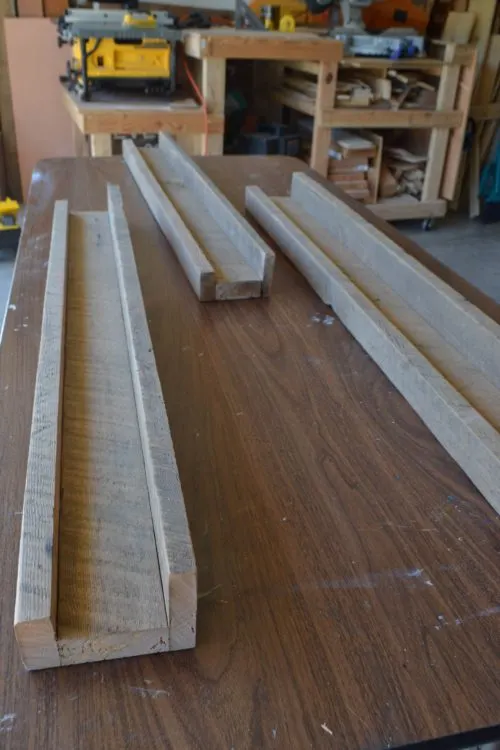
Here is what the ledges should look like after cutting.
Finish the book ledges
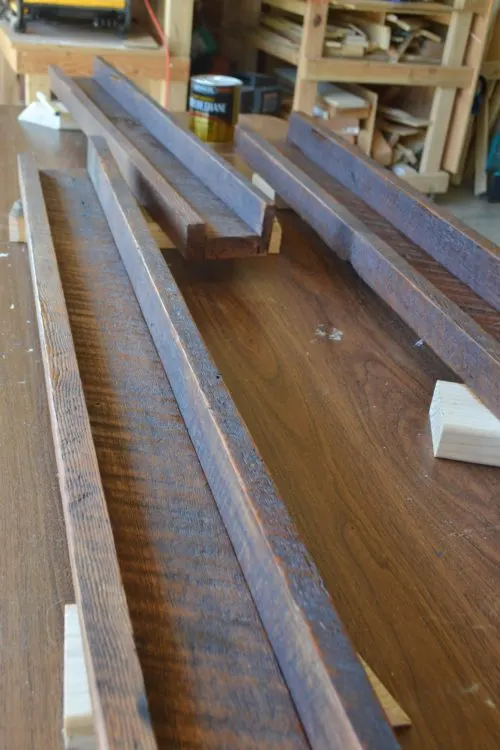
At this point I would stain or paint the shelves if using fresh lumber. With the reclaimed wood I simply added a coat of polyurethane in a satin finish.
I attached them to the wall by drilling holes through the back and screwing them into studs.
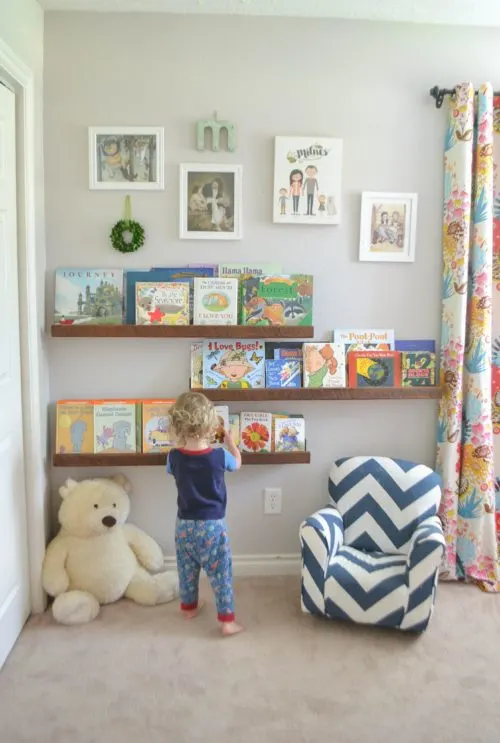
How easy is that?! My kids loved loading their books up onto the ledges. My two year old cannot quite reach the top shelf, but the three year old can.
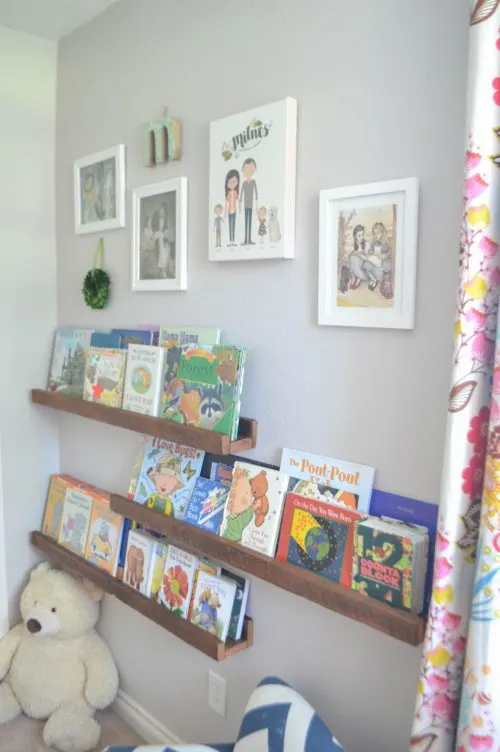
My kids share a room, so there is not a ton of extra space. The ledges are more space friendly than the bookshelf that these replaced, and the kids love their new reading area.
Thanks for reading, and happy building!
*Update*
We recently upgraded my son’s bed from a toddler to a large antique Jenny Lind style, necessitating a room rearrangement. (Side note: How entirely fabulous is this bed?!)
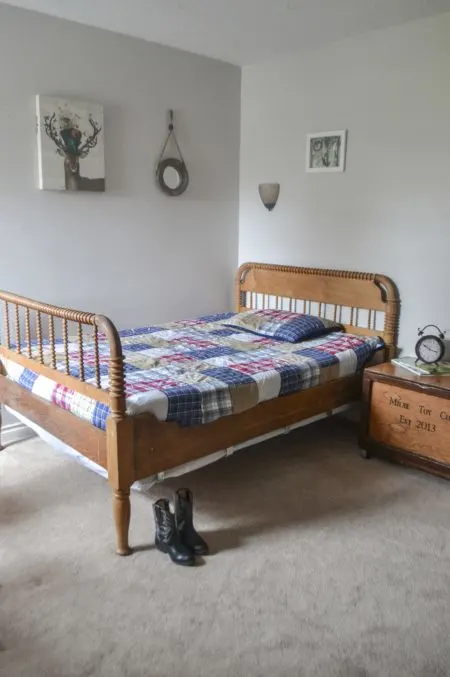
The shelves had to move so my daughter’s bed could go against that wall. Each shelf was held up by two screws. It was a simple matter to take them down and relocate them. The room has this awkward hallway in it, and because the shelves are so low profile they fit in that space – somewhere a bookshelf would never have worked.
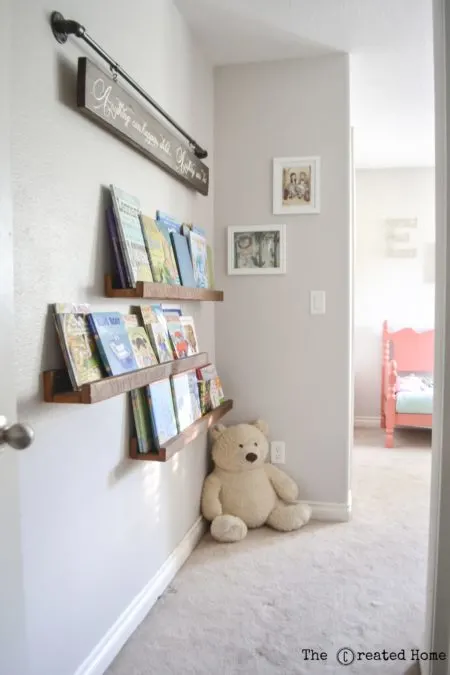
Another shot to give you an idea how this works in a narrow space…
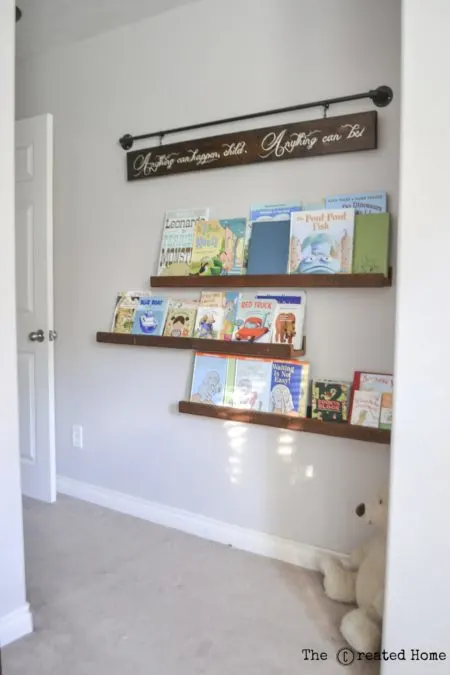
Guys, these shelves have me all sorts of silly happy. They are beautifully simple, they work fantastic in any space, and they just brighten the room, don’t you think?!

25 Beginner Woodworking Projects - The Created Home
Sunday 16th of February 2020
[…] DIY Book Ledges from a 2×4 […]
Ruthanne Szenasi
Thursday 14th of December 2017
I love these!!!!!!!! Thank you for sharing!!
Becky
Thursday 6th of July 2017
Love the shelves! I noticed the family picture that looks like a painting or cartoon character type, was that purchased in an Etsy shop? I would like to have one done of our family. Would you please share where I could purchase one or send me a link to the artist who did yours? Thanks
Sarah
Tuesday 11th of July 2017
Thank you! The picture was done by InkLaneDesigns on Etsy. Here's a link to her shop: https://www.etsy.com/shop/InkLaneDesign