
If you have been following along, you know we are nearing the final curve of our One Room Challenge kitchen renovation. I’m preparing a final reveal for next week that will blow your minds, knock your socks off, and otherwise amaze and delight…which is probably more than I can say for my cooking, by the way.
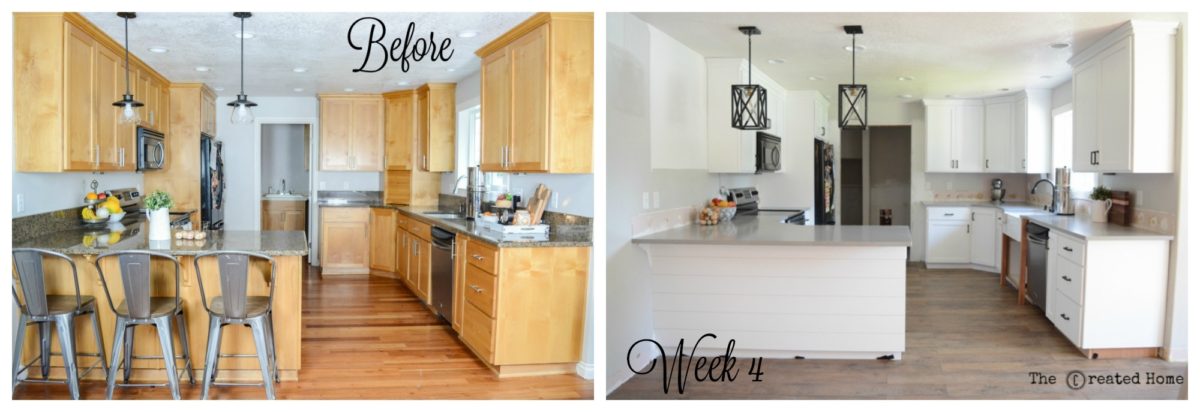
As a reminder, here is where we started a few weeks back, and where we left off last week.
The theme from here on out is architectural details. The stuff that makes my little woodworking heart so happy. Custom corbels! Beams! Shelves! A vintage inspired sink base!
Let’s talk about that last one. Want to up the wow factor in your kitchen? This is it, my friends.
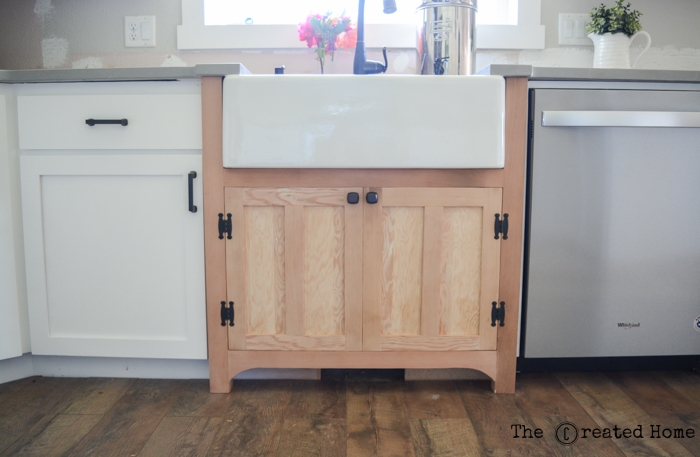
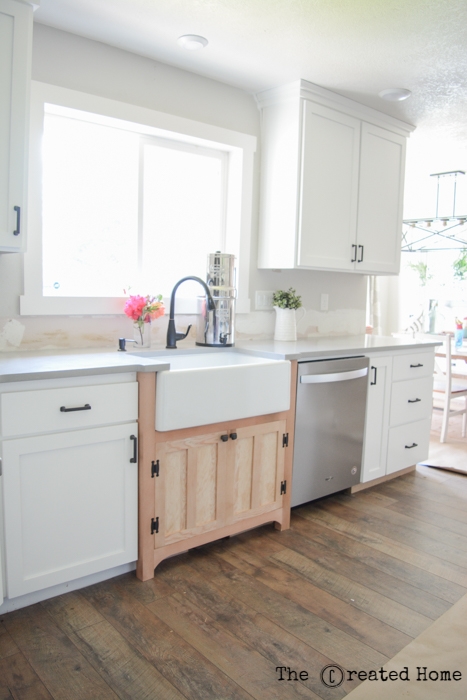
Behold:

Oh my gosh, I am so in love. Is it okay to say that about something you made? Whatever, I’m pleased as can be over this. The vision was to create a facade that made it look like the kitchen was built up around this cab, rather than the other way around. Whichever way you see it, it fills my little reclaimed wood loving heart with joy unmeasured.
Obviously, custom work is…well, custom work. But I thought I would walk you through how I did this, and hopefully it will be helpful if you decide to undertake something similar.
How to create a custom vintage style sink bump out facade
(whew, that was a mouthful!)
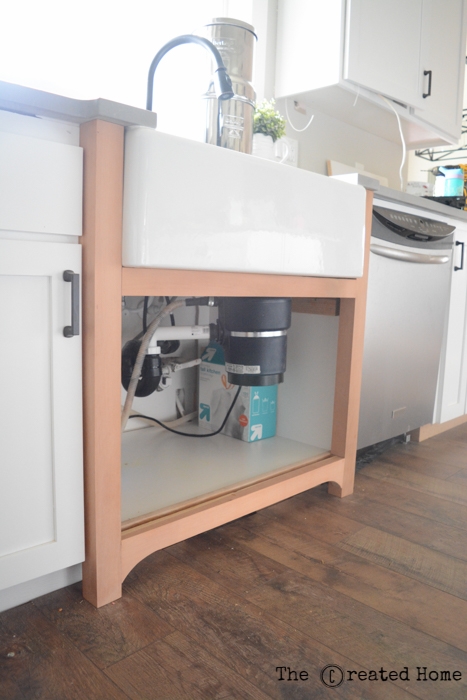
It was essential to me that this be constructed of actual, old wood. No matter how you distress it, new wood will never quite look old because the grain is not tight like aged lumber. The frame for this is built of a wood beam from a local barn, and the doors are made from the frame of a 1910 era farmhouse door. I love that not only is it all well over 100 years old, it’s all local.
Step 1: Construct the Frame
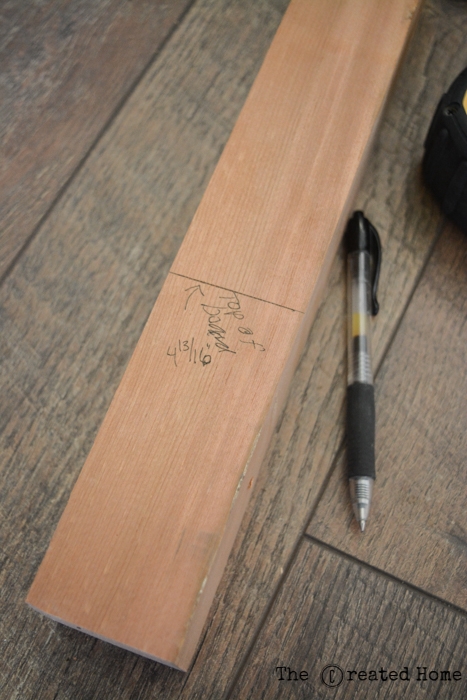
The posts for my frame are 2 1/4 x 2″. I arrived at that number by determining what would fit in the space and deciding how far out I wanted our new quartz countertops to jut out. The legs are fit tightly against the floor and up under the countertops.
I determined where the top and bottom rail would sit by holding up pieces and marking a line at top and bottom. Working around a farmhouse sink is interesting because it is not very linear, but I made the fit as tight as possible where the support runs under the sink. The support at the bottom is level with the existing cabinet. Be sure both sides are the same to keep everything square.
Step 2:
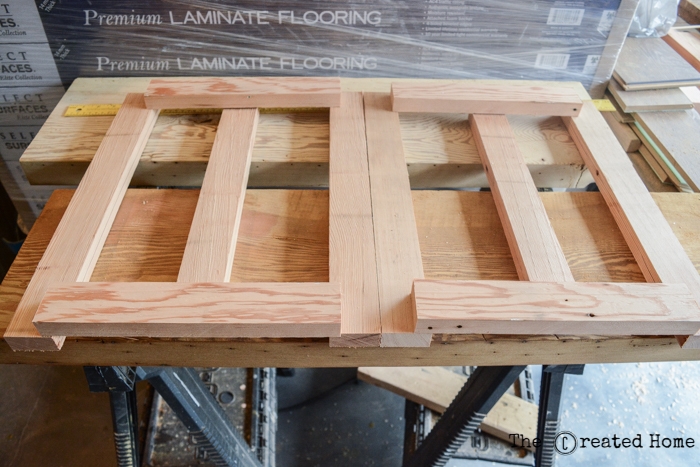
I wanted that bottom support to have a curve for a little extra detail. To create it I used a lid that seemed about the size I wanted.
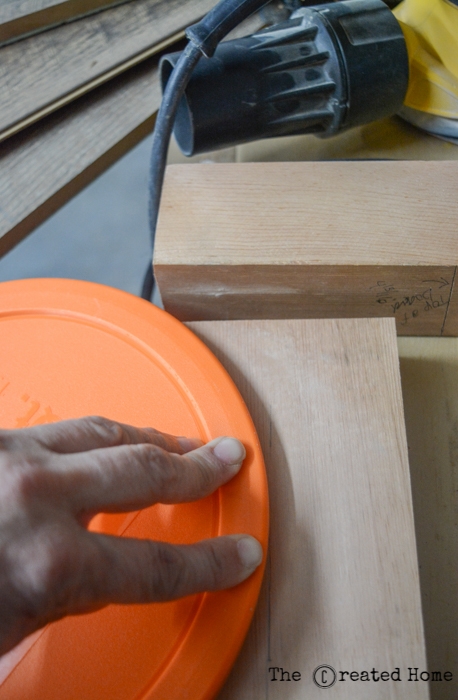
Using a guide ensured the curve is the same on either side.
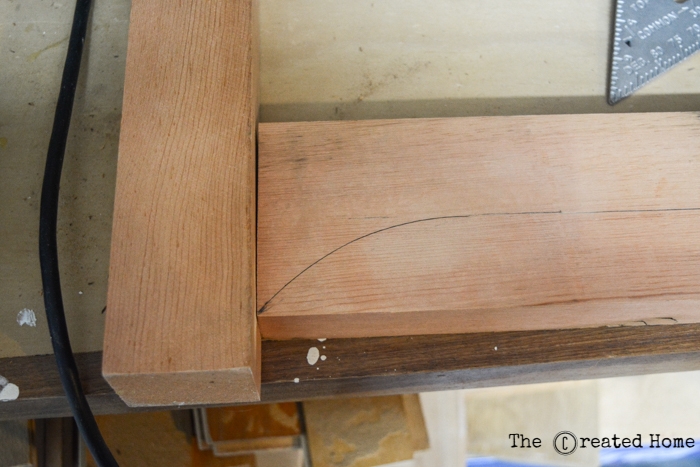
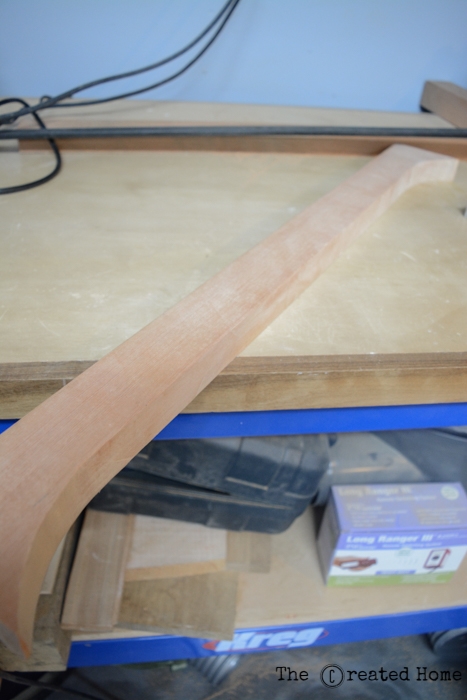
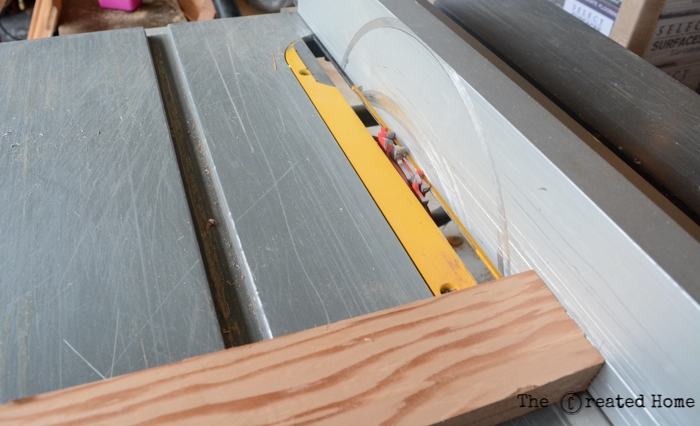
I cut out the decorative bottom support using a combination of the table saw and a jigsaw.
Step 3:
Join the supports to the frame with pocket holes.
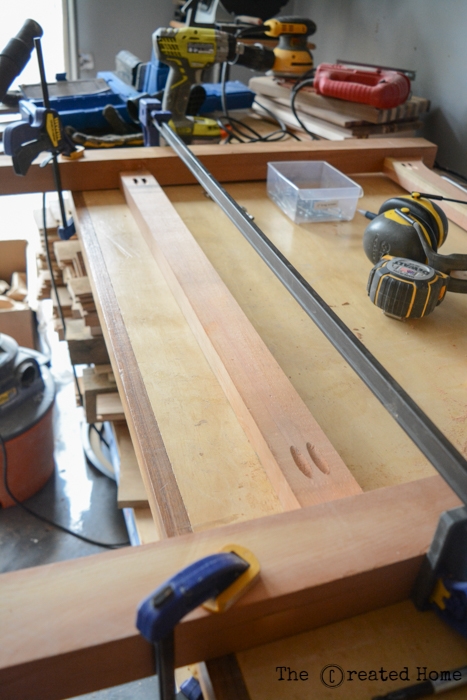
That’s it for the frame!
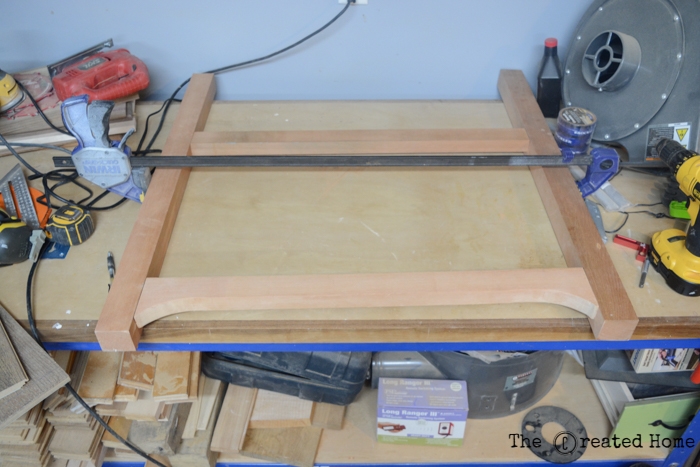
You will want to dry fit the frame to ensure a good, tight fit. I wanted this so snug around the sink that it was nigh unto impossible to get on and off, but I did remove it to fit the doors.
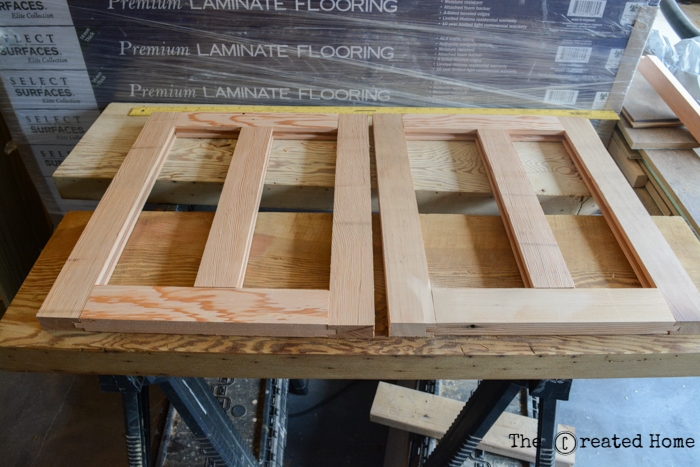
Step 4: Build the doors
I am not going to go into precise details for cabinet door making here, but I’ll go through the steps I used. My doors are shaker style with a floating panel to account for wood expansion. I made them using the table saw and a dado stack, though the router would work just as well.
I created inset doors for this sink cabinet…facade. The stiles (vertical pieces) are the length of the space between the top and bottom support, minus 1/16. (1/8″ makes more sense, but I would rather sand back than have a gap, so I err on the side of too long by a hair.) The rails are half the width of the space (because there are two doors), minus 1/8″ so there is room to open and close the doors, PLUS 3/4″ to allow for the tongues that fit inside the stiles. My dados are 3/8″ deep, and so one on each side makes for 3/4″. Here it is laid out before cutting the tongues.
With my dado stack at 3/8″ wide I carefully cut each tongue (this is definitely best done with a cross cut sled), then ran a dado along each piece that needed to hold the panel.
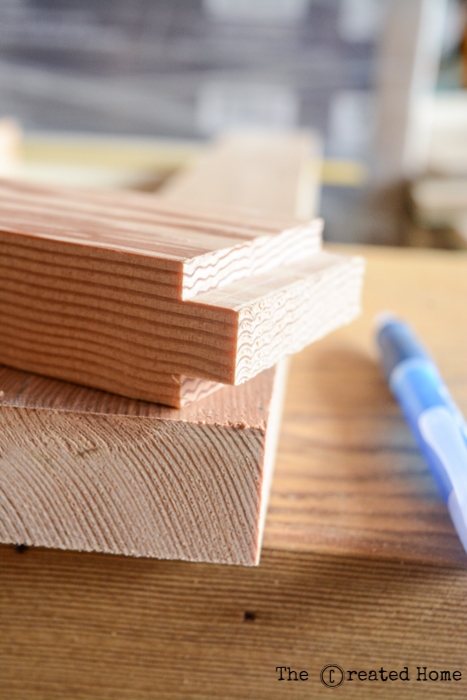
(The tongue is a bit too thick in that photo – this was while I was still setting the blade height.)
Step 5:
It took some finagling to get it just right, and a lot of measuring, but a precise fit is really important here. The panels are 3/8″ thick and fit a bit loosely in their slots so they have room to expand and contract.

I put a bit of glue on each tongue and clamped them lightly until the glue dried. There are no nails or other hardware holding the doors together. I will own that some joints are not as crisp as I would like, given the nature of really old doug fir. But overall I’m pretty pleased with them.

Step 6:
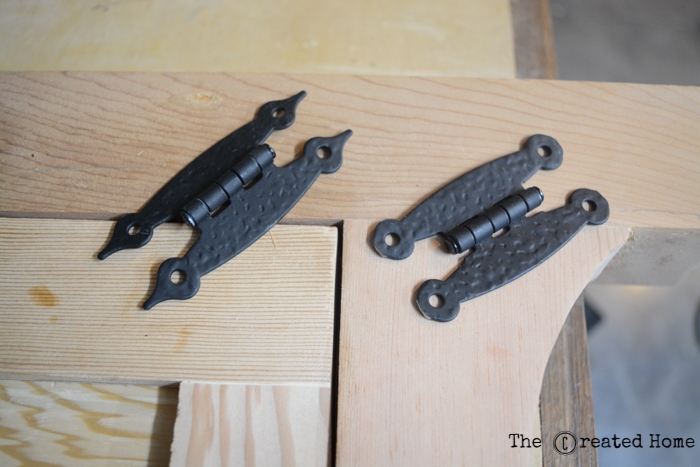
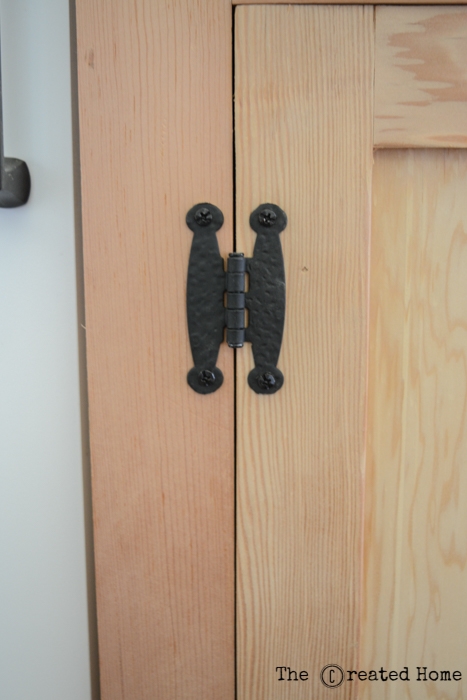
Add hinges and hang the doors. I used these old school style hinges, mostly because that’s the style that would work for inset doors framed as they are. But I hate the pointed ends, so I ground them off with my grinder, which you can see on the right.
I like how they turned out!
The final step was to fit the cabinet front in its place around the sink and snug against the existing cabinetry. It took two of us with hammers and sacrificial boards to get it pounded into place. It fits like a glove. A really tight leather glove that has been left in the rain.
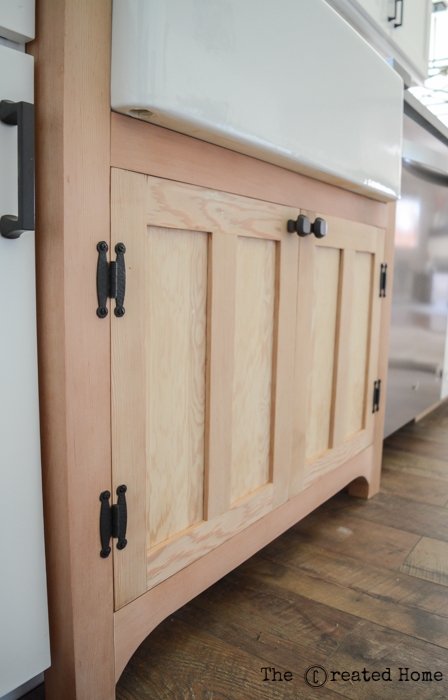
My plan at this point is to leave the wood natural and seal it with a bit of clear wax. The knobs are in the same family as the Mandara pulls from D. Lawless Hardware that grace the rest of the kitchen. You will see more of those in next week’s reveal. The modified shaker design of the doors is meant to tie into the shaker design of the modern cabinets, while the curve at the bottom is a counterpart to the corbels I am adding to the island/peninsula, which will also be natural wood.
Details like this are moving our kitchen renovation from a “nice” to a “wow.” I am excited to share the rest of the details with you over the next week, and in the reveal next Wednesday. Be sure to follow along on Instagram and Facebook to see it all come together!
Happy building!
Sarah

Danielle
Wednesday 9th of May 2018
This sink is AMAZING! I love how you created your own doors. I cannot wait to see the finial product.
Danielle
clarkandaldine.com
Jessica | Petal + Ply
Tuesday 8th of May 2018
Love the contrasting sink cabinet. So lovely!
Sarah
Thursday 24th of May 2018
Thank you, Jessica!
Vicki and Jenn
Monday 7th of May 2018
This is an amazing build. It looks beautiful and perfect in your kitchen!
Sarah
Thursday 24th of May 2018
Thank you!
Susie
Thursday 3rd of May 2018
Whoa girl! This sink is blow-my-hair-back beautiful! Hands down my fav DIY of the week. Serious skills at work. Great eye for design. A super combination! See you HERE next week. ~~ Susie from The Chelsea Project
Sarah
Thursday 24th of May 2018
Haha! Thank you! You are too kind. :)
Emy
Thursday 3rd of May 2018
I've always wondered how cabinet doors are made! Your sink cabinet looks amazing!! I love that you're leaving it natural wood. It's gorgeous!!
Sarah
Thursday 24th of May 2018
Thank you! I love a little natural wood. :)