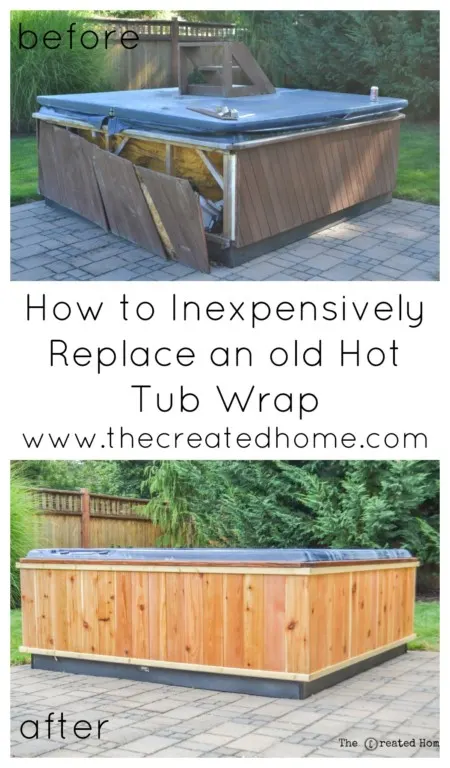
This was our sad, dilapidated hot tub before this last weekend. Talk about an eyesore. I’m a bit embarrassed to share this with you!
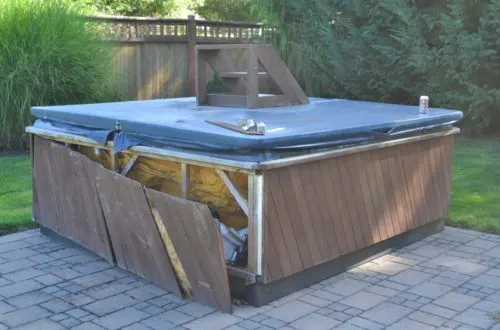
In our experience it is easy enough to pick up a hot tub from Craigslist, but usually they look pretty shoddy. My husband got this hot tub just over five years ago and we had an electrician do some work on it. It was showing its age then, and when we returned to our home after renting it for a couple of years it was looking very sad, indeed.
This poor wreck has sat on our to do list for a year, drained and pleading for some attention. This past weekend we finally tackled the beast, and now I’m going to show you how you can get your hot tub all ship shape in a weekend as well.
I should say right off the bat that this is about repairing and restoring the casing to a hot tub, not the mechanical parts. I prefer to step aside and let the professionals do the work when it comes to most electrical work.
Dismantling the hot tub
First, demo.
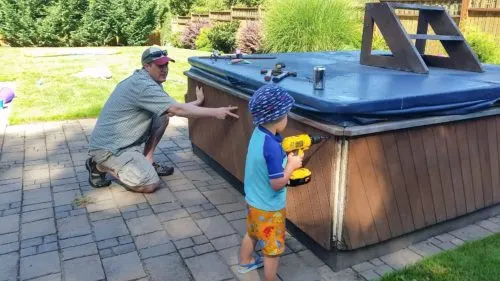
We removed the panels, which in the case of an old wood wrap are usually just screwed on.
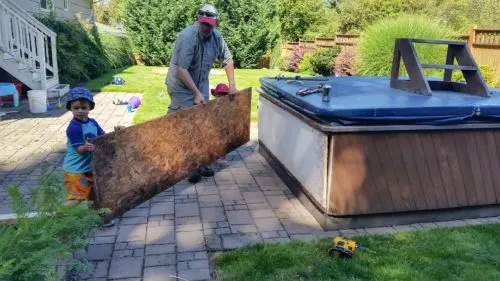
Pay attention and take a few photos as you dismantle the shell so you can be sure everything goes back in properly. Our wrap consisted of an internal layer of polystyrene insulation, followed by OSB, and then topped with cedar planks.
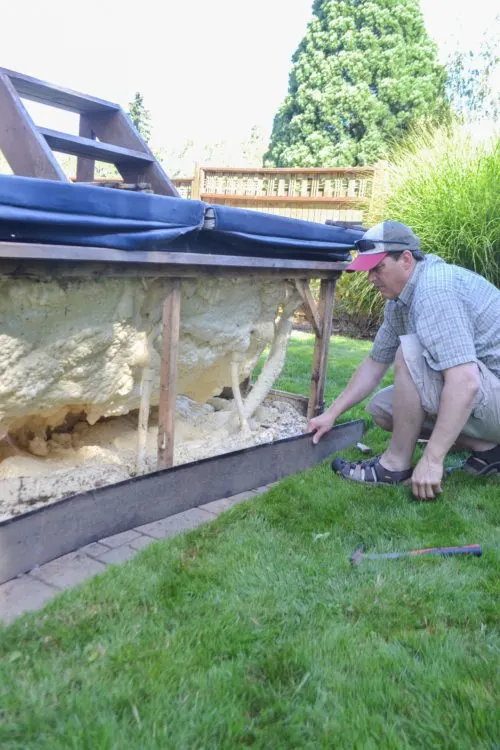
Under the shell there is a sort of footer or toe kick. We removed this, scrubbed it clean, and painted it with some black spray paint.
Removing the shell revealed this.
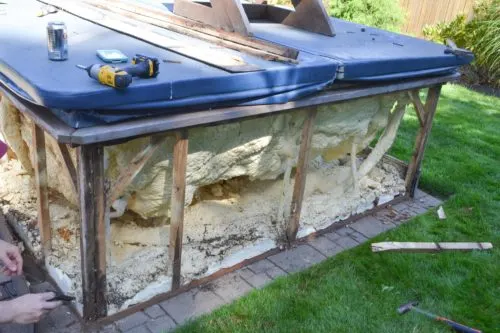
Dry rot. We probably should have expected it, but what we really needed to do now was to reframe much of the tub. If you run into a similar issue don’t panic. Here is how to fix it.
How to fix dry rotting in a hot tub frame
Many of the supports looked like this when we pulled off the hot tub wrap.
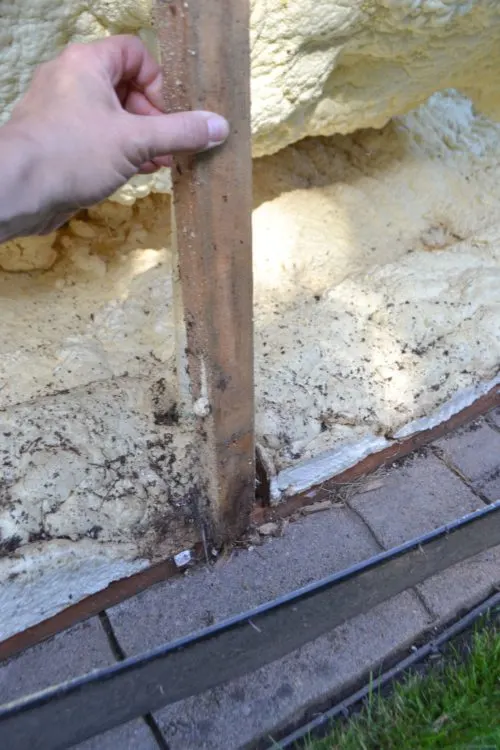
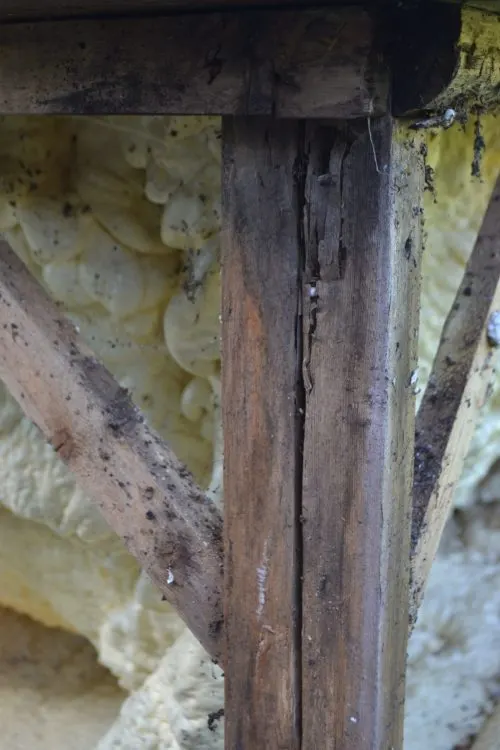
The damage was enough that I could easily poke a finger through the bottoms of the boards. Here is another shot of the corner supports.
Our hot tub supports were 2×2 boards, and we just happened to have a bunch of those in the garge. Lucky, eh? We removed the damaged material a couple at a time and cut the new supports so that they would fit tightly.
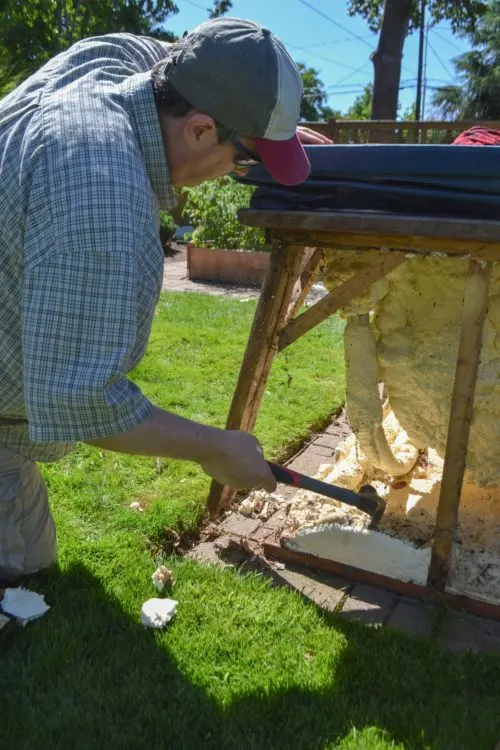
Here’s what the frame looked like after replacing 8 of the supports.
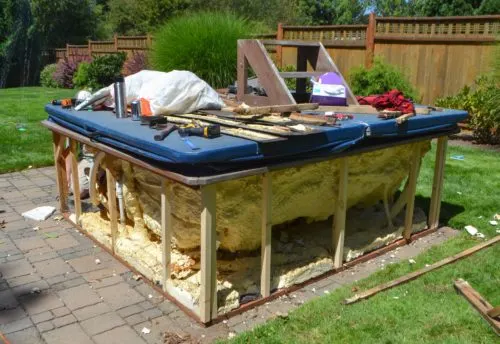
Please note that in this case the reframing consisted of entirely the side supports. The base support was replaced when the tub was placed five years ago, and the pressurized wood has held up great. If it had not we would have had to tip the tub onto its side to replace those pieces.
Building the hot tub wrap
We started by replacing the newly painted toe toe kick.
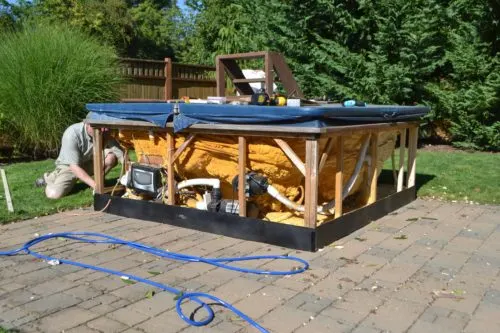
The toe kick is topped with a 1×2 board that we grooved on the bottom to notch over the plastic kicker.
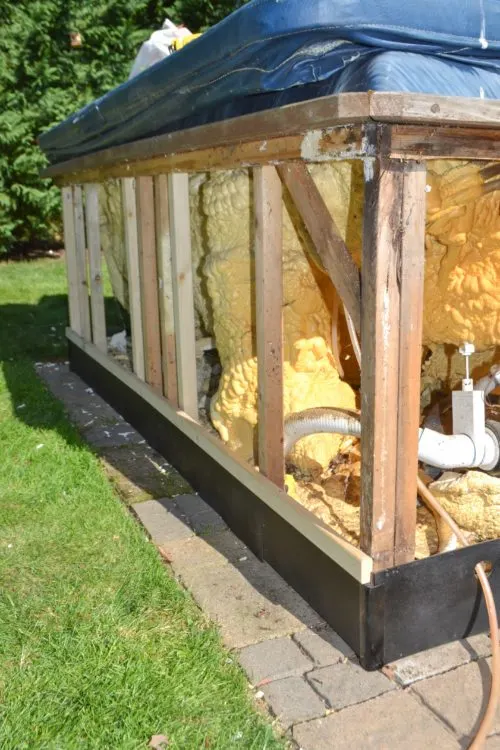
After that the first layer was some polystyrene, which fits between that 1×2 board and the similar dimension top board. In our case three of the four sides were in pretty good shape and we simply reused them. For the fourth side we picked up a 4×8 sheet of polystyrene foam insulation at Lowes and cut it to size.
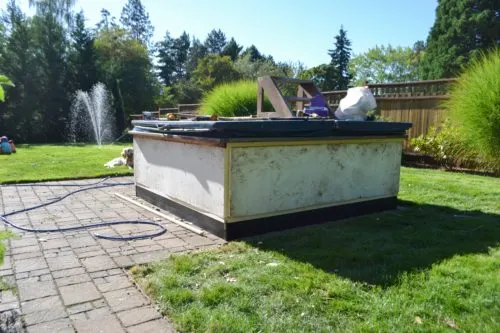
The polystyrene is followed by a layer of osb, which we cut to size and nailed to the 1×2 boards.
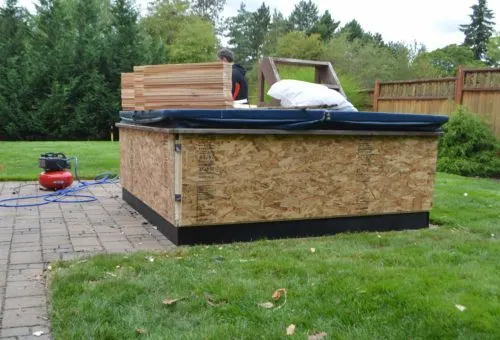
Siding the hot tub
For the final layer (the pretty part) we used 5.5″ wide cedar boards, which were $1.82 at Lowes. We were able to get two panels per board, for a total of 32 boards.
We started at the corners and nailed those together first with a finish gun, then nailed them too the side of the tub. These final panels should extend past the bottom of the osb and 1×2 nailer by about an inch. This will prohibit any rain from getting up into the under-layers.
Corner boards may also be raised above the rest of the paneling, but in our case we were not replacing that top shelf, and we did not want the corners to protrude past the existing 45 degree corners you can see in this photo.
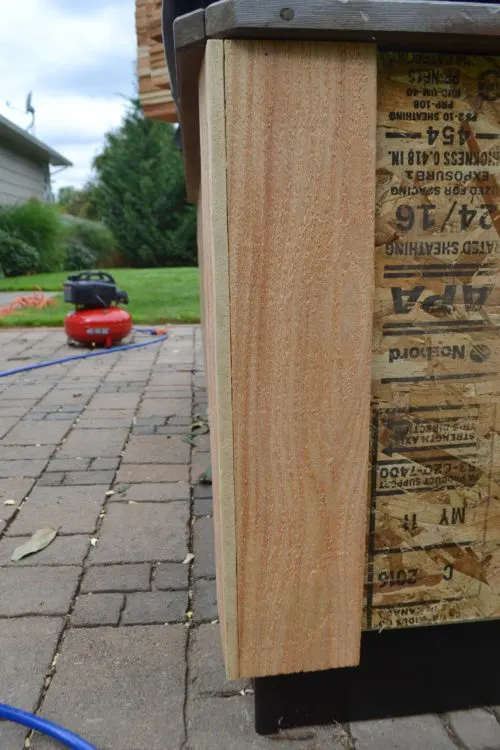
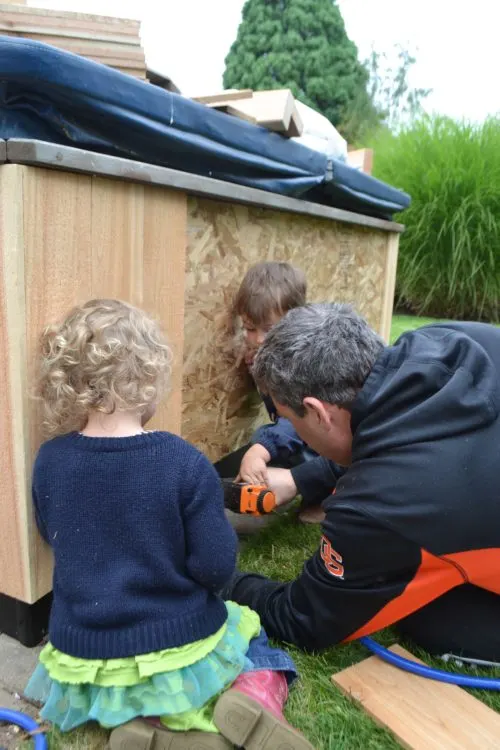
The rest of the panels were nailed to the sides. It was necessary to rip one piece per side to make everything fit in nicely. Around here we work with a little additional help.
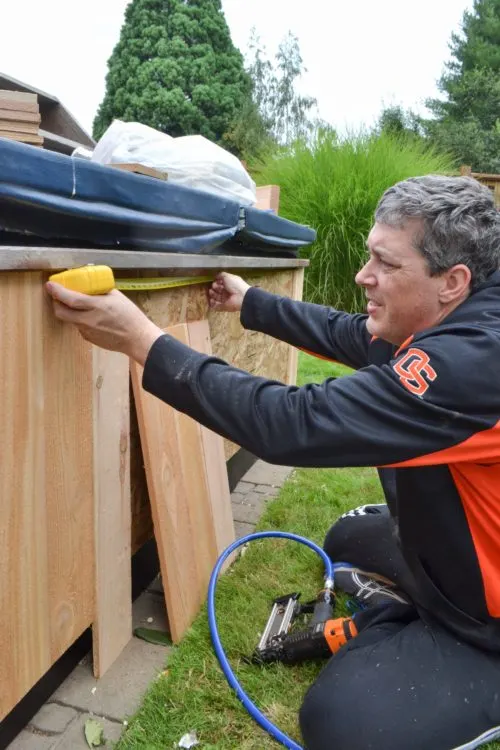
Another siding trick is to stop every few boards and measure the remaining distance between the last board you placed and the next corner board. Do this for the top and the bottom, because that distance will change as you work and you want to keep it as even as possible.
Because we used rough cedar pickets we had to sand the sides. In this photo the right side is sanded and the left is not.
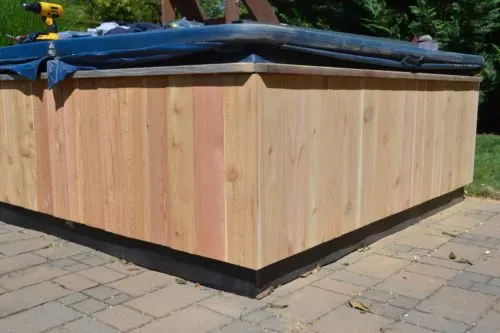
To finish the look we added 1×2 trim to the top and bottom.
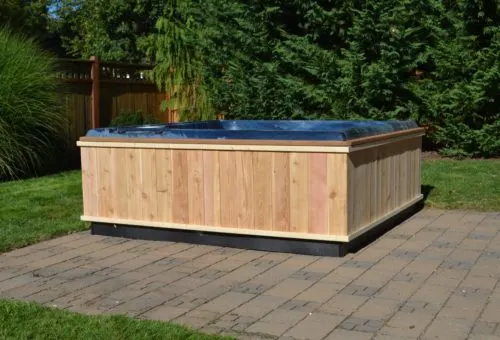
We left the boards their natural color and coated them with a couple coats of spar urethane. I will add a final third coat today.
And here it is!
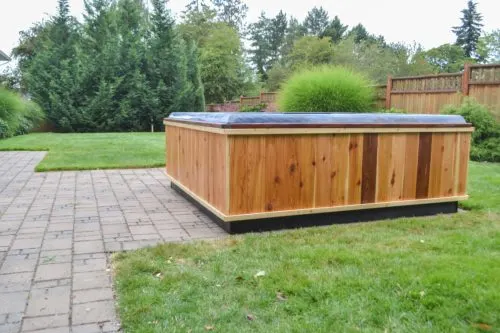
Here is our cost break down:
$58.24 for the cedar planks,
$11.45 for the polystyrene sheet
$12.55 for the OSB
$7.68 for the 1×2 trim
$33.14 for the two quarts of spar urethane it required to cover everything.
$5.55 for 2×2 boards (we had them on hand, but that’s what they would have cost.)
That brings the total for this hot tub reframe and restoration to $128.56. Not too shabby, and our backyard looks soooo much better! Our plan is to build some stairs and a couple cabinets for towels along the front of the tub. We also have to replace the old worn out cover, which we are working on right now.
It is so nice to have that old broken down shell gone. We are happy with how it turned out, and with how inexpensively we were able to do it.
Happy building!

daniel trumps
Tuesday 22nd of September 2020
nice esthetic recovery, i assume that project had no motor/pump issues, no control board issues or delamination in the fiberglass?
Sarah
Thursday 1st of April 2021
Nope. It functioned well until the motor gave up the ghost a couple years later!
site
Thursday 11th of June 2020
Great post! It's always nice to see people making something on their own and doing it good! Hope your hot tub serves you well :)
Sarah
Tuesday 16th of June 2020
Thank you! It has held up well considering the cost of the project, which was very low. I recently made a change to it that I'll share soon!
The DIY Frugal Pergola: Your Questions Answered - The Created Home
Monday 17th of February 2020
[…] I made it using my neighbor’s old fence (he was going to take it to the dump), and the 20 year old cedar boards from our hot tub. (We replaced that hot tub wrap and shared that process here.) […]
Mike
Friday 17th of January 2020
I was looking for hot tub corner pieces and I saw your page. I believe that Hot Tub you have is a Coleman Model 250? I just completely rebuilt mine as well, except I also replace all the components: the blower, the pump, the control system and the panel. The only issue I was having was how to cover the corners. I also ordered a replacement cover and it has the tie downs on the corner, so making 90 degree corners doesn't work well. Also, your plan doesn't make the unit easily serviceable. Looks good though.
Sarah
Tuesday 16th of June 2020
Hi Mike. The panel on the front side is removable if the tub needs service. I just finished making some easy improvements to what we did in this post. It held up well considering the small amount we invested on it, and the changes will help it carry on even longer. One of them will be to add corner boards as you mentioned. I haven't tackled exactly how I will do that as yet, but will cover it within the next week, so stay tuned!
MJ
Saturday 29th of June 2019
You did an excellent job!!! Wish I had someone to do mine. Great work!!!!
Sarah
Monday 23rd of September 2019
Thanks! It's really a low cost solution. It won't last forever, but for the money it was a great fix.