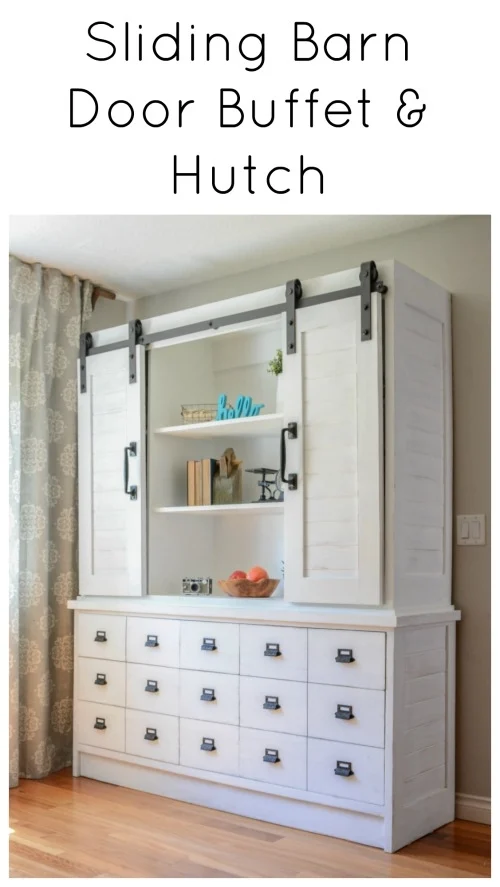
Once upon a time everyone in the world fell in love with this amazing buffet and hutch from Magnolia Home.
Guys, I knew I had to build this the second I saw it on Fixer Upper. So when the always amazing Jen Woodhouse said she was also in love with it, it was Going. To. Happen.
And it is glorious.
This is part one of a two part tutorial. The Buffet.
The buffet can certainly stand alone, and it looks amazing. The plans are on Jen Woodhouse’s site here.
*This post contains affiliate links. You can learn more about what that means here.
Here’s what you will need to construct the buffet:
Materials
11 – 1x2x8
10 – 1x6x8
2 – 1x3x8
2 – 1x10x 8
1 – 1x10x10
¼” ply 1 – 4’ x 8’
¾” ply 2 – 4’ x 8’
v-groove planks – 1 pack
1 ¼ brad nails
½” brad nails
Wood glue
15 file pulls
9 drawer slides
The Tutorial
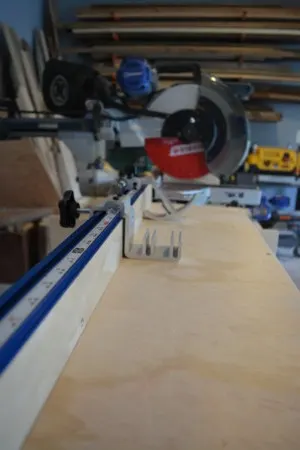
Forgive the brief side note, but I have to tell you something. This was the first build I have done using my new Kreg Trak and Stop system, and oh my gosh, my life has been changed forever. Not even joking. Repeat cuts – drawers, frames, all of those lovely things – they are dead accurate identical.
Okay, that’s that. Moving on…almost.
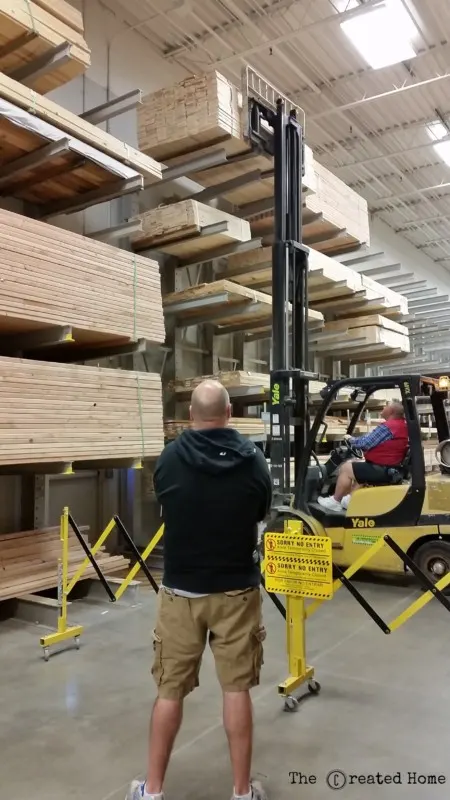
Let’s talk for a second about wood selection. I used basic white board from Lowes for this build, a decision I made based on economy and because I like to do things the harder way any time I can so I can tell you how it went. The bottom line, is that it all came out beautiful, but it definitely takes a bit more work. Using premium grade lumber would eliminate some of that work (some sanding, for example), but the difference in cost is significant. Whatever you choose to use, take your time to really dig through the stacks. Fortunately the guys in the lumber section like me, and were happy to pull down an another pallet of wood when every last 1×6 left in the section looked like parts of a sprung slinky.
Moral: Always be nice to the lumber people.
On to the actual building…
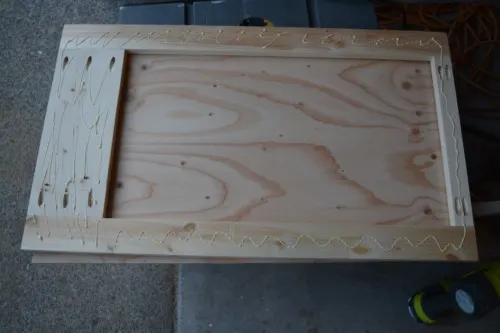
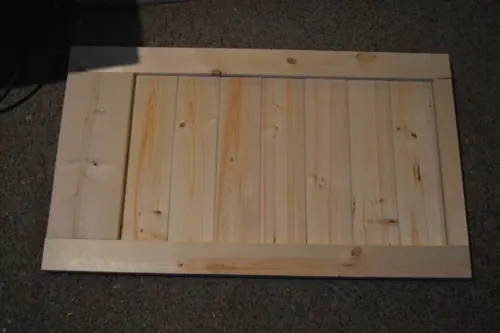
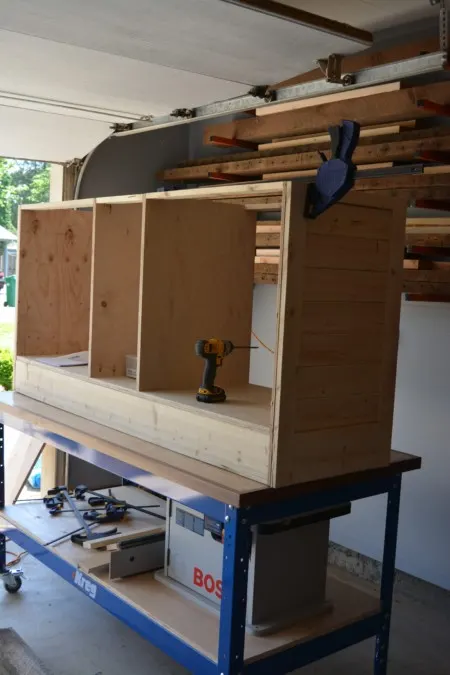
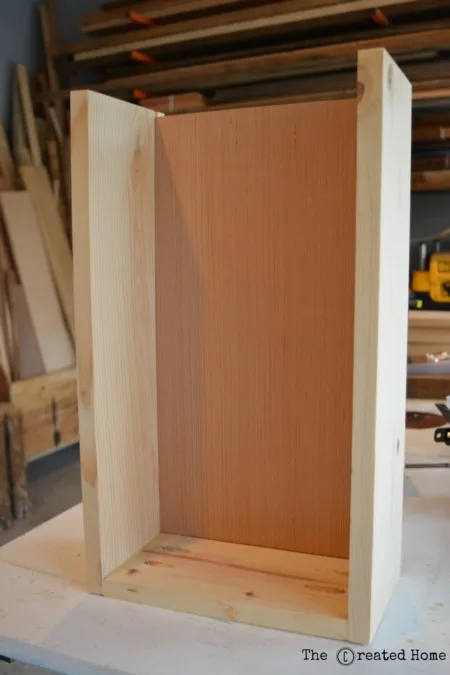
Start with the buffet sides. Cut the stiles and rails for the sides. Glue, clamp, and nail in place with 1″ brad nails onto 3/4″ plywood. The photo shows pocket holes. Don’t do that step. After one I realized it was unnecessary and stuck with glue and brad nails. Do it that way.
Cut 14″ v-groove planks. Glue the backs and gently space the pieces so that they fill the space. There will be about 1/4″ extra space or so if they are tight together. The tongues allow for a little movement so that you can fill the space.
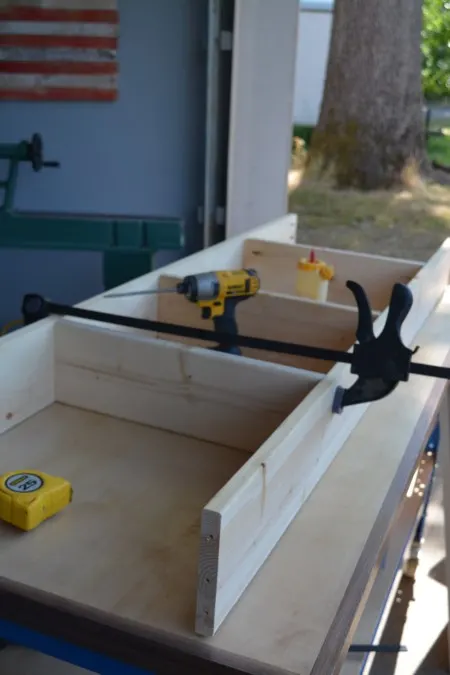
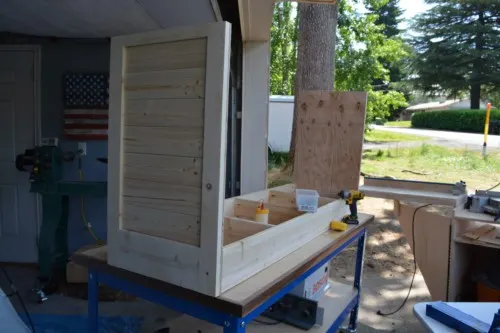
Assemble the box bottom. I did the 17 1/2″ spacers first – glue, clamp, screw, then used glue and clamps to stabilize and attach the end panels.
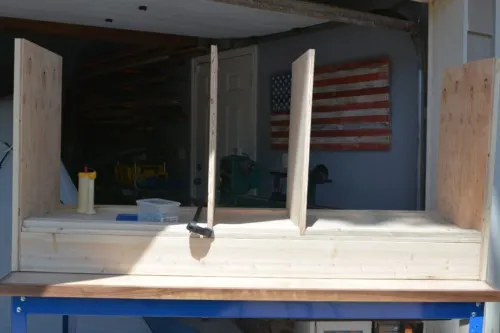
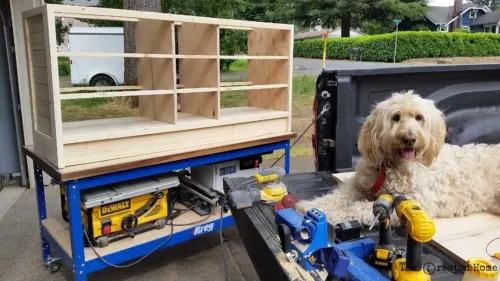
Cut and attach the 3/4 ply bottom, then cut the middle panel supports. I cut the support spacers from the next step and used them to space the panels correctly. Pocket hole the boards, glue the bottom, clamp them front to back to further hold them, and screw them down.
To attach the rails pocket hole each of them. Start at the top, glue and clamp tight, then screw them down. The rails add stability to the carcass. The drawers will not rest on them, but slides will be set off of them, so use a level to and make sure they are line up evenly.
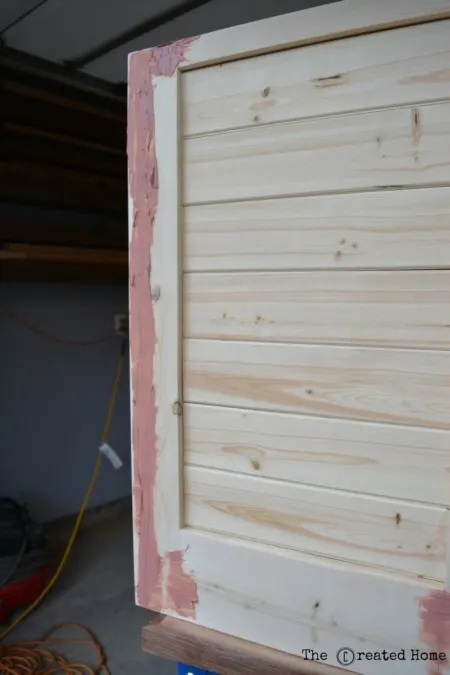
Attach the face frame The 1×2 boards will line up with the edge of the buffet.
I was planning to paint, so I used bondo to seal up that line and make it look like one solid piece. If you are planning to paint I recommend this method to get a good, seamless finish. If not, don’t, because it doesn’t stain.
Build the drawers
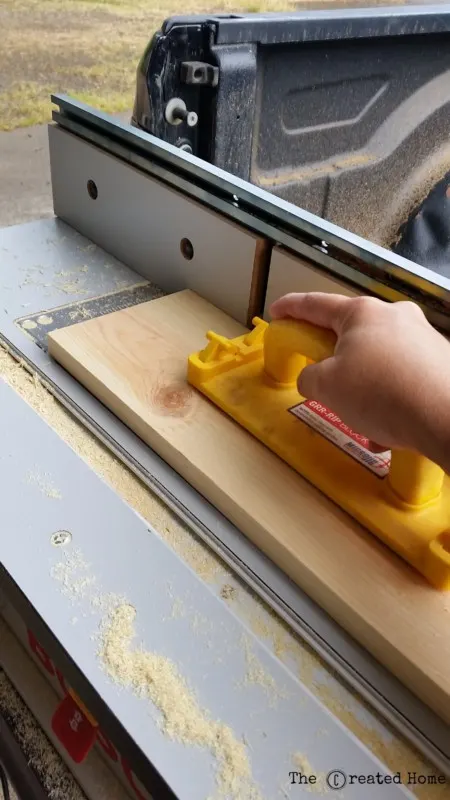
You’ll need to dado the drawer sides. Use a router or table saw. I used my router and 1/4″ straight bit.
One piece of 4×8 Luann underlayment is enough for all 9 drawer bottoms.
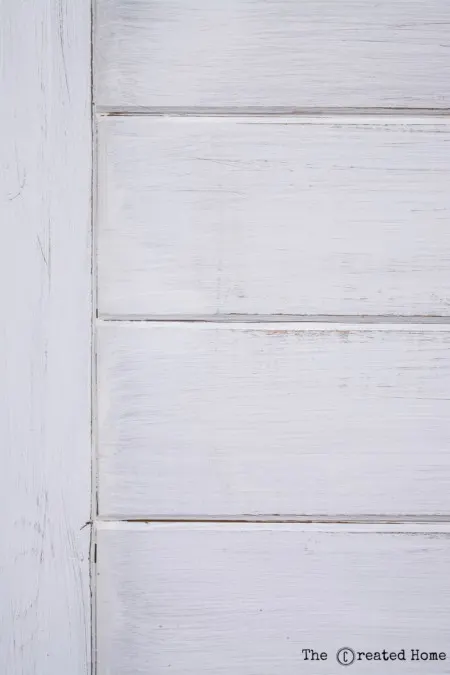
I recommend finishing the inside of the buffet at this point, before adding drawer slides or the top. I stained everything first, then painted. It’s a simple method of distressing. Sanding reveals the dark color underneath, giving it an easy aged look. The color of the stain isn’t terribly important. I used special walnut, by Minwax. The paint is untinted white. I am a die-hard Sherwin-Williams fan, but due to a series of events I ended up using another brand to paint all of this. It was streaky and I hated it so much that I went back over it with Sherwin-Williams in Pure White. So much better. So much. From there simply grab a sanding pad and sand back where you want to show the stain through the paint.
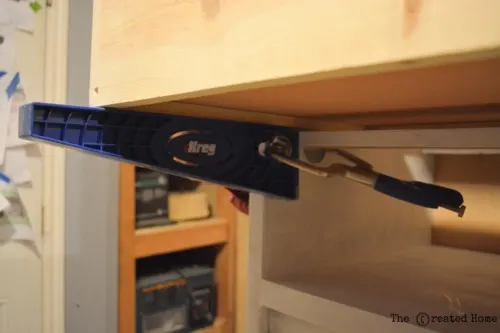
Speaking of easy, check out the Kreg Drawer Slide Jig to set the slides. Because there is nothing fun about installing drawer slides, and anything that makes it easier is a win.
Add the top.
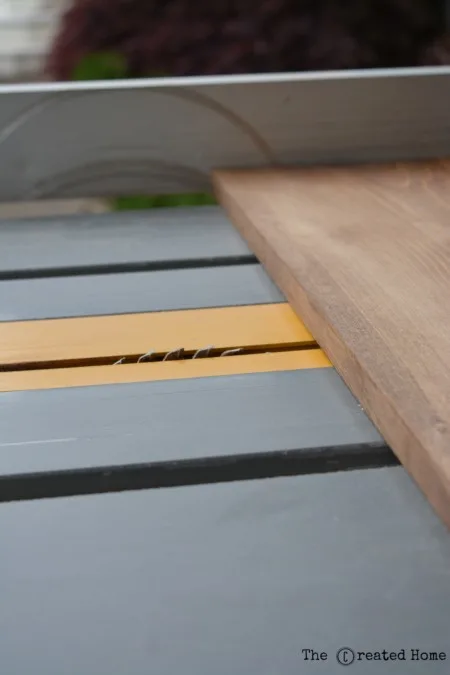
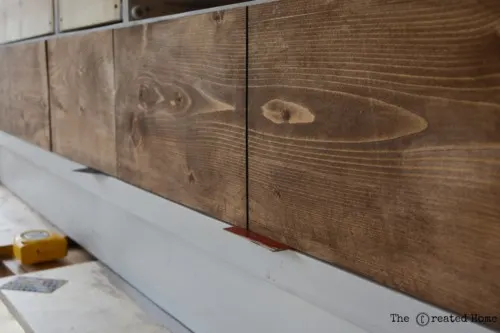
Cut and attach the drawer faces. You’ll need to dado a line down the middle of the six long faces. I chose to do this on the table saw. Raise the blade about 1/8″.
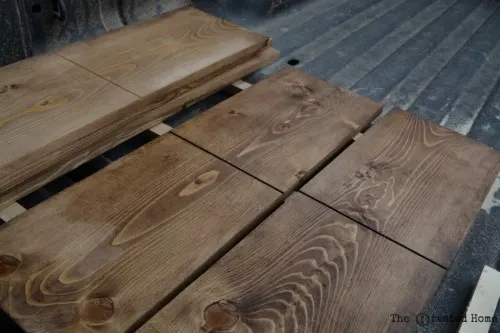
Stain each of the pieces, making sure to fill the dadoes with stain. If painting you will want to be careful not to overload the brush when you go over the lines so they don’t fill with paint.
I use a couple credit or gift cards or whatever to set the spacing between drawers.
This part of the process can be tricky, so here’s a video showing how I do it.
Stain all remaining parts, paint, distress, do a little dance, and attach some hardware.
Voila!!
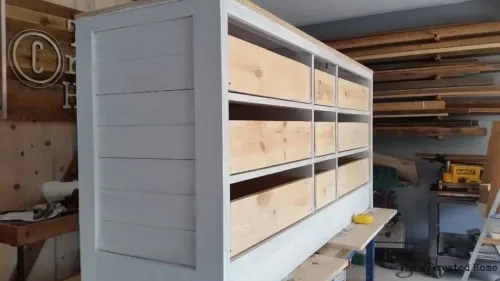
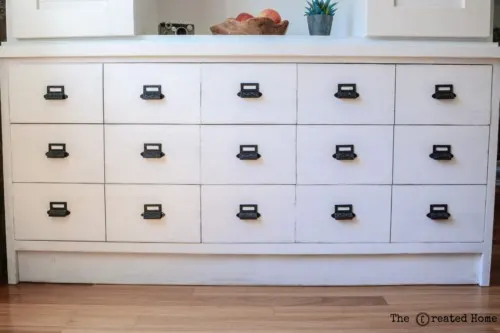
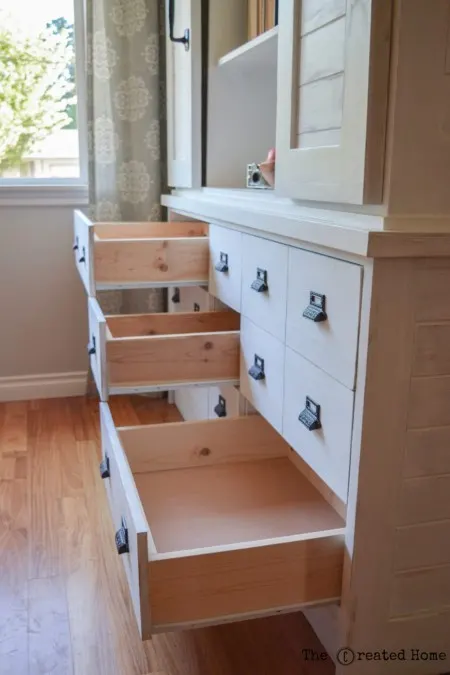
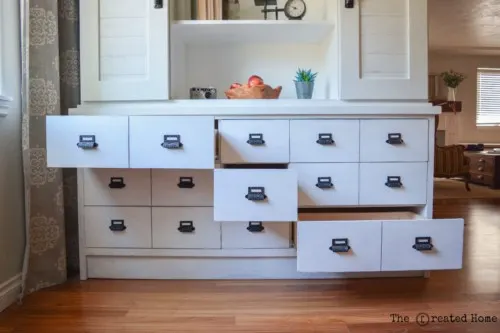
This thing has a ton of storage. Check out those drawers!
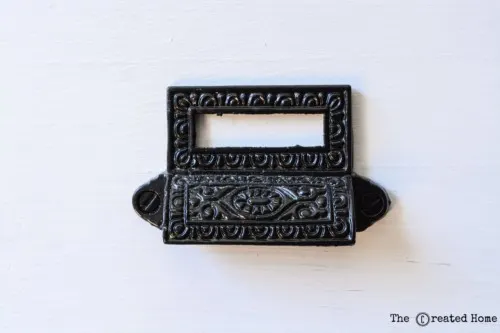
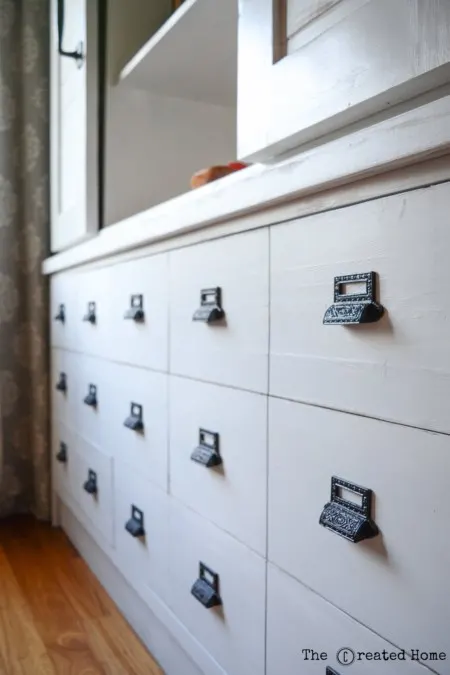
This thing is gorgeous, but the hardware is truly what makes it. House of Antique Hardware was generous enough to send this incredible knock-out, drop dead hardware. It’s surprisingly affordable, and is just what the buffet needs.
That’s all I can show you right now. If you want to stop there you’ll have yourself one gorgeous farmhouse buffet. If you want to build the full piece with the hutch you’ll need to read on in our second set of plans and tutorial next Monday. That should give you enough time to get cracking on the buffet section, right?!
Don’t forget to check out the plans on Jen’s site, and check back in next week for the rest of the build!
Thanks for reading, and happy building!


DIY Farmhouse Sliding Barn Door Buffet and Hutch
Wednesday 27th of May 2020
[…] Download the plans by clicking the button below and visit The Created Home, where Sarah shares her step-by-step build process along with a lot more photos and… […]
Sliding Barn Door Hutch - The Created Home
Sunday 16th of February 2020
[…] If you haven’t already done so, you’ll want to check out the buffet plans here and tutorial here. […]
DIY farmhouse sliding barn door hutch
Tuesday 25th of July 2017
[…] sure to visit The Created Home, follow along on Instagram and Facebook and show Sarah some love. She’s a building boss and […]
Sar
Wednesday 19th of July 2017
This is amazing! I think I found the piece I was looking for! Do you have a rough cost of building it?
Sarah
Sunday 23rd of July 2017
It really depends on the materials you have on hand (which is kind of a terrible answer, I know). I picked up the boards some time ago at a reused building supply store, and I have no recollection what they cost. But off hand I would guess that I probably spent around $100. Geesh, that was an awful answer - sorry! :)
STEPHANIE
Tuesday 18th of July 2017
Beautiful, Sarah! You make some really fantastic pieces and this is at the top. So cool that you got to work on one of Jen Woodhouse's plans. Pinning and scheduling for later.
Sarah
Sunday 23rd of July 2017
Thanks, Stephanie!