Around here we rank renovations according to energy drinks. Here’s where we break down on this home:
I would put the kitchen at a solid 3 – as in it took three energy drinks each for my husband and I to complete the project. There’s a straight up correlation to the lateness of the evenings, of course.
This mudroom/hallway renovation? It’s an 8, people. A freaking 8.
Listen, I know you are here to see the pretty pictures. Maybe glean an idea or two, and pin a couple ideas to Pinterest. Just, give me a moment, okay?
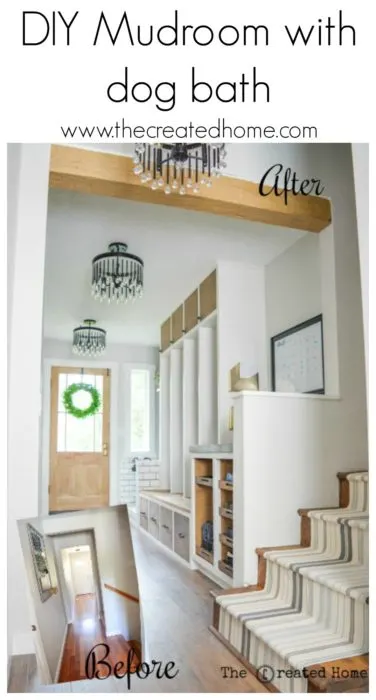
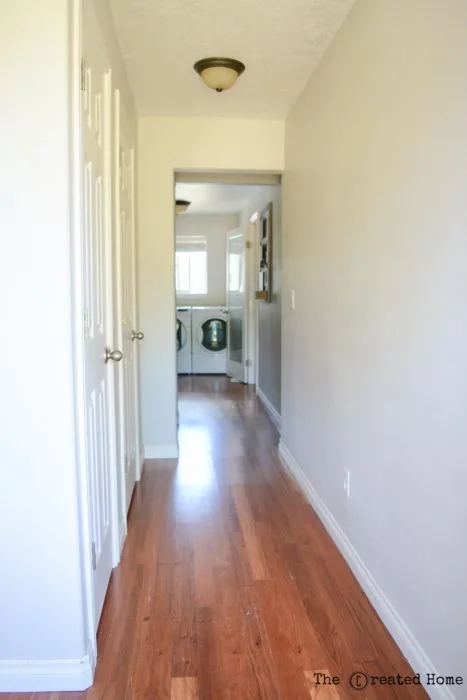
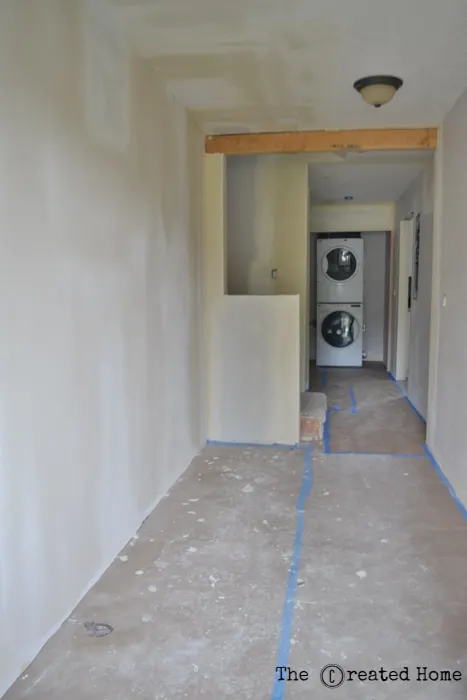
This is the hallway before we ripped the ever-loving crap out of it. Really, it was nothing more than a through way to our backyard and to upstairs. One closet was for cleaning stuff and general junk hiding. The other was a pantry. The beams (yep, load bearing) pinched off the area creating a bottleneck.
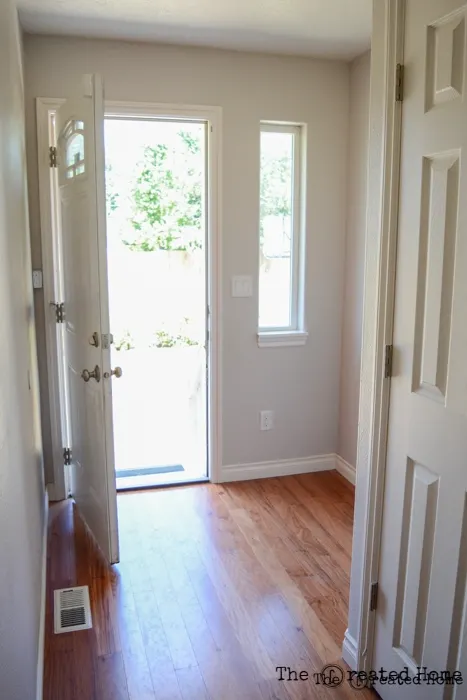
Then there was this little 5 foot section at the end. This, my friends, is where I intended to build a mudroom.
But then I became kind of obsessed with the idea of a dog bath. Kind of for the dog. But really mostly for the boots. THE BOOTS.
We call this little bit of suburban paradise “Almosta Farm”, and it is home to a couple Nigerian dwarf goats and a whole lotta hens.
(Too many hens. I have a problem. But I also have the cutest egg stand ever, which you can totally build, too.)
The thing about boots is that they carry with them all sorts of mud and unmentionables, and I wanted a place to wash them off.
But if you are going to have a dog bath, you need a place for coats, shoes, and other gear. You need a true mudroom.
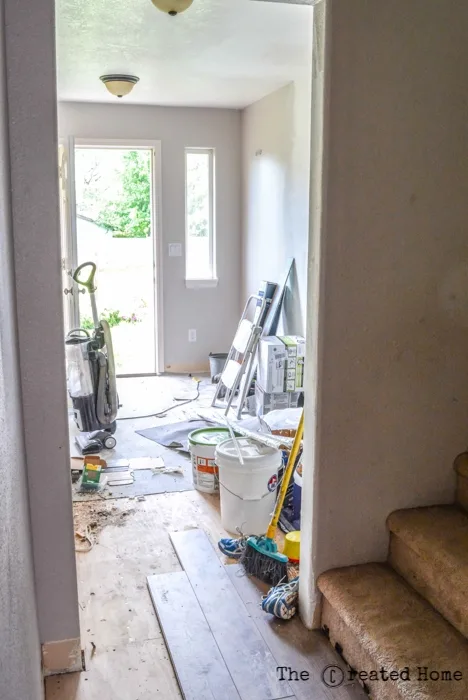
So out came the closet and pantry.
So far, so good. Easy stuff. But then there’s that bottle-neck still, clogging up all of my hopes and dreams.
And that’s when this little renovation blew the heck up.
First, we decided to move the heat stack. The HVAC wasn’t so efficient there, anyway, so we moved it into an old closet in the middle of the home that ended up behind another closet that…eh, just know it moved.
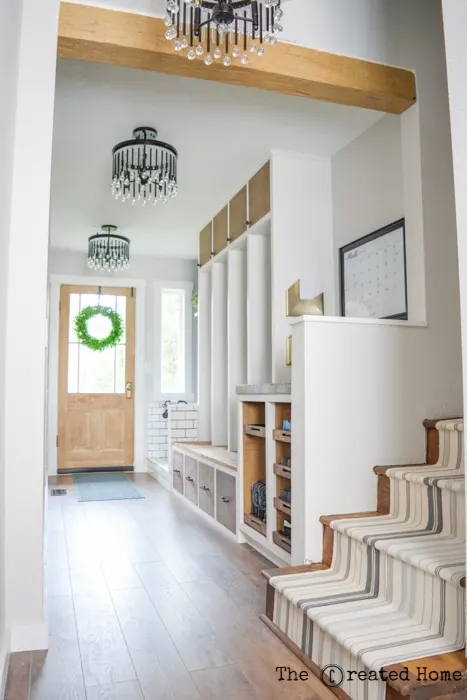
We were able to tuck the first beam up all the way into the attic. There was nowhere to tie in the second beam up there, however, so all we were able to do is raise it up a bit. And no tie in meant the wall couldn’t go away entirely. But not being willing to cut off any more light than we positively had to, I opted for a pony wall.
Ya, it seemed a bit odd at this juncture. But my vision was practically prophetic, people.
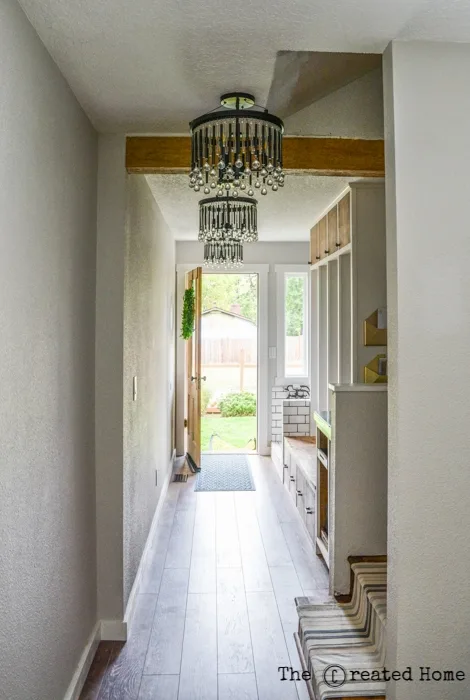
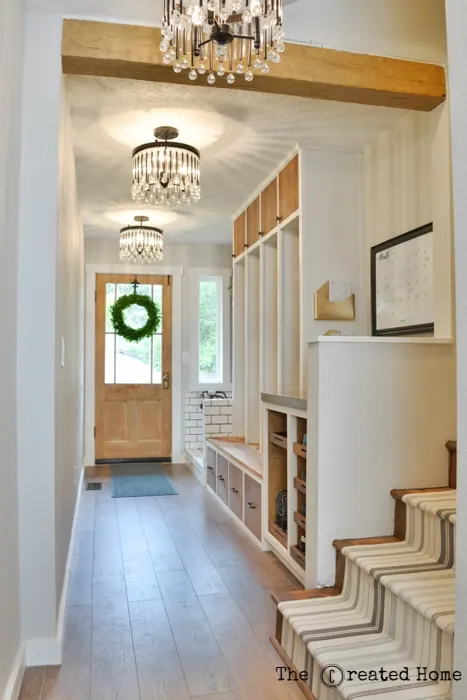
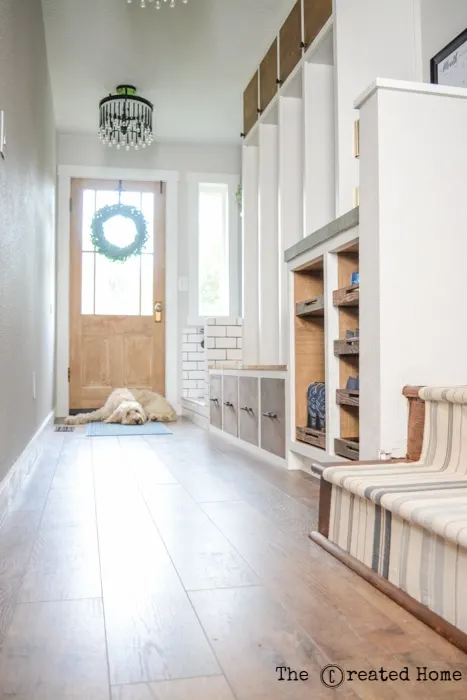
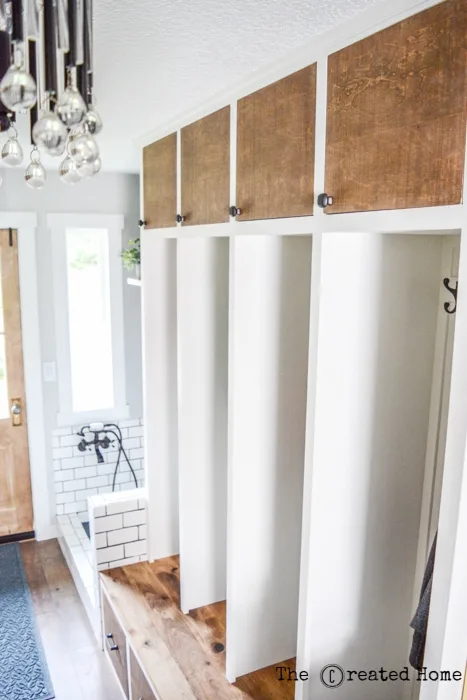
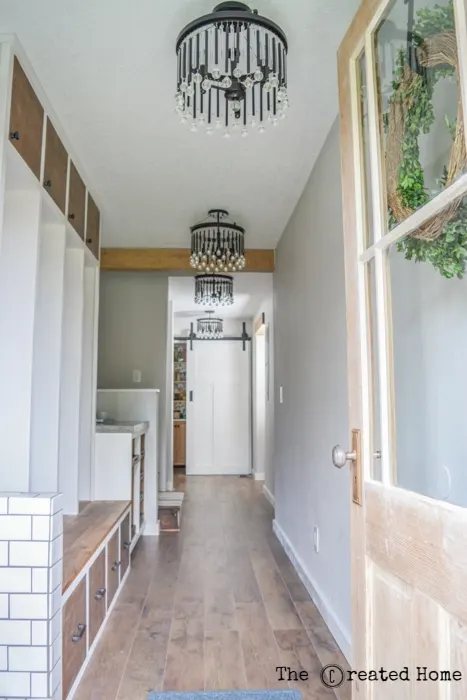
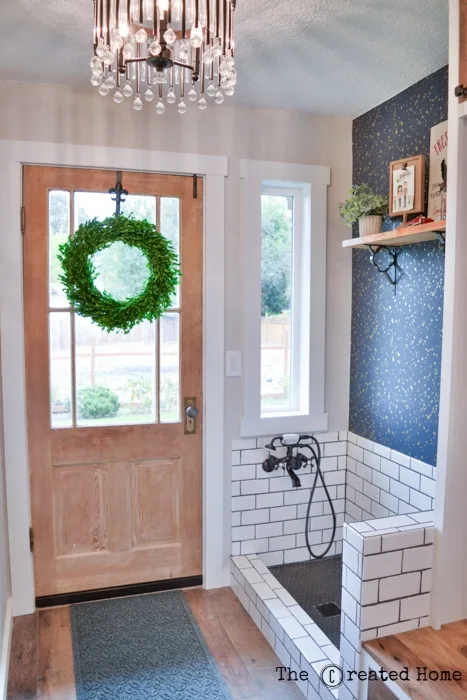
Once the structural part was all opened up we moved electrical to get all of these absolutely stunning Piper lights from Kichler lined up. Because, I mean, is that a wow or what?!
Guys, my hatred of boob lights knows no bounds. So I really cannot tell you how happy I was to partner with the good folks at Kichler once again on this. They also lit up my kitchen, which you should also totally go check out because it’s awesome, and took a few energy drinks to get done as well.
But as much as I love the lighting in the kitchen, I love this hallway lighting even more.
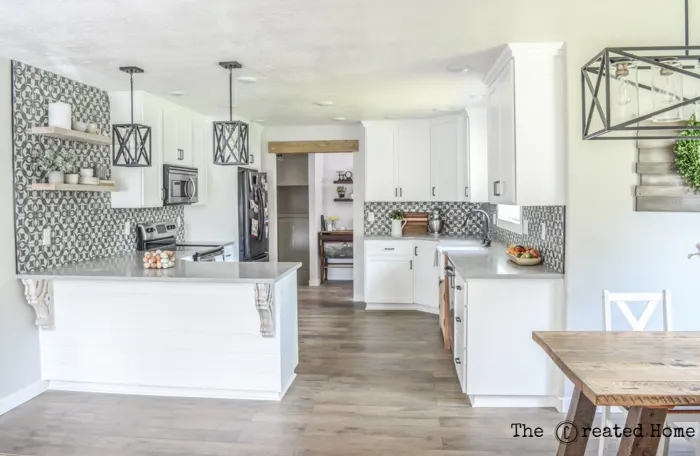
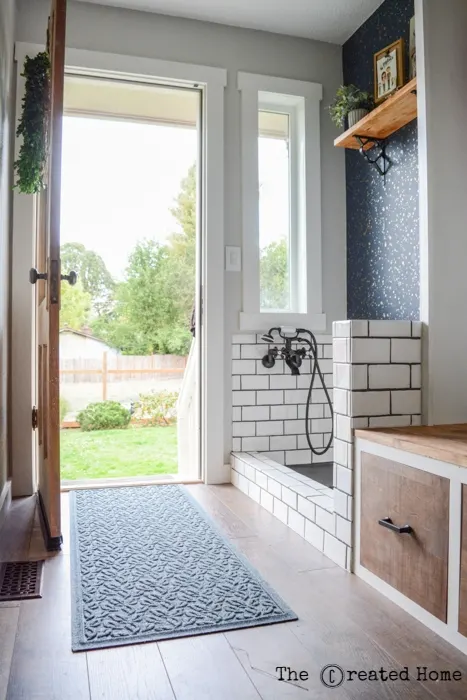
The other big change was the flooring. The brazilian cherry floors were lovely. And orange. These laminate floors by Select Surfaces flow throughout the main floor of our home and have a massive impact. These are the driftwood style, and in answer to so many questions I hear about them YES, they hold up fantastic. These were subjected to all manner of renovation chaos, culminating in my four year old literally jumping into an open tray of paint and splattering it to kingdom come days before this reno wrapped up. And they still look terrific.
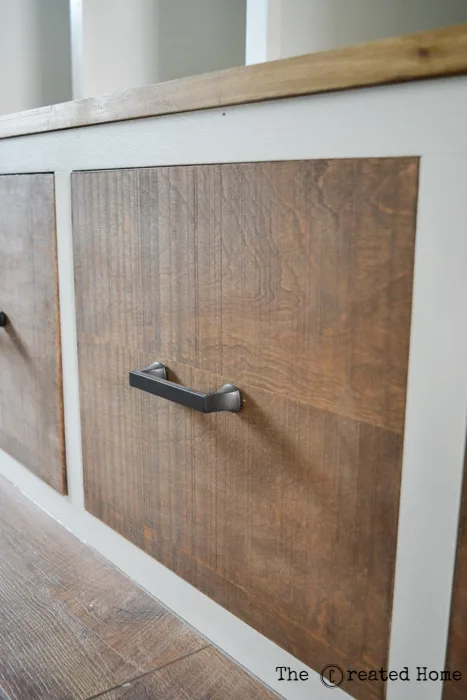
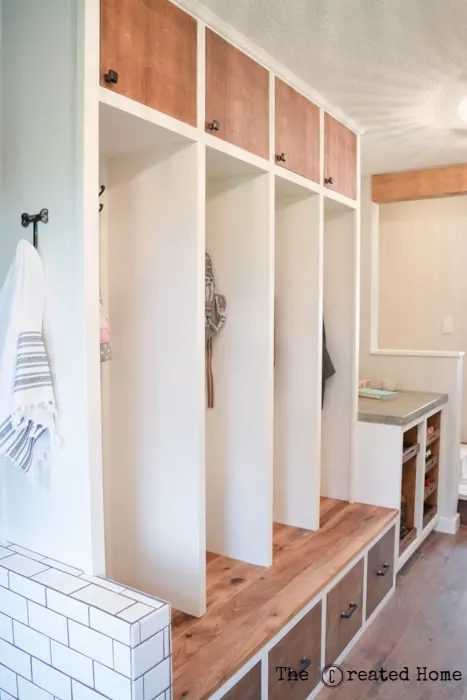
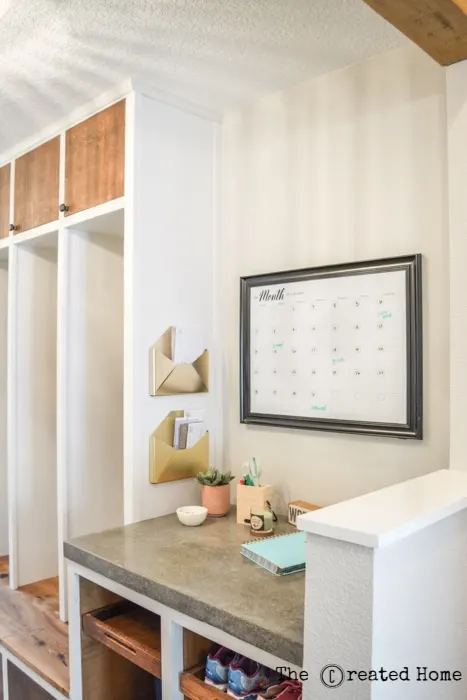
The mudroom is constructed of PureBond plywood and faced with poplar. I am very excited to share a new product that I had the opportunity to use for this build. These rough sawn panels are part of a new collection and are made of real textured wood. They grab the light in ways that highlight the texture and add depth and interest to the mudroom structure.
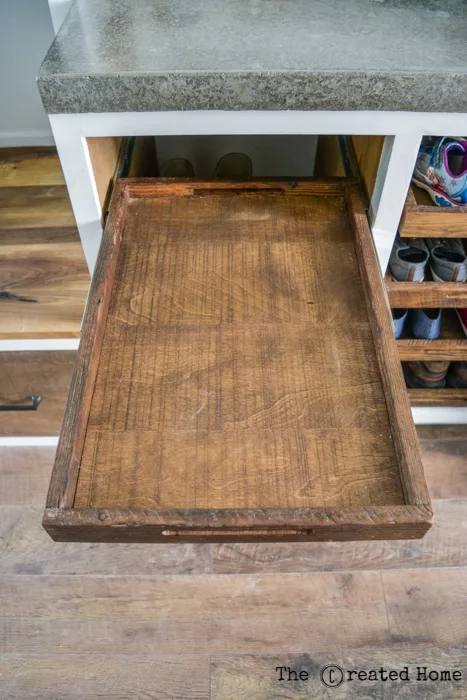
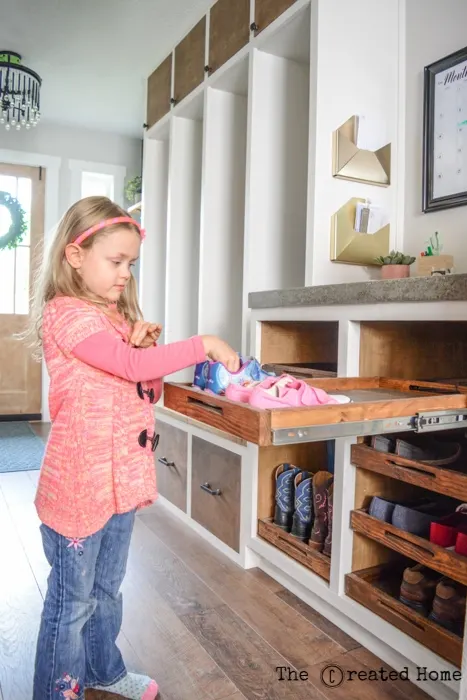
They also blend well with reclaimed wood. I used the PureBond Rough Sawn Project Panels for the base of the shoe trays, then made the sides of barn wood. You can see how well they go together and made construction of the trays a breeze.
The rough sawn panels are available at Home Depot in both birch and red oak. Both the rough sawn and the smooth plywood I used to make the mudroom structure and shoe cabinet are birch. I like PureBond because it’s quality and contains no added formaldehyde so I feel good about using it in my home. That’s what it comes down to, right? I love to build big, and plywood is the way to go.
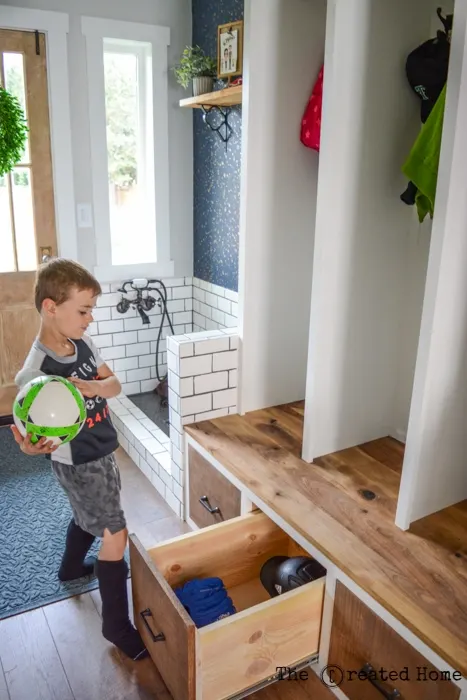
The drawers are large enough to hold plenty of sports equipment, and full extension drawer slides are tough enough to hold up to plenty of weight and use.
Doors over each storage area in the main mudroom structure are big enough to hold plenty of extra gear as well.
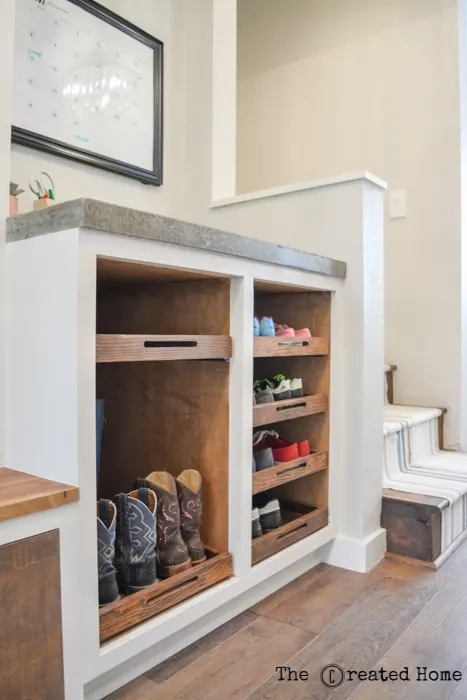
The shoe cabinet is also constructed of Purebond plywood, as is the base of the trays that hold the shoes.
Originally, I planned to build doors on the cabinet, but let’s be honest, no one around here will open a door to put away their shoes. And the trays look pretty great, right? I love that this design allows us to store shoes a couple rows thick, rather than going with a narrower shoe cubby.
The top of the cabinet is concrete. This was my first time constructing a concrete countertop, and I can definitely say we will do this again. I love that the cabinet creates a command center and drop zone for keys and mail, so they don’t end up on the kitchen counters.
And did that pony wall work out, or what?!
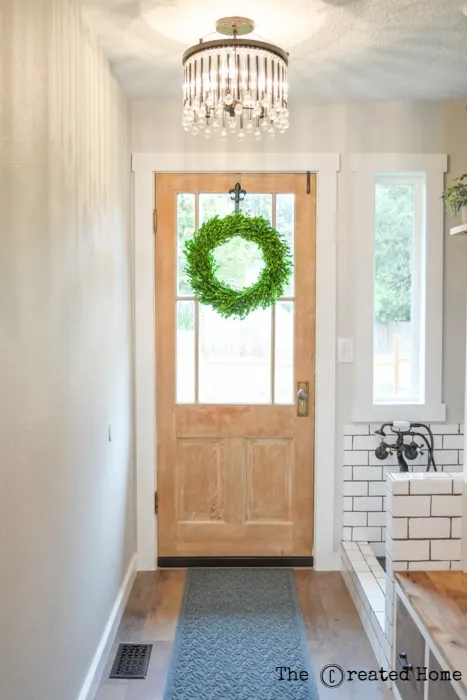
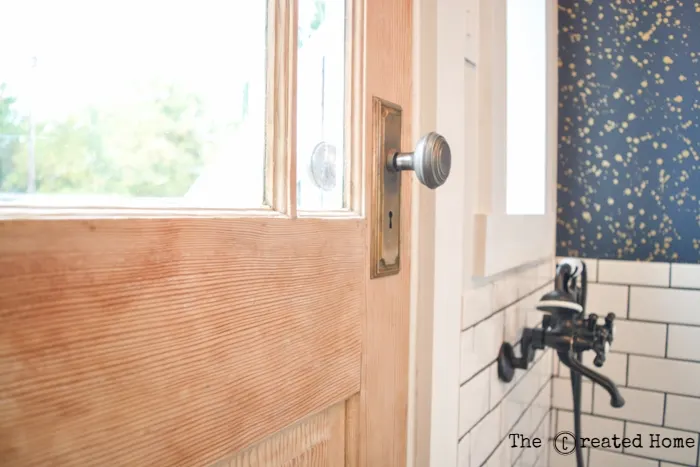
The door is well over 100 years old, and comes from a local farmhouse. OH MY GOSH, I cannot possibly overstate how much work this was.
First, it had to be stripped of years of paint. Then I actually bleached the thing to bring down that strong doug fir coloring. One window pane was broken, so I replaced that and redid all of the glazing. It’s not perfect, but maybe not terrible for a beginner!
It took AN ENTIRE DAY to get this door installed. From mortising the new frame, to squaring the door, to problems with the fit. This thing was a labor of love and exasperation. But it sure makes the look, don’t you think?!
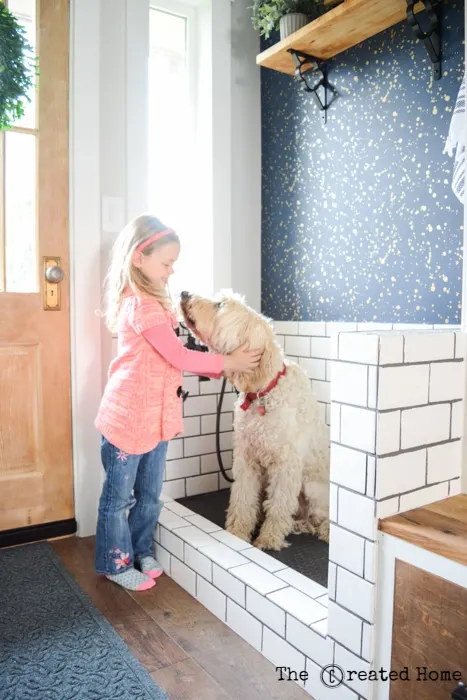
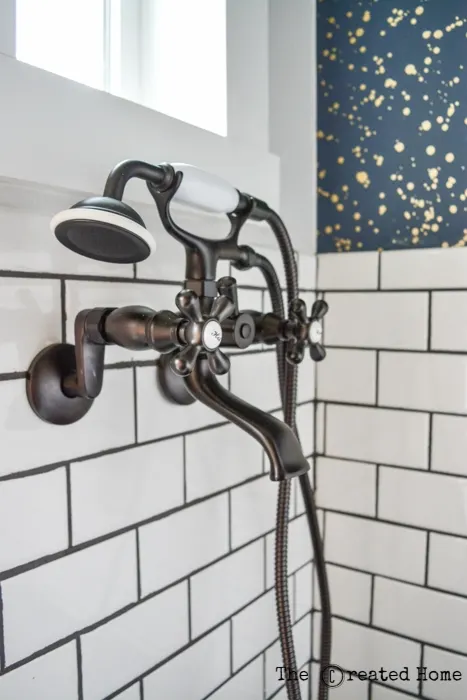
Okay, it’s time to move to what you all want to see. The dog bath.
Be still, my heart. We have a dog bath.
Words fail. Just look at it. LOOK AT IT. I’m so happy.
The faucet is by Kingston Brass, and you can find it on Amazon, btw.
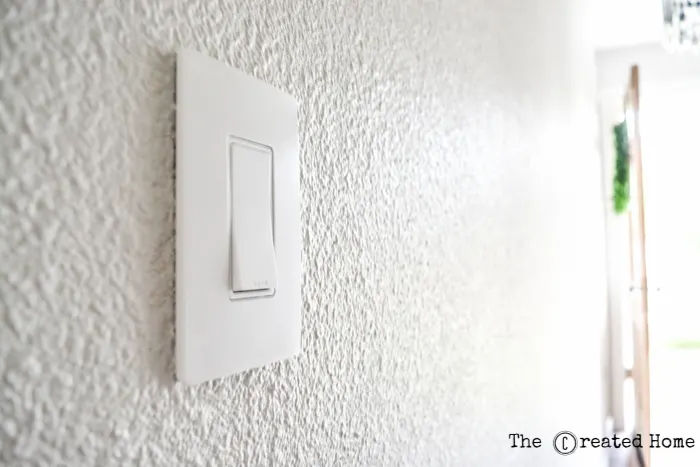
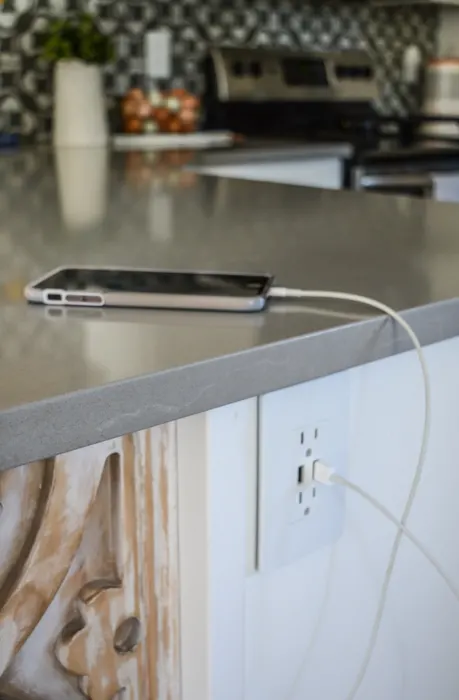
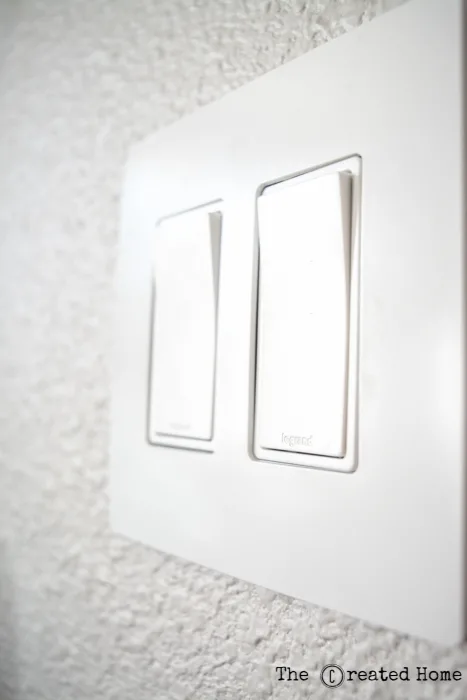
The final change, and the icing on the cake, was a little detail that goes a long ways. We upgraded all of our plugs, switches, and covers with Legrand products.
The lighting products extend through our home, and include improvements such as USB ports, motion sensors, dimmers, and nightlights. I’m not going to lie – my favorite are the motion sensors because WHY DON’T PEOPLE TURN OFF THE LIGHTS WHEN THEY LEAVE A ROOM?! I feel strongly about this issue, as you can tell.
Why change all of the outlets? Besides improvements to functionality I love the design. The plates have an awesome snap on design that means no screws. And guys, I’m all about the finishing details.
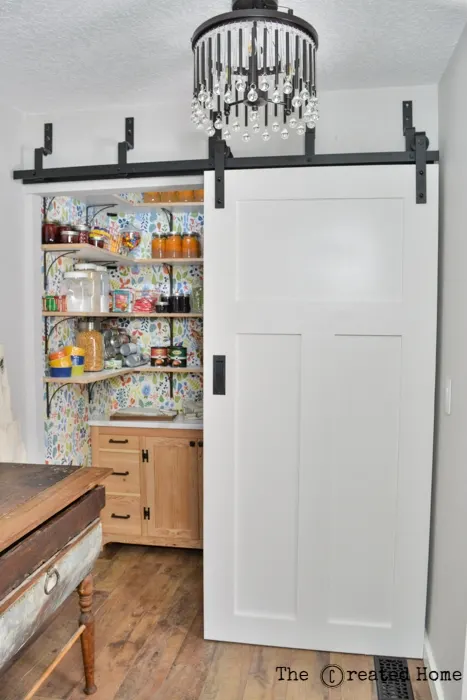
There it is. This mudroom area is at the opposite end of the hall from our new pantry and laundry area, making this entire area not only an efficient space, but a really attractive one as well.
The details of this are what make me so happy. I poured my heart into these areas, and I’m honored and blessed to get to work with some fantastic companies to make it happen and share tips and tutorials with you. Stay tuned for tutorials on building your own dog bath and building concrete countertops.
Every detail of this functional mudroom space makes me so happy. A big thank you to Kichler, PureBond, Legrand US, and Select Surfaces for making this possible. I only work with those products and companies that I truly feel best represent my home, and that I can recommend in full confidence. All opinions are completely and totally my own, as always.
So, would I do it again? Heck yes. This room really provides the launching place to the rest of our home. We typically enter through the garage, and this is the catch-all for shoes, backpacks, jackets, boots, mail, purses, sports equipment, and more. If you are considering building a mudroom, I say go big or go home. You won’t regret it.
Happy building!



kimmy kervel
Thursday 4th of February 2021
This is mind blowing information. thanks for sharing this precious information with us
kimmy kervel
Tuesday 15th of December 2020
Thanks for sharing this precious information with us, this really helpful for me and also for my upcoming project.
Sarah
Thursday 1st of April 2021
Thank you!
Upgrading our home with Legrand radiant outlets and covers - The Created Home
Sunday 16th of February 2020
[…] US offered to replace the outlets and covers in our newly renovated kitchen, living room, and mudroom the answer was “Oh heck […]
How to upgrade an old workbench with drawers - The Created Home
Sunday 16th of February 2020
[…] between the sections. I went with PureBond for the dividers, the drawers, and the faces. As with my mudroom build and pretty well every other large-scale build I use PureBond for it’s quality, the fact that […]
The top 22 Ideas About Diy Dog Baths - Home, Family, Style and Art Ideas
Sunday 26th of January 2020
[…] Best DIY Dog Baths from DIY Mudroom with Dog Bath The Created Home. Source Image: thecreatedhome.com. Visit this site for details: thecreatedhome.com […]