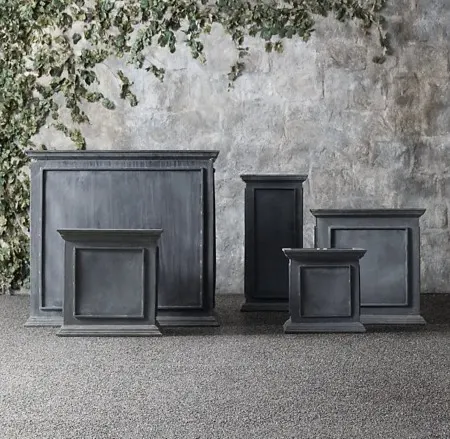
Oh, Restoration Hardware, how I love thee. But those prices…not so much. Also, apparently you have to live in a mansion for some of this stuff. Case in point, check out these amazing zinc planters. The smallest one – smallest – is just shy of 16″ square, which sounds like no big deal until you see it and realize your puny porch doesn’t stand a chance. Okay, maybe your porch isn’t puny. Lucky you.
The biggest one is a commanding 38″ square, which basically means you live in the White House or you are Beyonce or something. But since I don’t need a planter that doubles as a kid size swimming pool I decided to make one that would replicate the tall one – 16″ square and 32″ H. Their price – $625. Let that sink in.
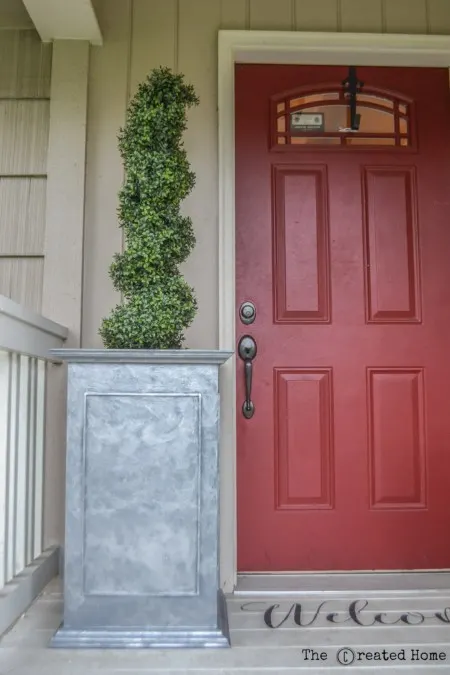
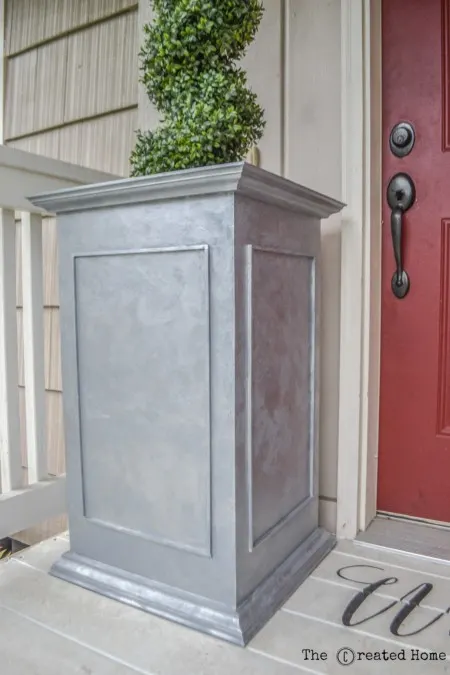
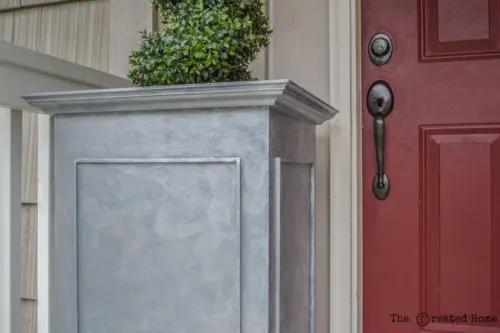
Ladies and gentlemen, I give you my knock off zinc planter, for $65:
This is a relatively simple project that can be completed in a weekend, and sized anyway you like. Want to build one? Here’s how!
*This post contains affiliate links for your convenience. You can read more about what that means here.
Materials and Tools
4×4 birch plywood 1/2″
crown moulding (x2)
1/4″ square dowels (x8)
3/4″ square dowels for inside shelf (or use scrap wood)
15″ x 16″ plywood for inside shelf (or use scrap wood)
silver acrylic paint
dark grey latex paint
glazing medium
Kreg Crown Pro
finish nails
nail gun
glue
paintbrush
circular saw
joint compound (mud)
small trowel
finish
How to build a faux zinc planter
Step 1:
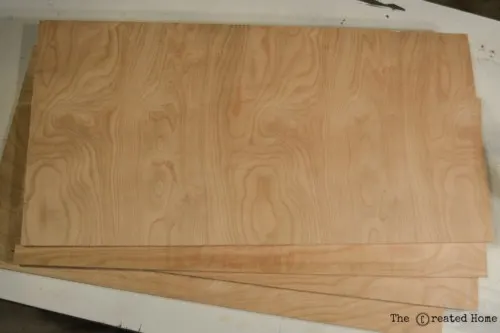
Cut 4 16″x32″ panels. I used 1/2″ birch but you can pretty well go for whatever as long as it is smooth. I cut everything with a circular saw. Lay down some painters tape where you are going to cut to help keep the veneer from tearing out. The 4×4 piece should leave you just enough to cut the bottom out as well, which should measure 15 x 15.
Step 2:
Attach wood strips to the inside of each panel the same distance down for a shelf support. Your plant won’t likely be 32″ deep, so you’ll want to rest the base on something. I put mine at 12″ down, but that was probably a bit too far. You can use scrap wood for this, just make sure the height is all the same and that two of them are shorter so they all fit in the square box. Attach with glue and finish nails.
Step 3:
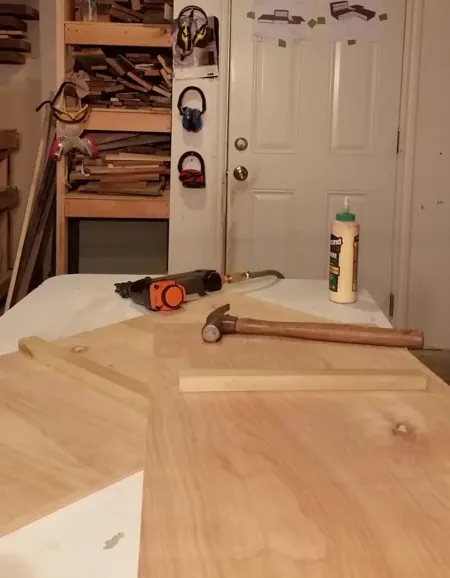
Glue and finish nail the panels together to form a box. This will mean the plywood ends show on two sides. It’s no big thing.
Step 4:
Attach the crown. If you have never down crown molding before it can be a bit tricky. Actually, it can be tricky if you have done it before. Take a deep breath, go through it slowly. You totally have this. Here’s the stuff I used, though you can use whatever you like.
Here’s a video tutorial to help explain the process.
Guys, I cannot recommend the Kreg Crown Pro jig highly enough. The jig allows you to set the precise angle you need for your crown. Wrong angle = joints that don’t come together. I said it in the video, but I’ll mention it again – you will need to cut the crown upside down to get the bevels right. One thing I forgot to calculate for when making the video, however, is the trim around the bottom, which is sort of inverted trim. It seriously took me several minutes to wrap my head around that, and the dummy piece was a huge help. The key is that you will need to leave the trim right side up for the bottom, because in essence it is already upside down. That was a confusing way to say don’t turn the crown upside down when you do the bottom.
Yes, it is possible to do this without the Kreg Jig. I have down crown that way. But, you know, I value my time and my sanity. It’s at least worth $27 or so.
Step 5:
Whew, you made it through the crown! You are in the home stretch now. Check out how fast it goes.
Okay, maybe not quite that fast. By the way, my entire family made cameo appearances there, husband, kids, and even the dog. That’s life, peeps, and I love it.
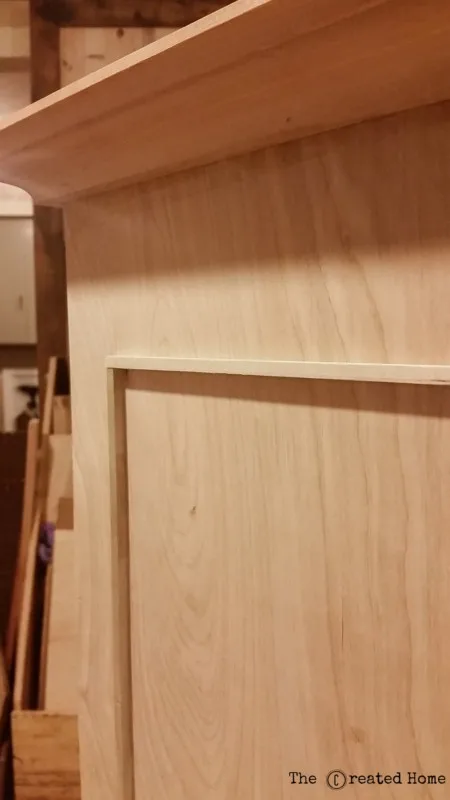
Okay, there are only a few steps from here. For the trim simply decide what size box you want and tack it on to the box sides with glue and nails. Mine is set 2″ in from the sides, and like 3″ from the top and bottom, which basically was because that way I didn’t have to use more dowels. It’s rather arbitrary, so do what looks good to you.
Step 6:
I did a quick sanding where the plywood ends show, then used joint compound and simply smoothed over the ends. I also used the joint compound to fill in all the holes where the finish nails were. You may have to use a nail punch to tap in some nails so they won’t show.
Step 7:
Paint! Choose a dark grey base color. I used Serious Gray by Sherwin-Williams because I had some on hand. Give it two good coats.
Step 8:
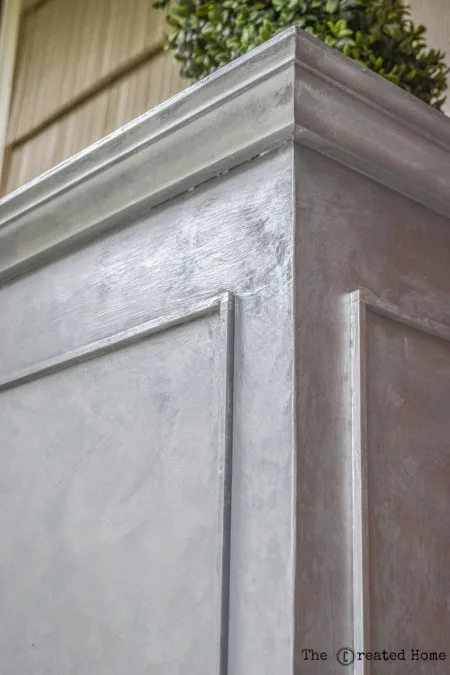
Create the faux finish so this starts looking like an actual zinc planter. I decided it wasn’t necessary to reinvent the wheel, and simply followed a tutorial by Salt Marsh Cottage. Per her instructions I mixed a tablespoon of glazing medium with a tablespoon of water. I found that was way more than I needed for this project, however, so if you do half of that you should be fine. Dip your brush in that, then place a healthy gob of silver acrylic paint on your brush. Brush that on over a small area, making sure your brush strokes are kind of all over the place. Then immediate dab it with a waded up paper towel. Or napkins if, like me, that is all you can find. It’s kind of a firm dabbing action, and you’ll need to go over all of the brush stokes. This gives it that modeled sort of appearance you are going for. Work in small sections over the entire box. Let it dry, seal it up with some good p0ly or sealer of your choice, and that’s it!
Step 9:
Add a plant. Don’t ask for my advice here, I grabbed a faux boxwood just to stage it and still need to figure that out myself. Step back and admire your work! You made a zinc planter…well, one that looks like one at least. Way to go, you!
Pin it so you don’t forget it!↓



Faux Zinc Planter Box – Free Woodworking Plan.com
Sunday 7th of March 2021
[…] this planter box and add curb appeal to your front entryway. This one was done in a faux zinc finish but choose a […]
Padaddy
Wednesday 15th of November 2017
Great look! Maybe I missed it, but did you do anything to cover the top of the crown? In other words, at the top of the planter is there a gap between the sides of the box and the crown itself?
Sarah
Thursday 23rd of November 2017
Hi Padaddy! Great observation. You are correct, there is a gap in there. I'll try to remember to photograph it for you.
Kerry
Wednesday 30th of August 2017
Beautiful!! Thank you for this post! I have really REALLY wanted the RH planters but could never afford them. I can't wait to do the tutorial!
Sarah
Saturday 9th of September 2017
Who can, right?! :D Thank you!
Tina
Thursday 8th of June 2017
I'm surprised you've had no comments on this - this is lovely!
Sarah
Thursday 8th of June 2017
Haha! Thank you, I'm glad you like it! I'm personally quite fond of it as well. :)