

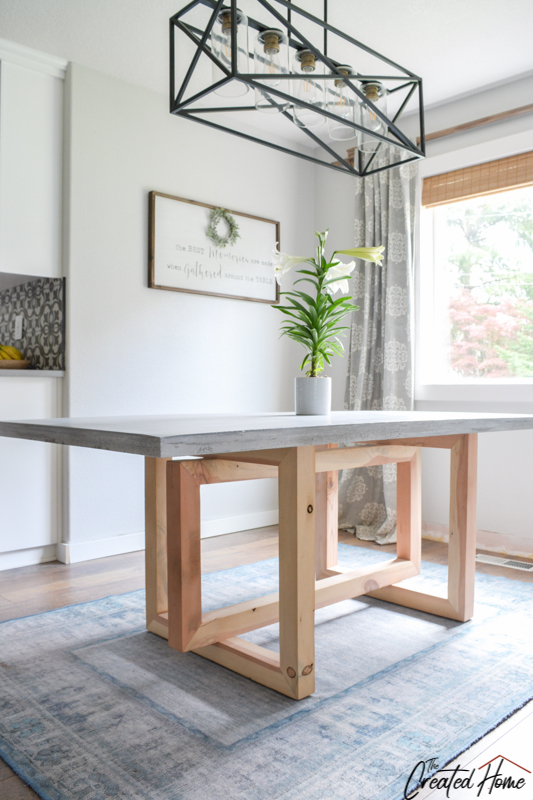
This is the second in a series of four builds I collaborated with Jen Woodhouse to make. We call it the Concrete and Wood Geometric Collection, and in case you missed it, the Geometric Bookshelf can be found here. Jen has the plans for the bookshelf and this dining table on her site here. All of the build details are in the plans, so make sure to download those. Stick around, and I’ll provide you with a tutorial and some pointers.
First, here’s a basic overview of what you will need to make the dining table:
Materials:
Again, this is a basic overview. I’ve included a few affiliate links to items I found particularly helpful in the text. You can read more about that here.
2 3/4 x 2 3/4″ lumber – 36 board feet or 5 – 4″ x 4″ x 8′
Concrete
rebar mesh mat
4×8 sheet 3/4″ melamine
3/8 ” wood dowels
wood glue
Tools:
miter saw
table saw
dado stack
drill
9 mm drill bit
clamps
Here’s a quick video overview of the dining table build:
Build it:
Step 1:
Mill the wood to 2 ¾” square (4×4 ripped if using fresh lumber).
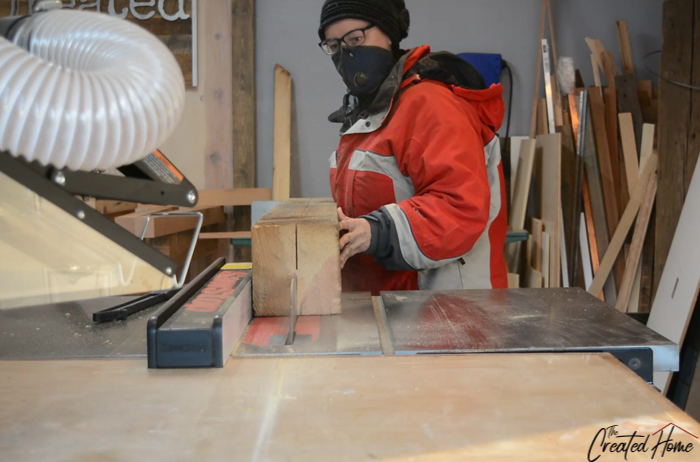
Step 2:
Cut wood to approximate sizes and determine the layout so you don’t mix up the direction of any miter cuts. Once you have determined where each piece will fit, cut the miters on the miter saw.

Step 3:
Seal the end grain of each miter cut with a 50-50 mix of water and glue. End grain absorbs a lot and is notoriously problematic to glue. Sealing the ends helps ensure stronger adhesion.
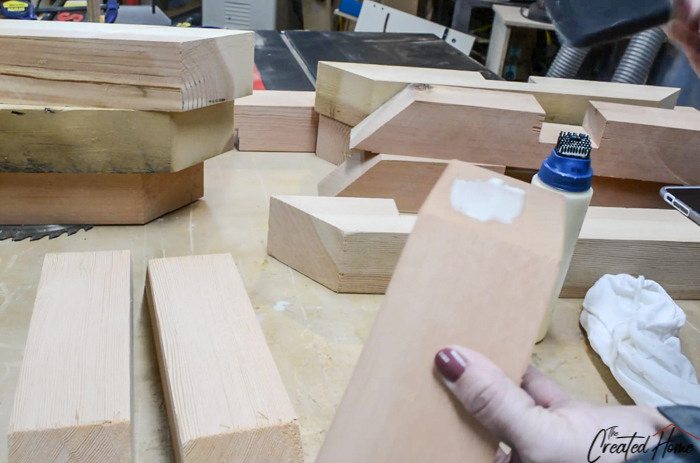
Step 4:
Glue each section a couple pieces at a time, and wait a good 24 hours before reinforcing any with pegs – which means this step has to be done in shifts and takes some time. Some might argue that waiting part, but I like the bond to be good and strong before subjecting it to a lot of banging. The entire long middle section can be joined, then the bottom and sides of the two squares. Wait to attach the top of the square until it is assembled around the middle rectangle so you can get the fit just right.
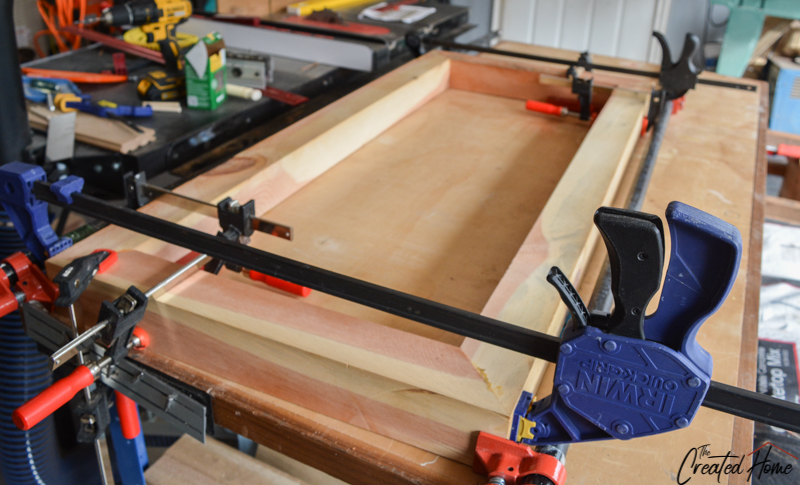
Step 5:
Peg the miters to reinforce glue up. This step and step 5 kind of go back and forth as you work through the pieces and sections, clamping and setting as you go. My preference is to keep the sections in clamps while drilling and tapping in the pegs because it can be rough on those end grain glue ups. I then drilled the peg holes a good 2 (ish) inches deep. I started each with a doweling jig to be sure that hole was straight. The wood was too wide to use the jig properly, but it did get the hole started straight, so that from there I could freehand it.

Add glue to the hole, add more to the peg, and tap it in. I found that a 9mm brad point drill bit was a good fit for the 3/8″ dowels I was using. But I did grab some 3/8″ dowels from another source half way through, and those fit differently. So test fit a couple to get the right combination.
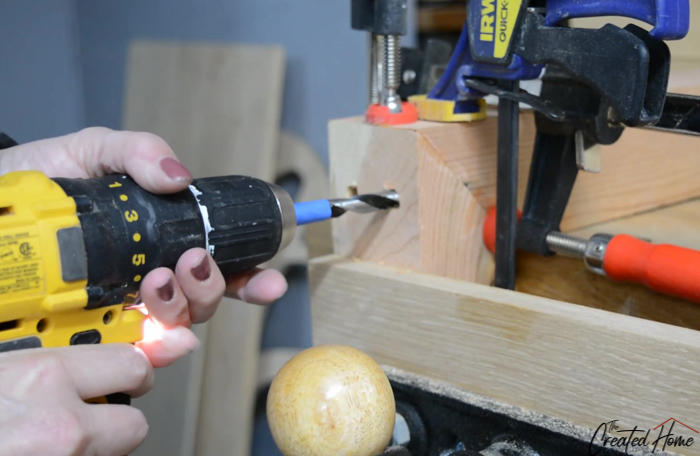

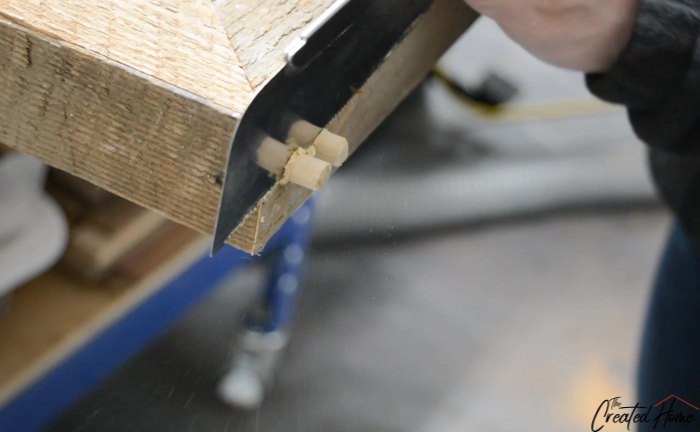
Cut the dowels flush. I like to use this little Japanese saw.
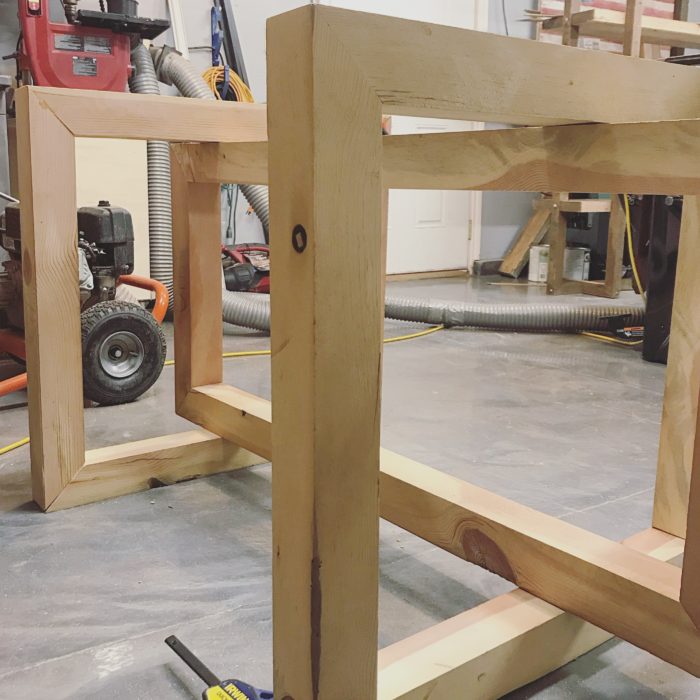
Step 6:
As stated, you will want to wrap the two square sections around the long rectangle after everything but the top pieces of those squares are glued and pegged. Once that is done you can glue and peg the top boards on in place for a good tight fit.
Step 7:
Sand. I waited until this step because things tend to get roughed up a bit in process, but you could smooth some earlier if desired. If you want to add any pads to the bottom this is a good time to do so
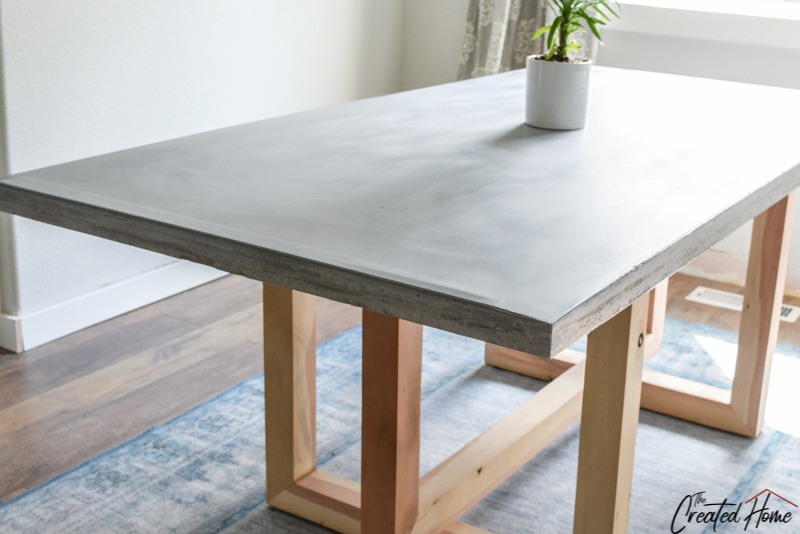
Step 8:
That’s it for the base. The final piece is to create the concrete top. I’m going to cover that in a separate post very shortly as the other pieces of this collection also have concrete tops.
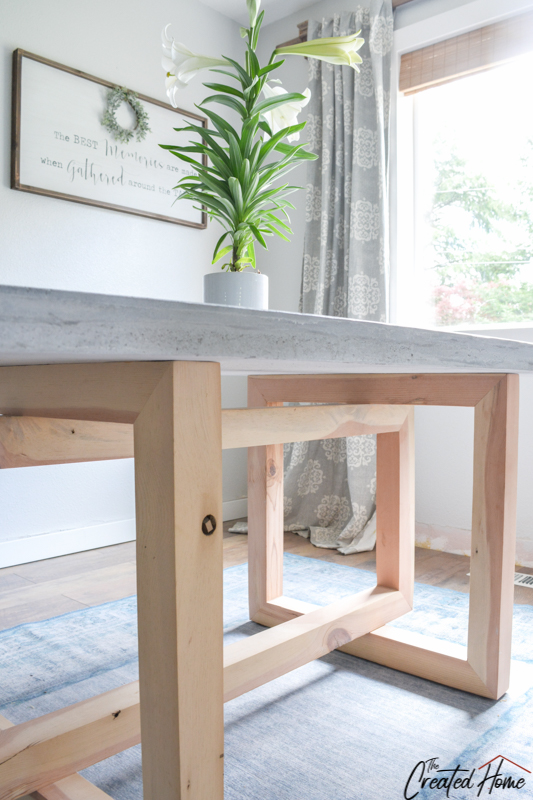
*Note that my table was created a bit smaller at 72″, and that is why the area between the two squares is a bit too tight. I fully own that I didn’t think that through clearly. Oops! Live and learn, right?! So as much as I love the design, this table is heading outside to replace our outdoor table under the pergola. I’m actually really excited to have it out there. But it’s also a good lesson in planning ahead! The downloadable plans are for an 84″ table and take spacing into account so you don’t make the same mistake. Because that’s what I’m here for – to make all the mistakes so you don’t have to!
Be sure to come back to see the rest of the Concrete and Wood Geometric Collection!
Happy building!
Interesting And Cheap DIY Table Projects And Ideas
Friday 1st of January 2021
[…] Concrete And Wood Geometric Collection Dining Table […]
Audrey
Friday 29th of May 2020
We are needing a 72" table size. We live in an apartment. What was the issue with your 72"? Could you not fit a chair or bench there still?
Sarah
Tuesday 16th of June 2020
It didn't allow for more than one chair between the two wood sections without hitting knees against the legs. A wider top might do the trick, but I would consider making it with a foam core, because it is insanely heavy. Best of luck!
How To Make a DIY Concrete and Wood Dining Table
Wednesday 27th of May 2020
[…] the first one in this series, the Geometric Bookshelf, you can go back and see it here. Sarah from The Created Home never ceases to amaze me with her mad maker skills! Grab the plans below and visit The Created Home […]
Gabby
Friday 24th of April 2020
LOVE this table and the whole room! May I ask where you purchased the blinds and curtains?
Sarah
Tuesday 16th of June 2020
Thanks! I think the blinds were blinds.com, and the curtains are from West Elm.
Chelsea
Monday 24th of February 2020
Any advice on how to make if we don’t have a planer or jointer?
Sarah
Sunday 1st of March 2020
Hi Chelsea! This table was built without a jointer or a planer, so you totally have it!